Prepainted1/3 scale

NieR: Automata - Pod 042 - YoRHa No. 2 Type B - Square Enix Masterline (SEM-05) - 1/3 (Prime 1 Studio, Square Enix)

NieR: Automata

10.00/10★★★★★★★★★★10.0/10
0 ratingsTop-scored in NieR: Automata

227 collectors wished this · Find on marketplace

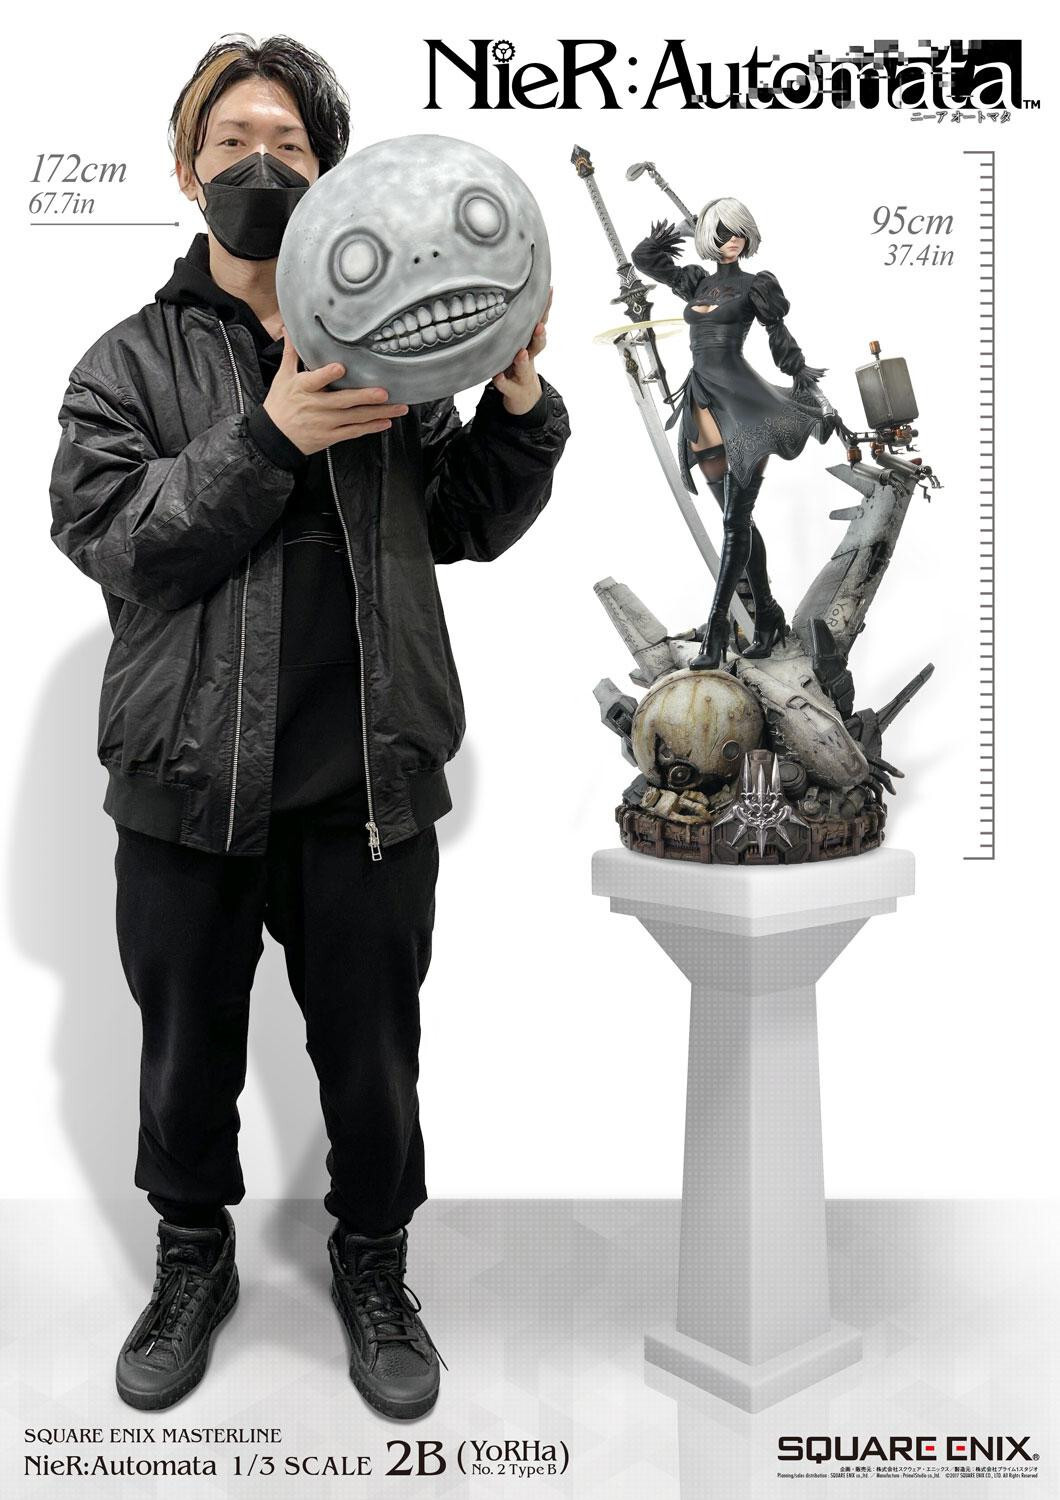
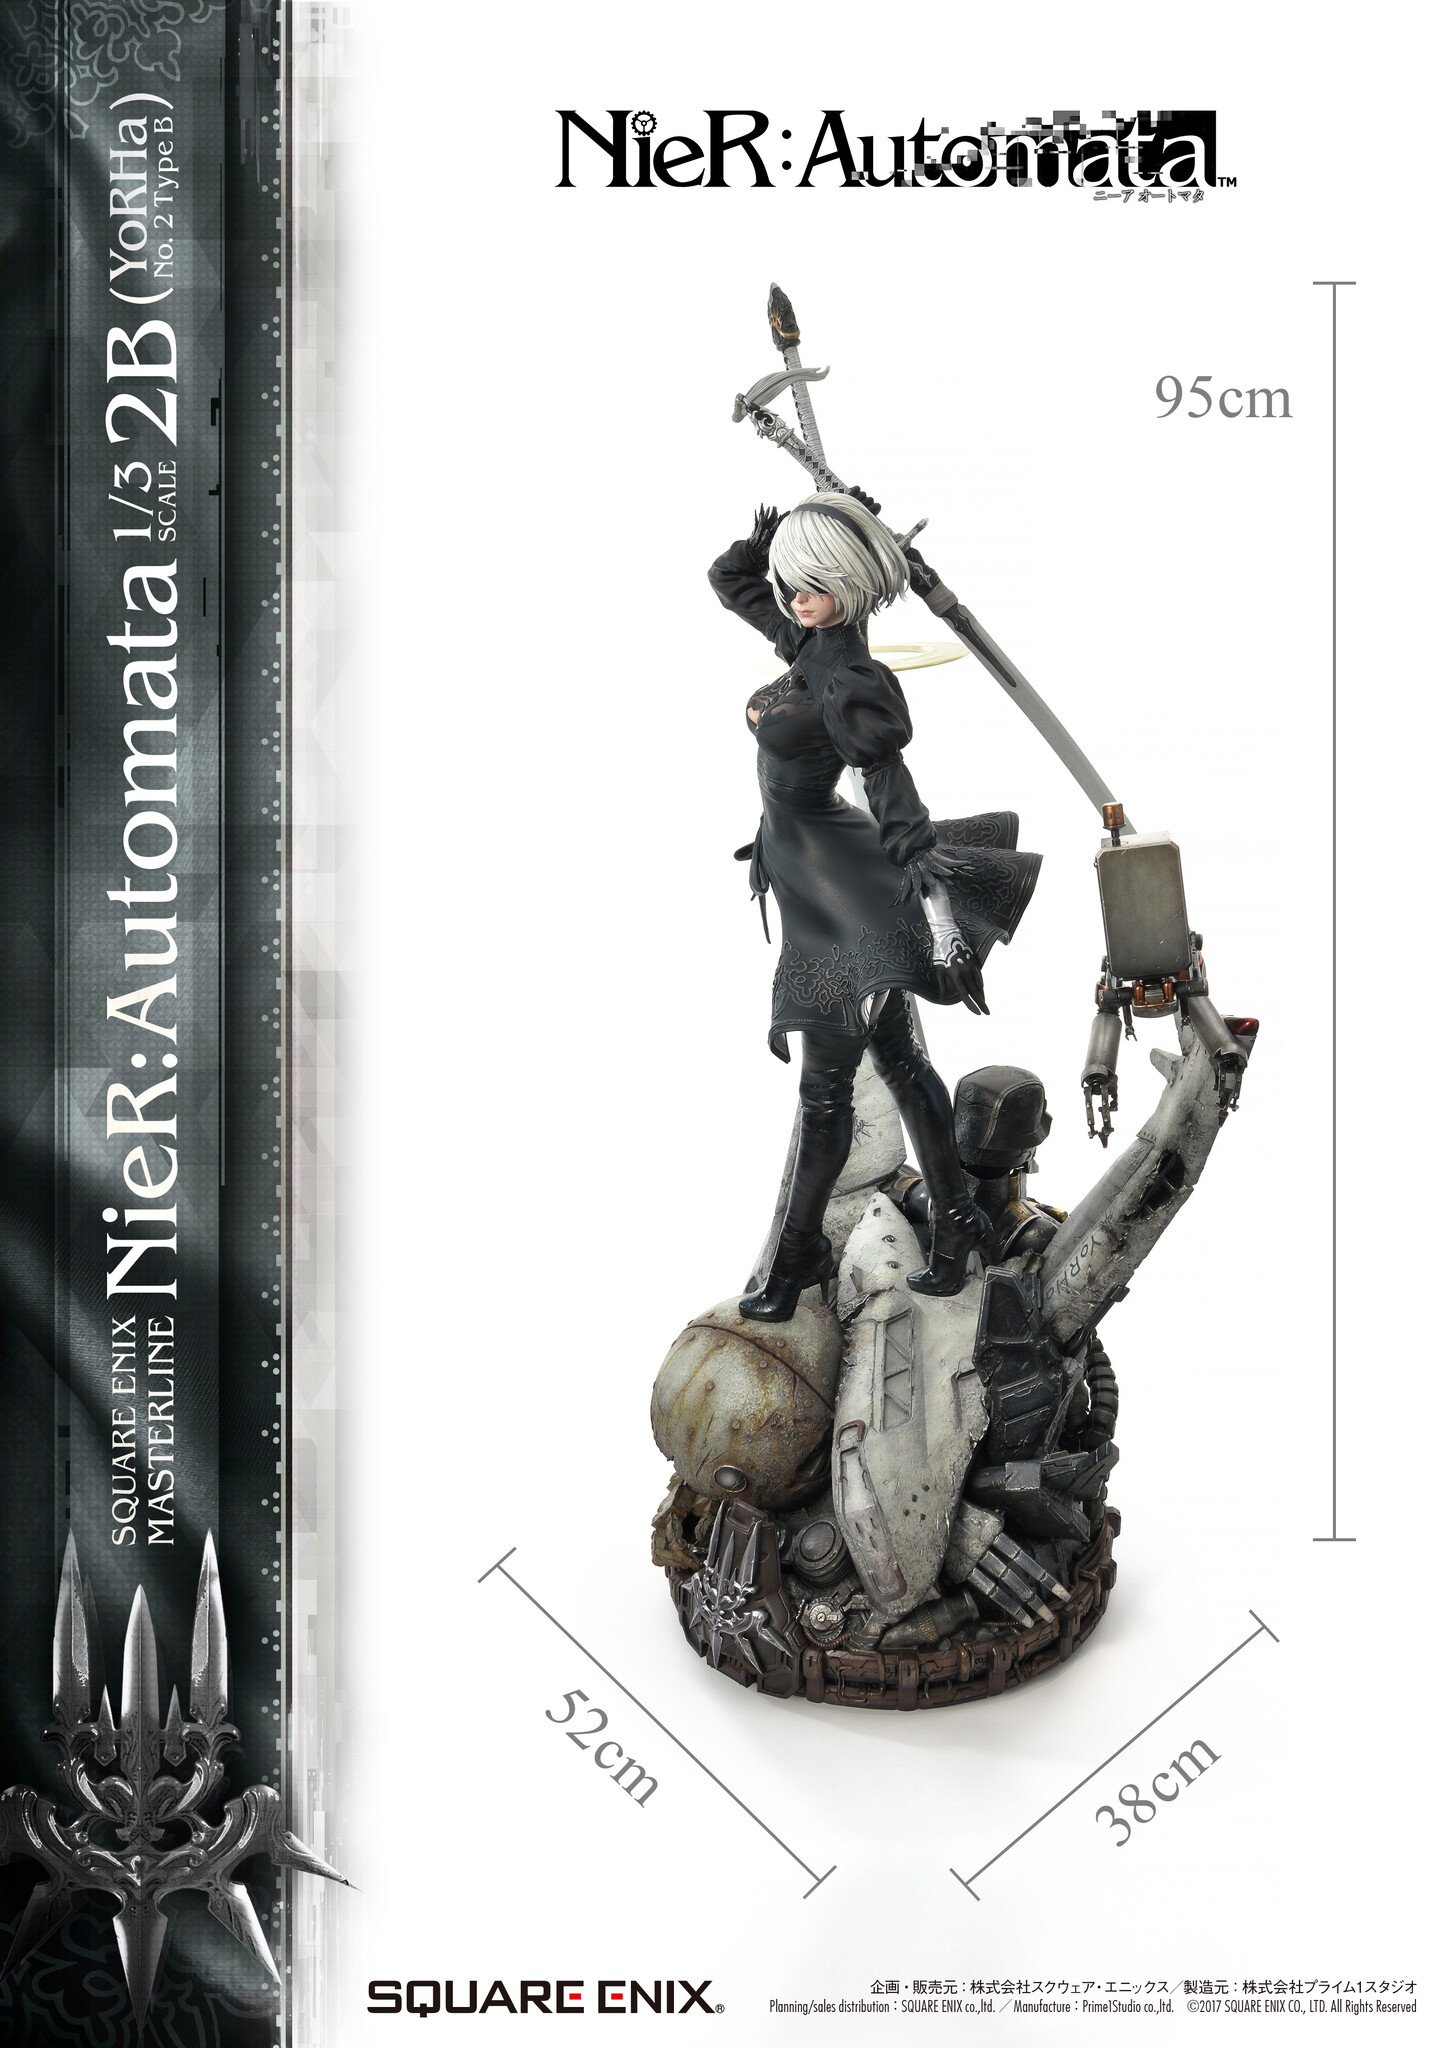
Height520 mm
First releaseJun 2024
Manufacturer
𝕏 ShareFacebook⊞ SimilarItem #16069
0Comments
19,800Views
Figure file

About this figure

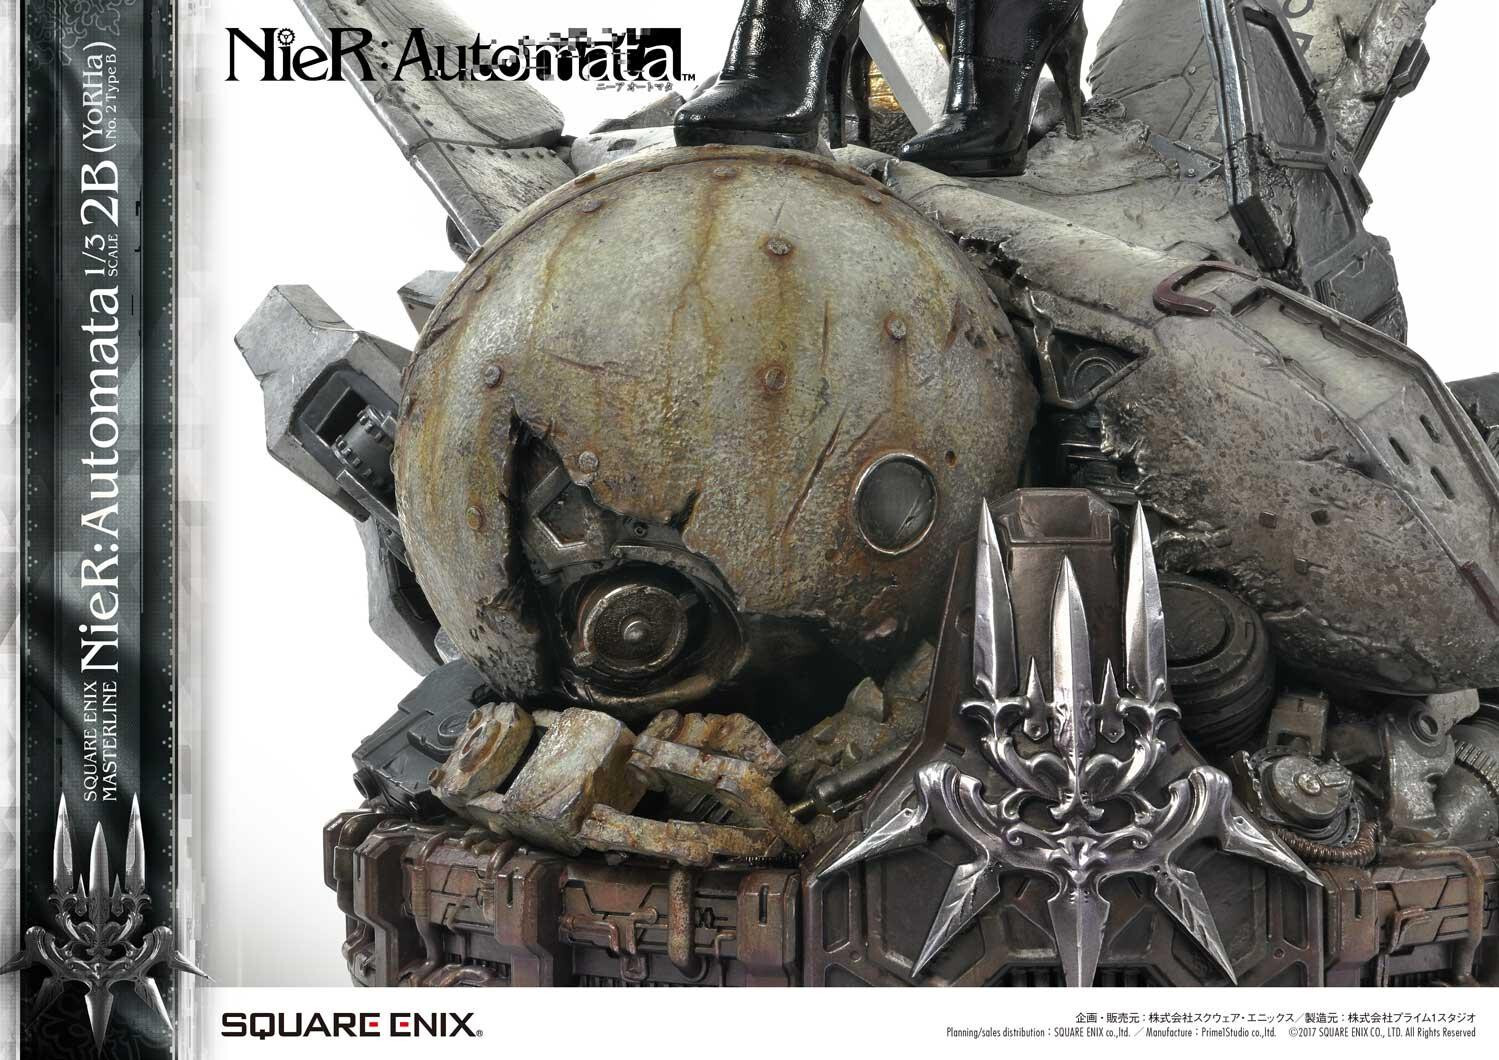
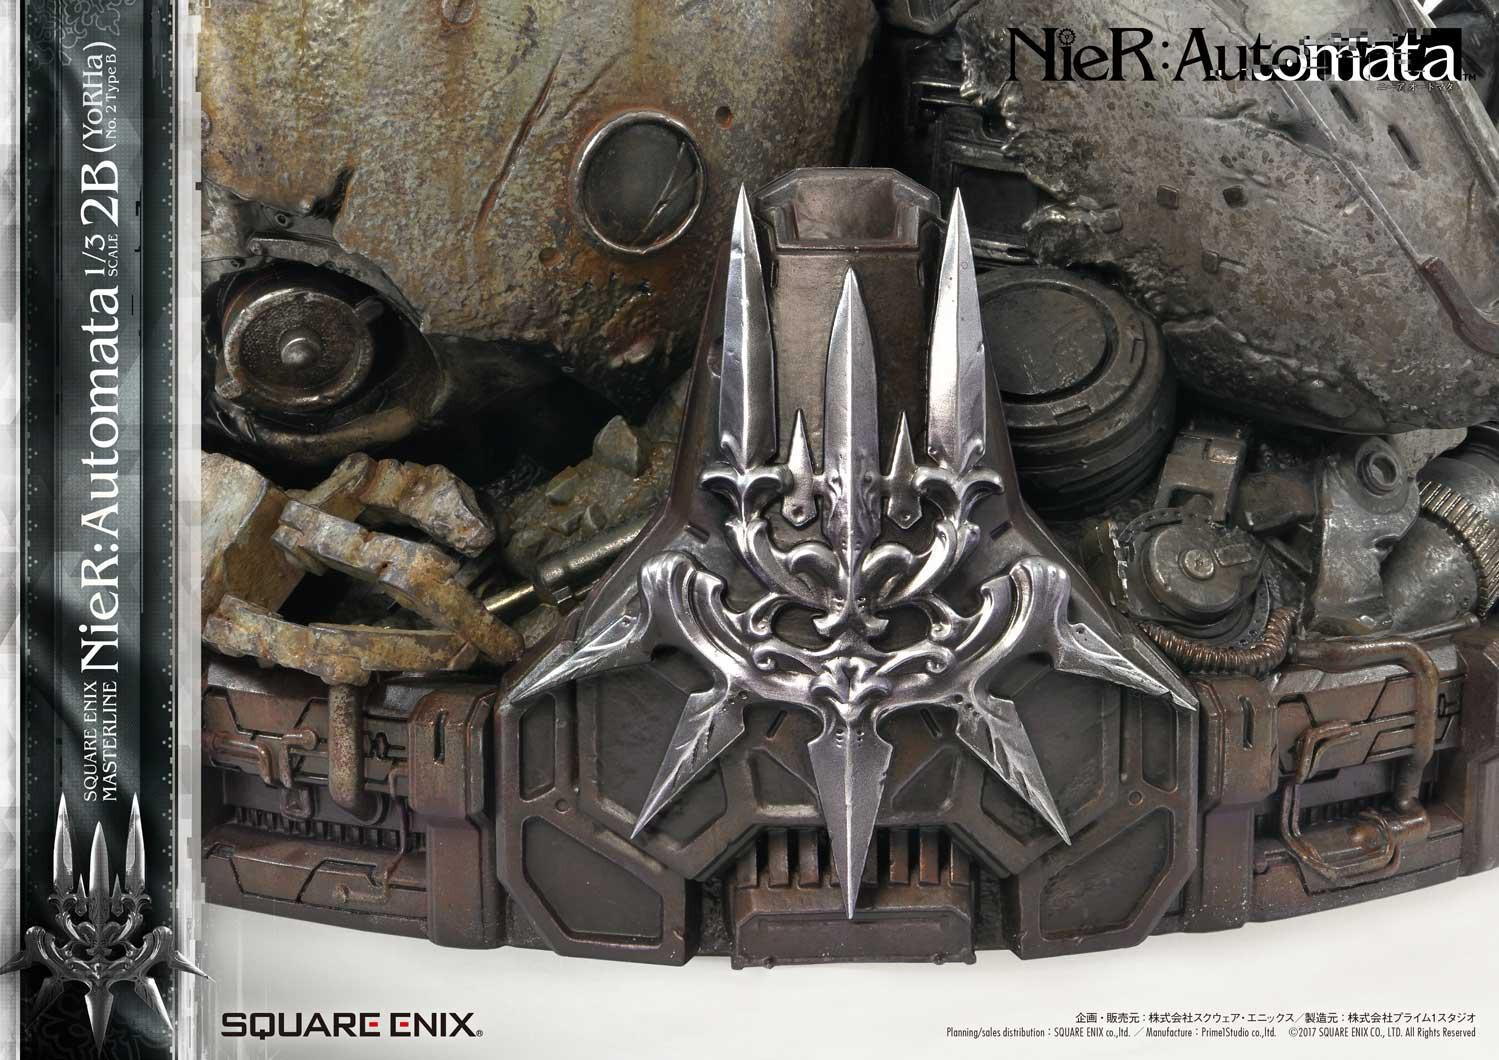
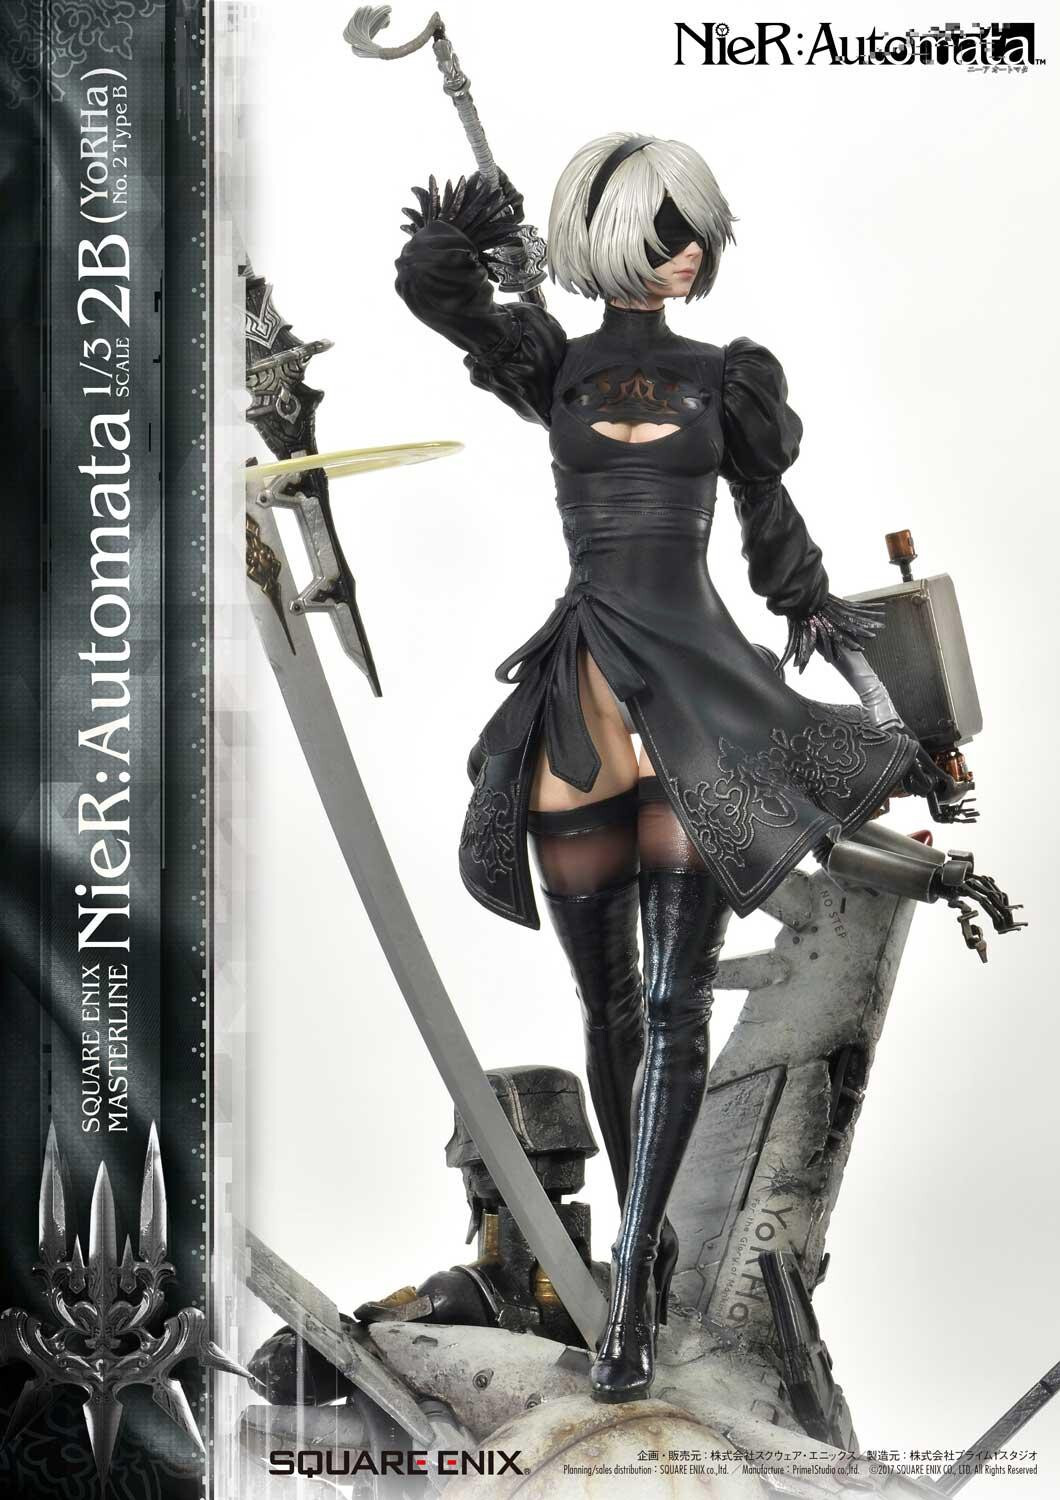
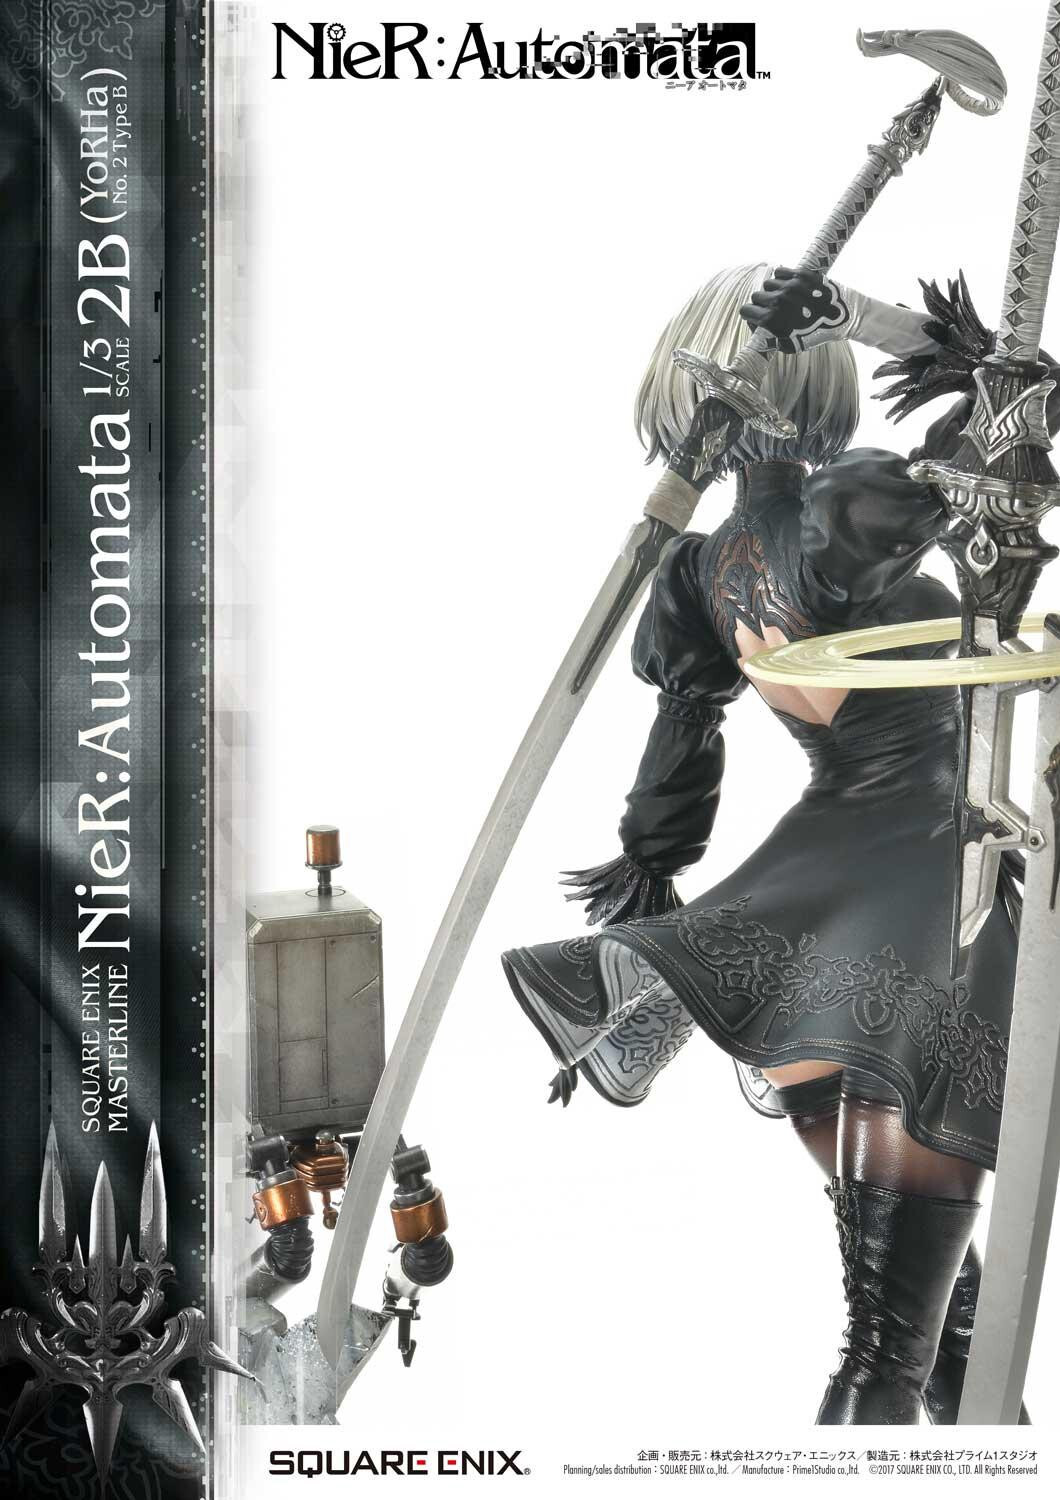
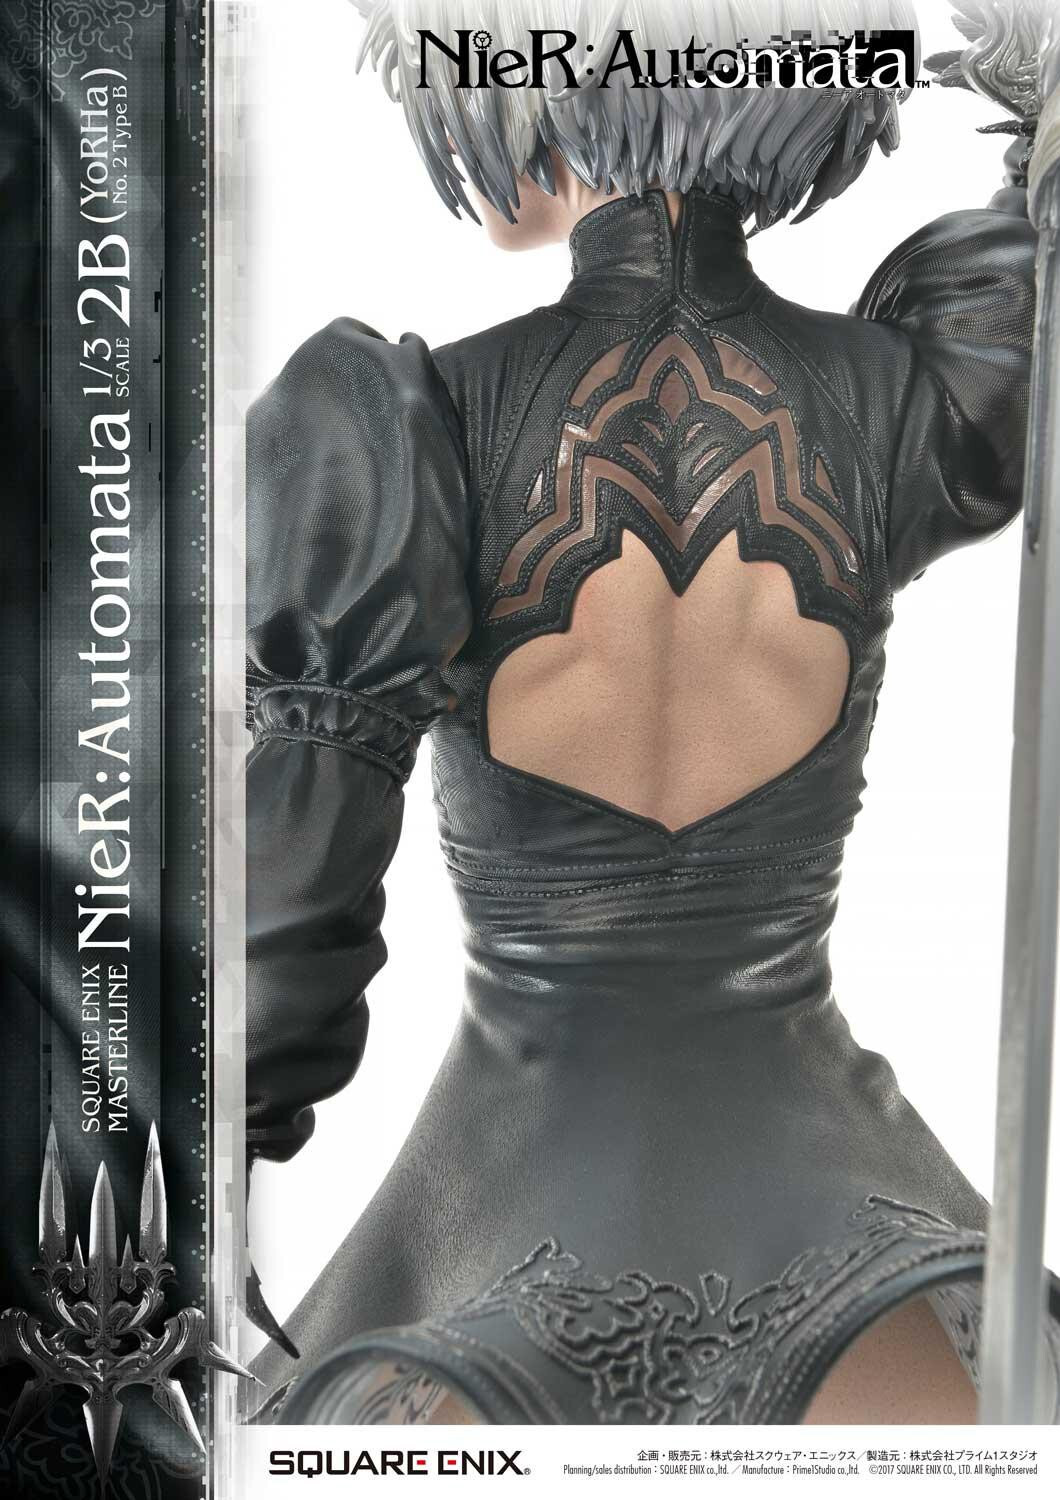
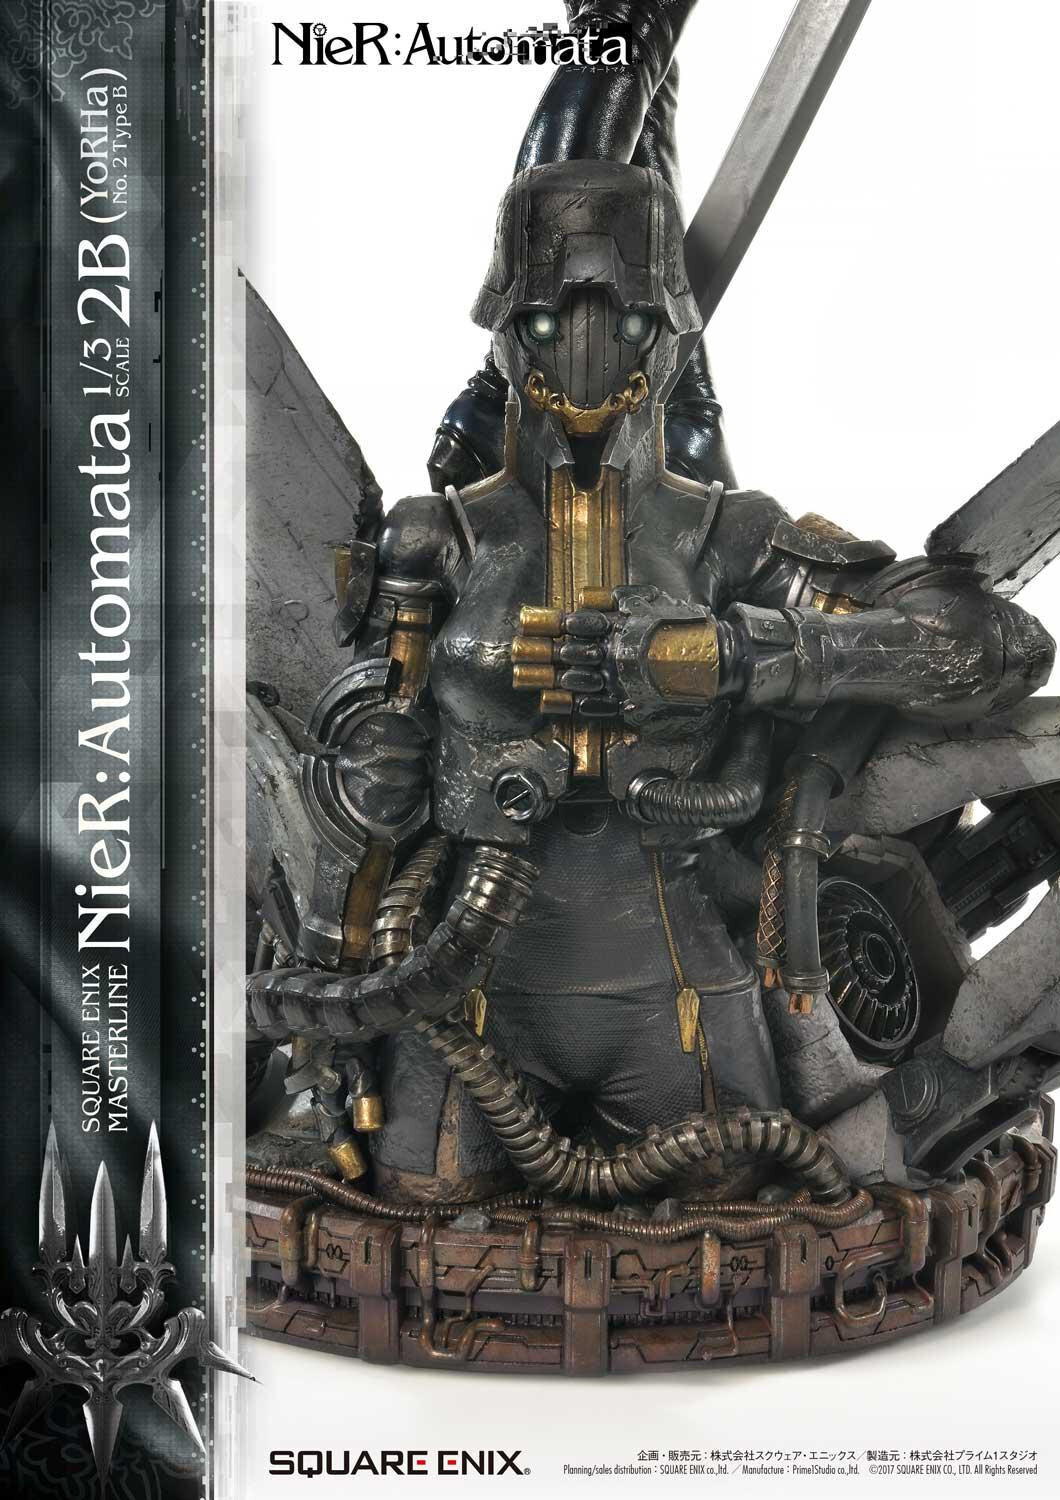
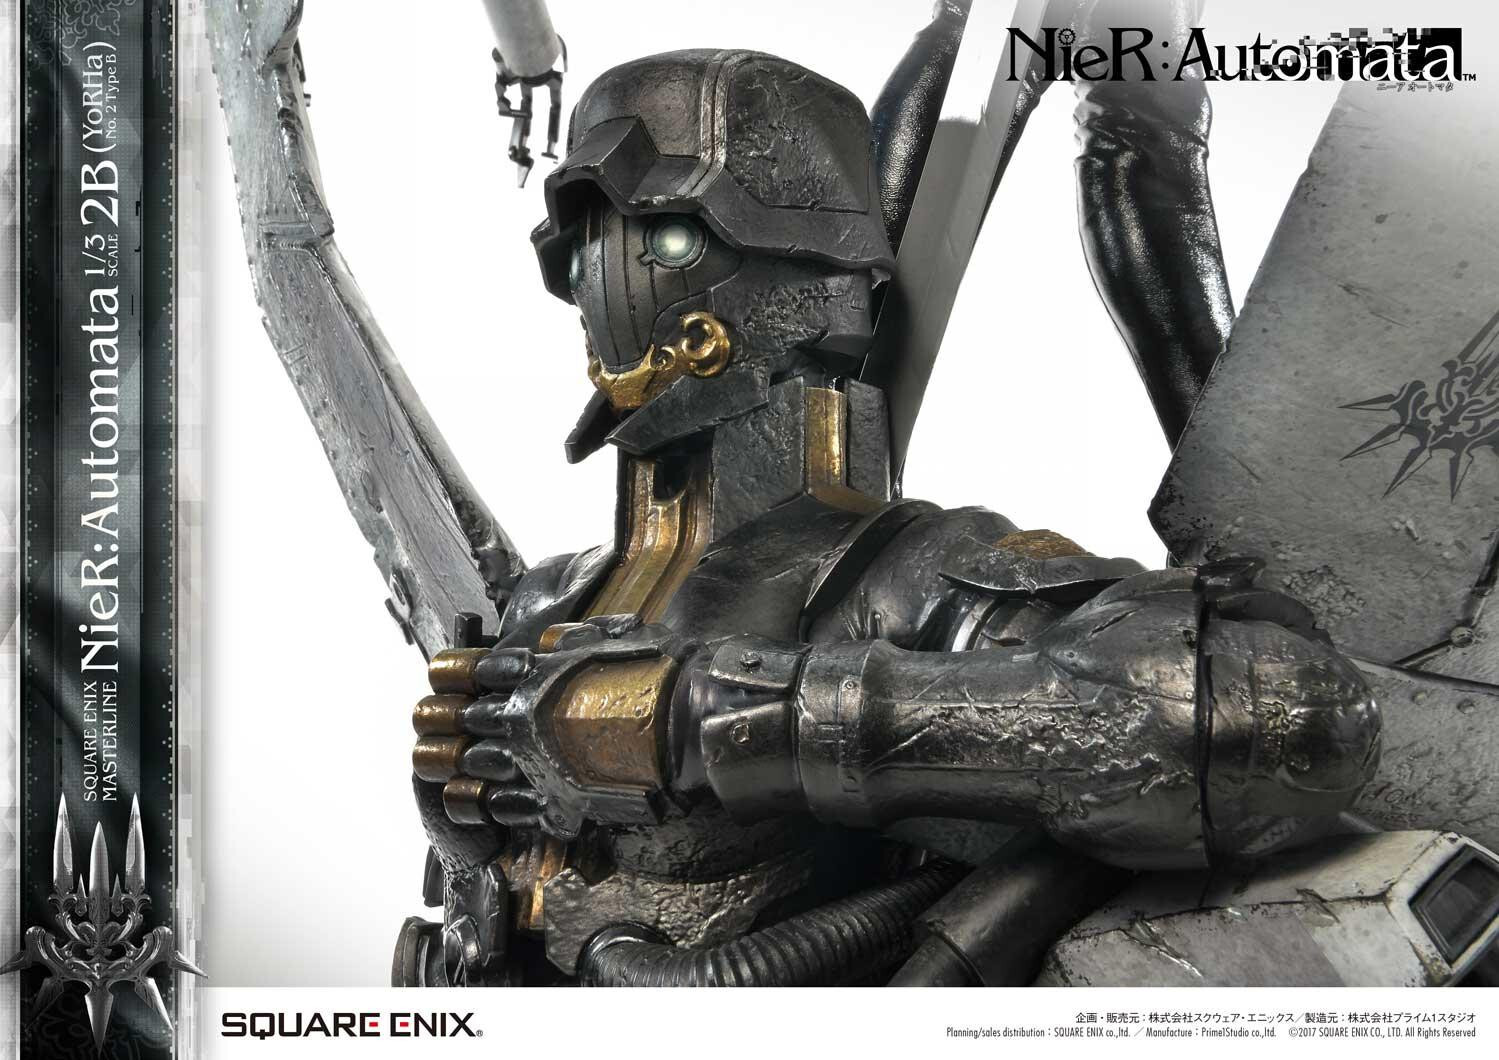
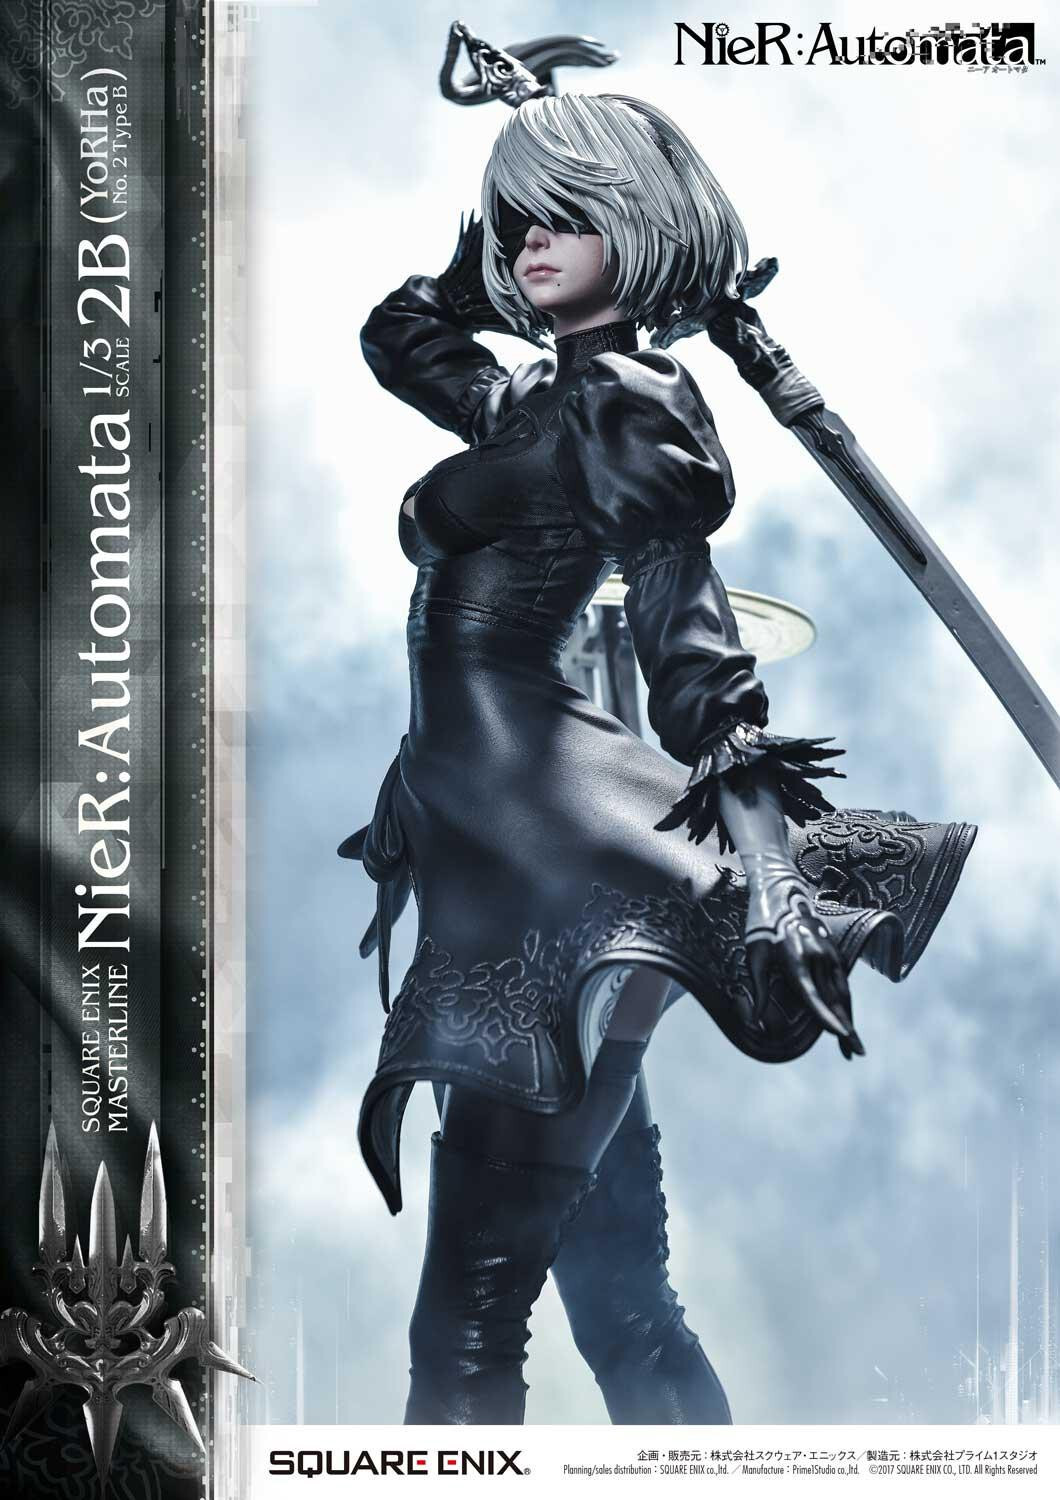
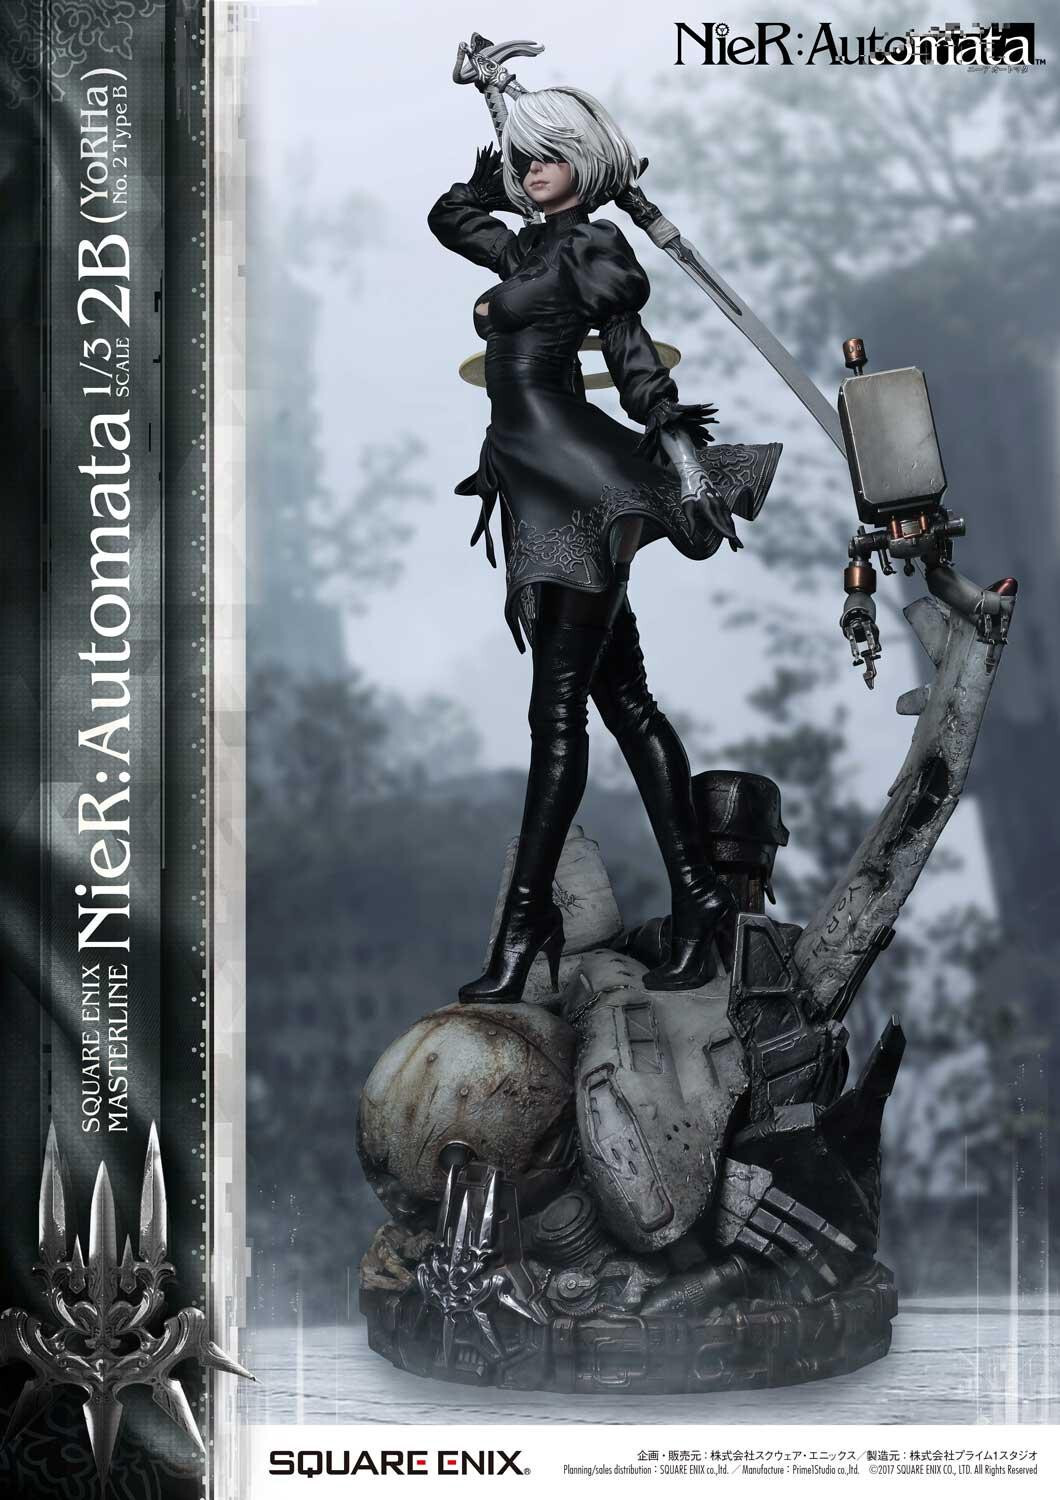
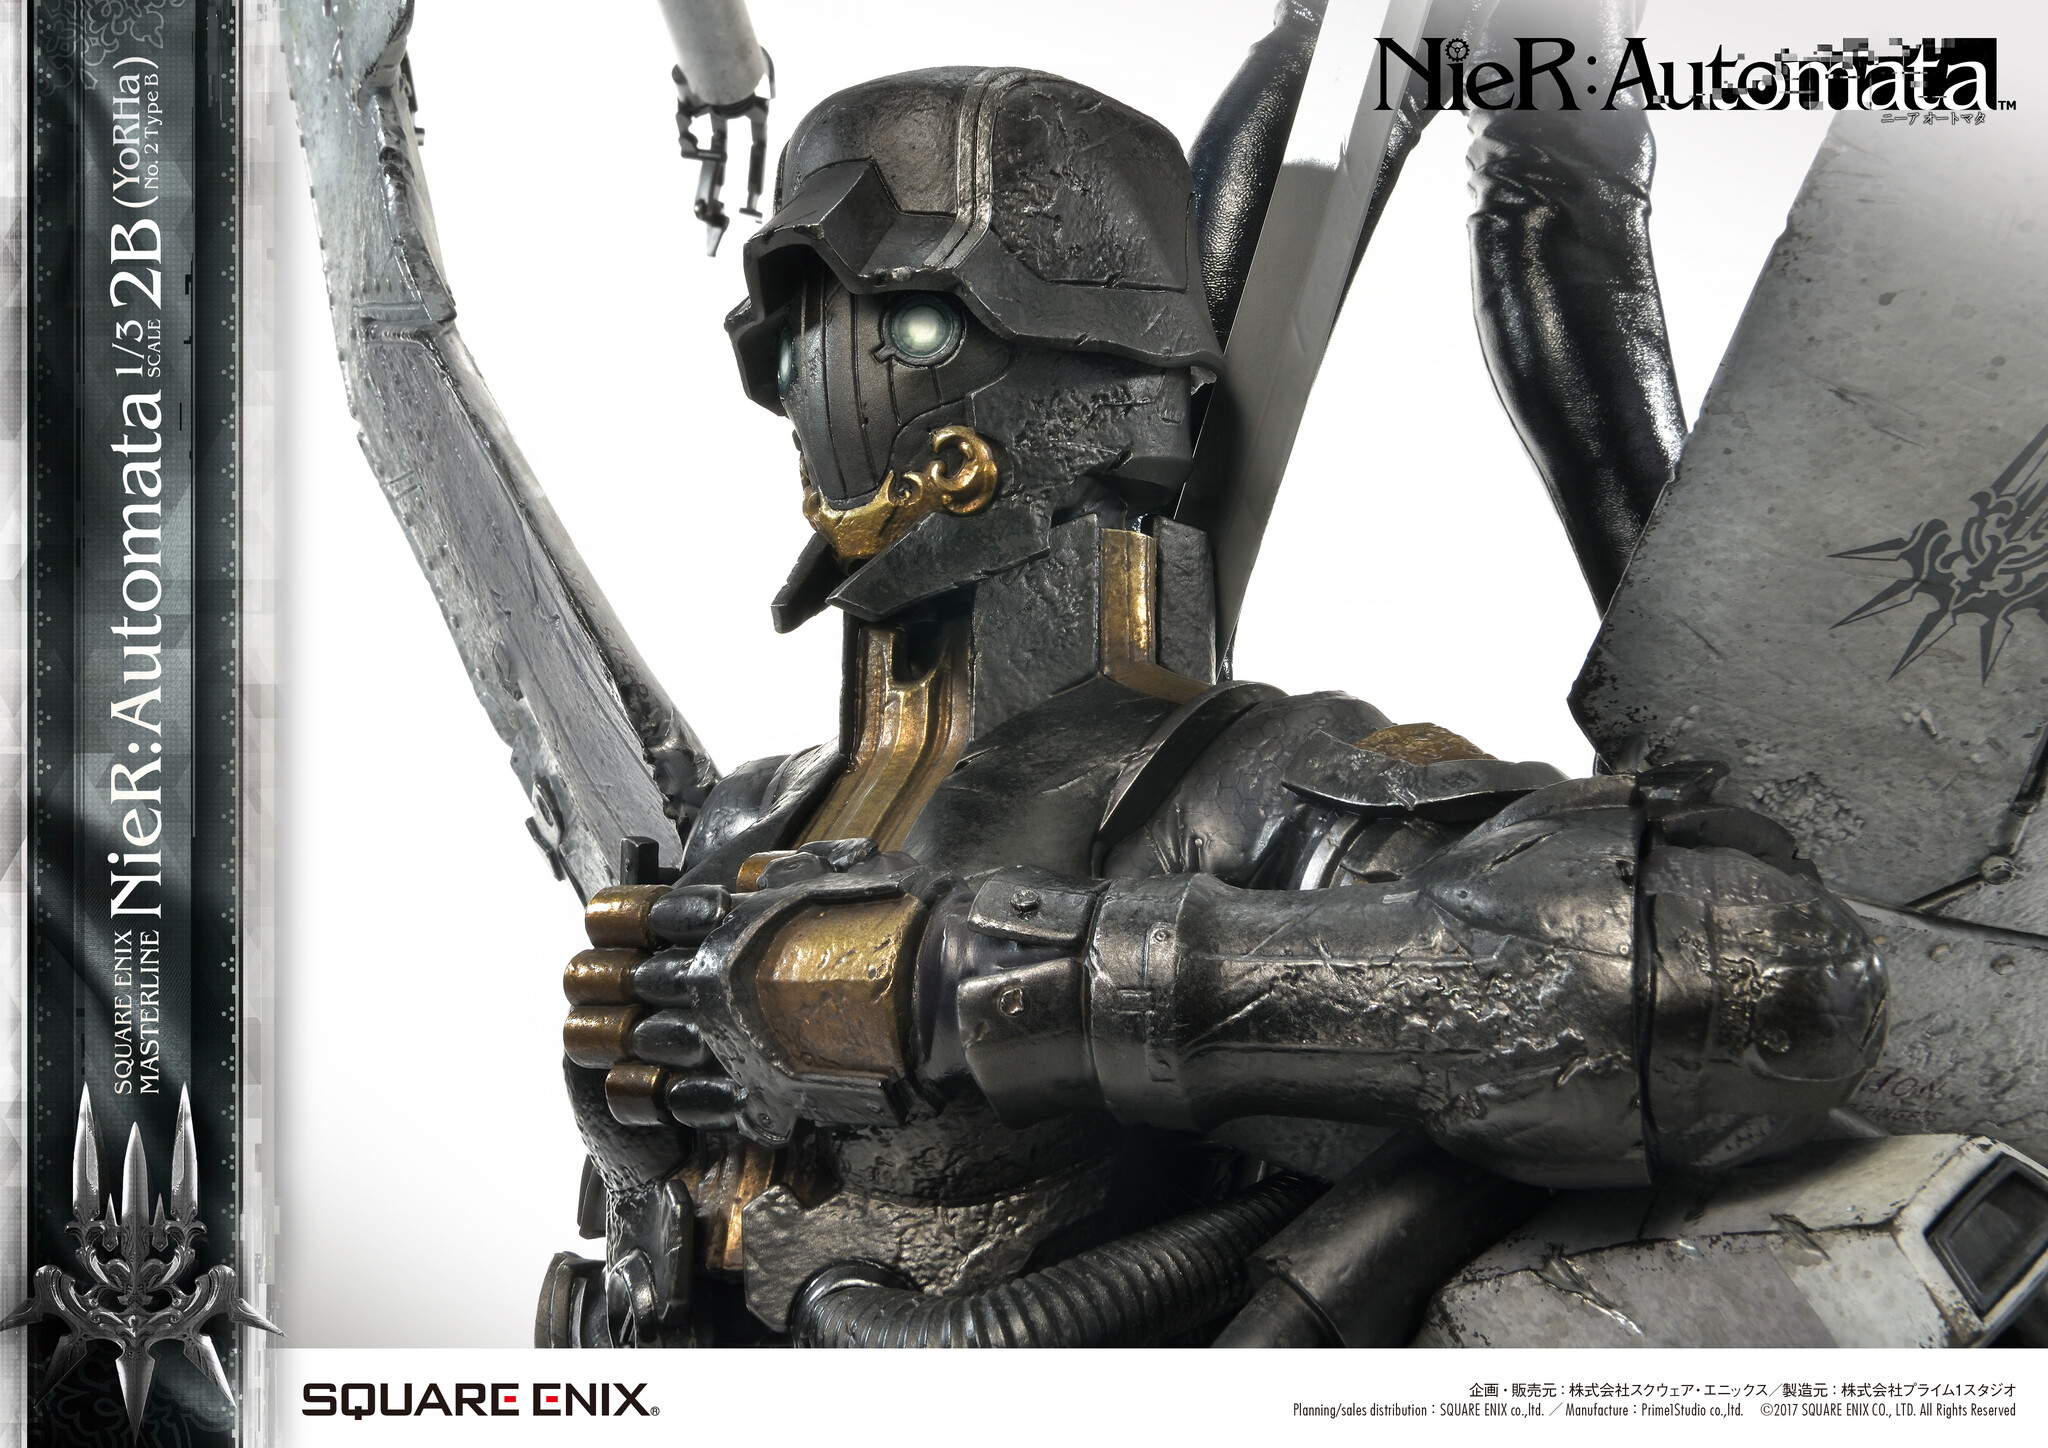
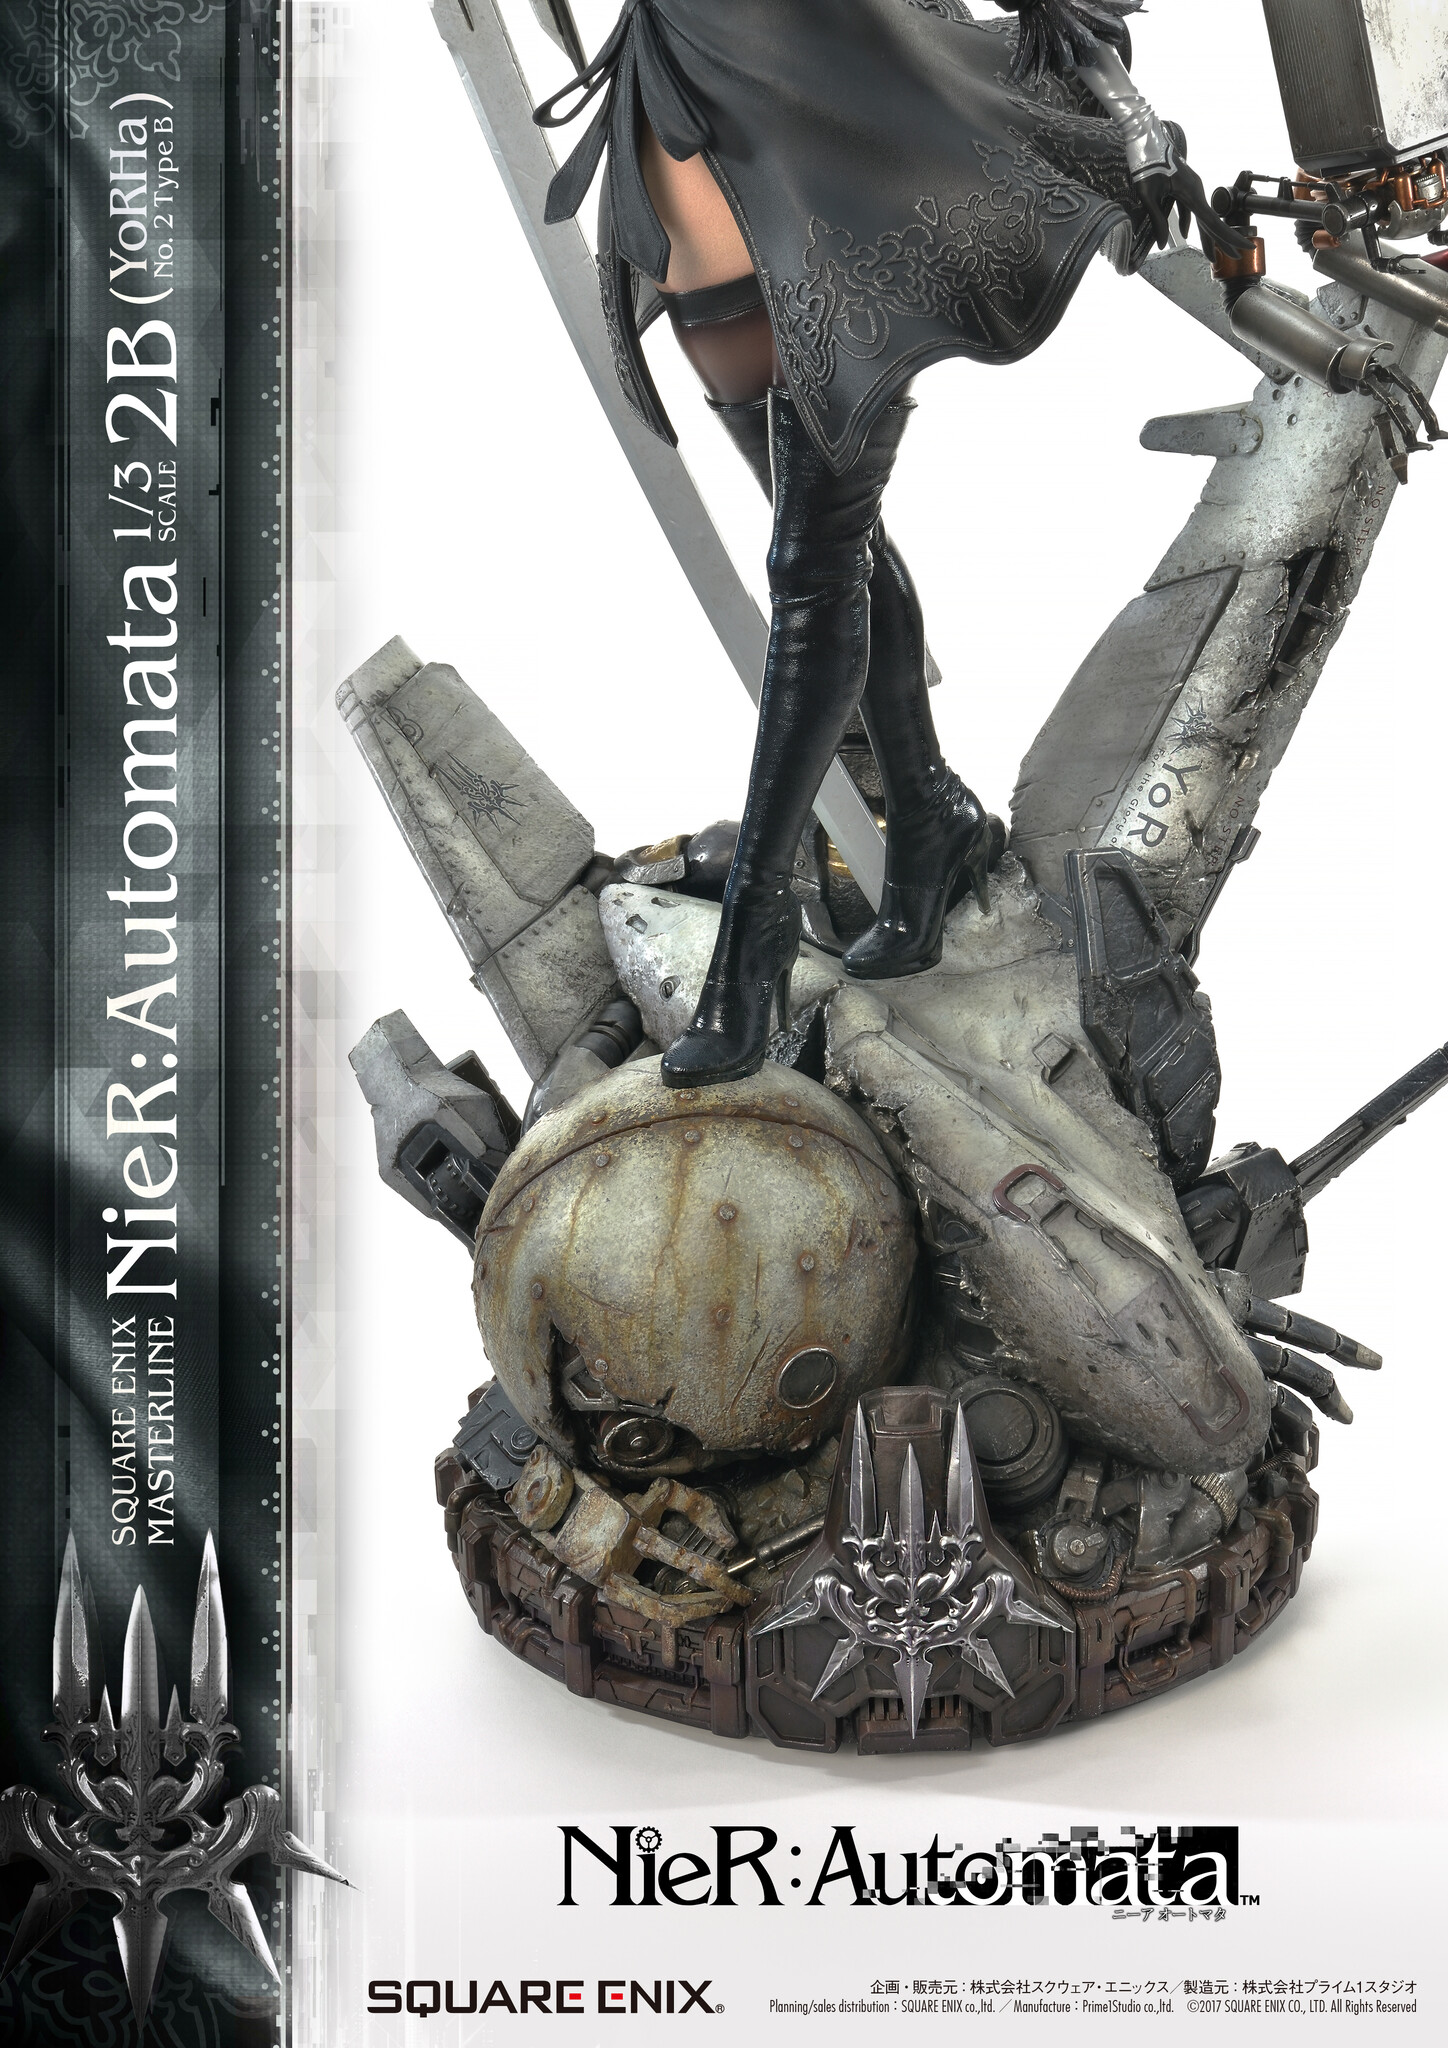
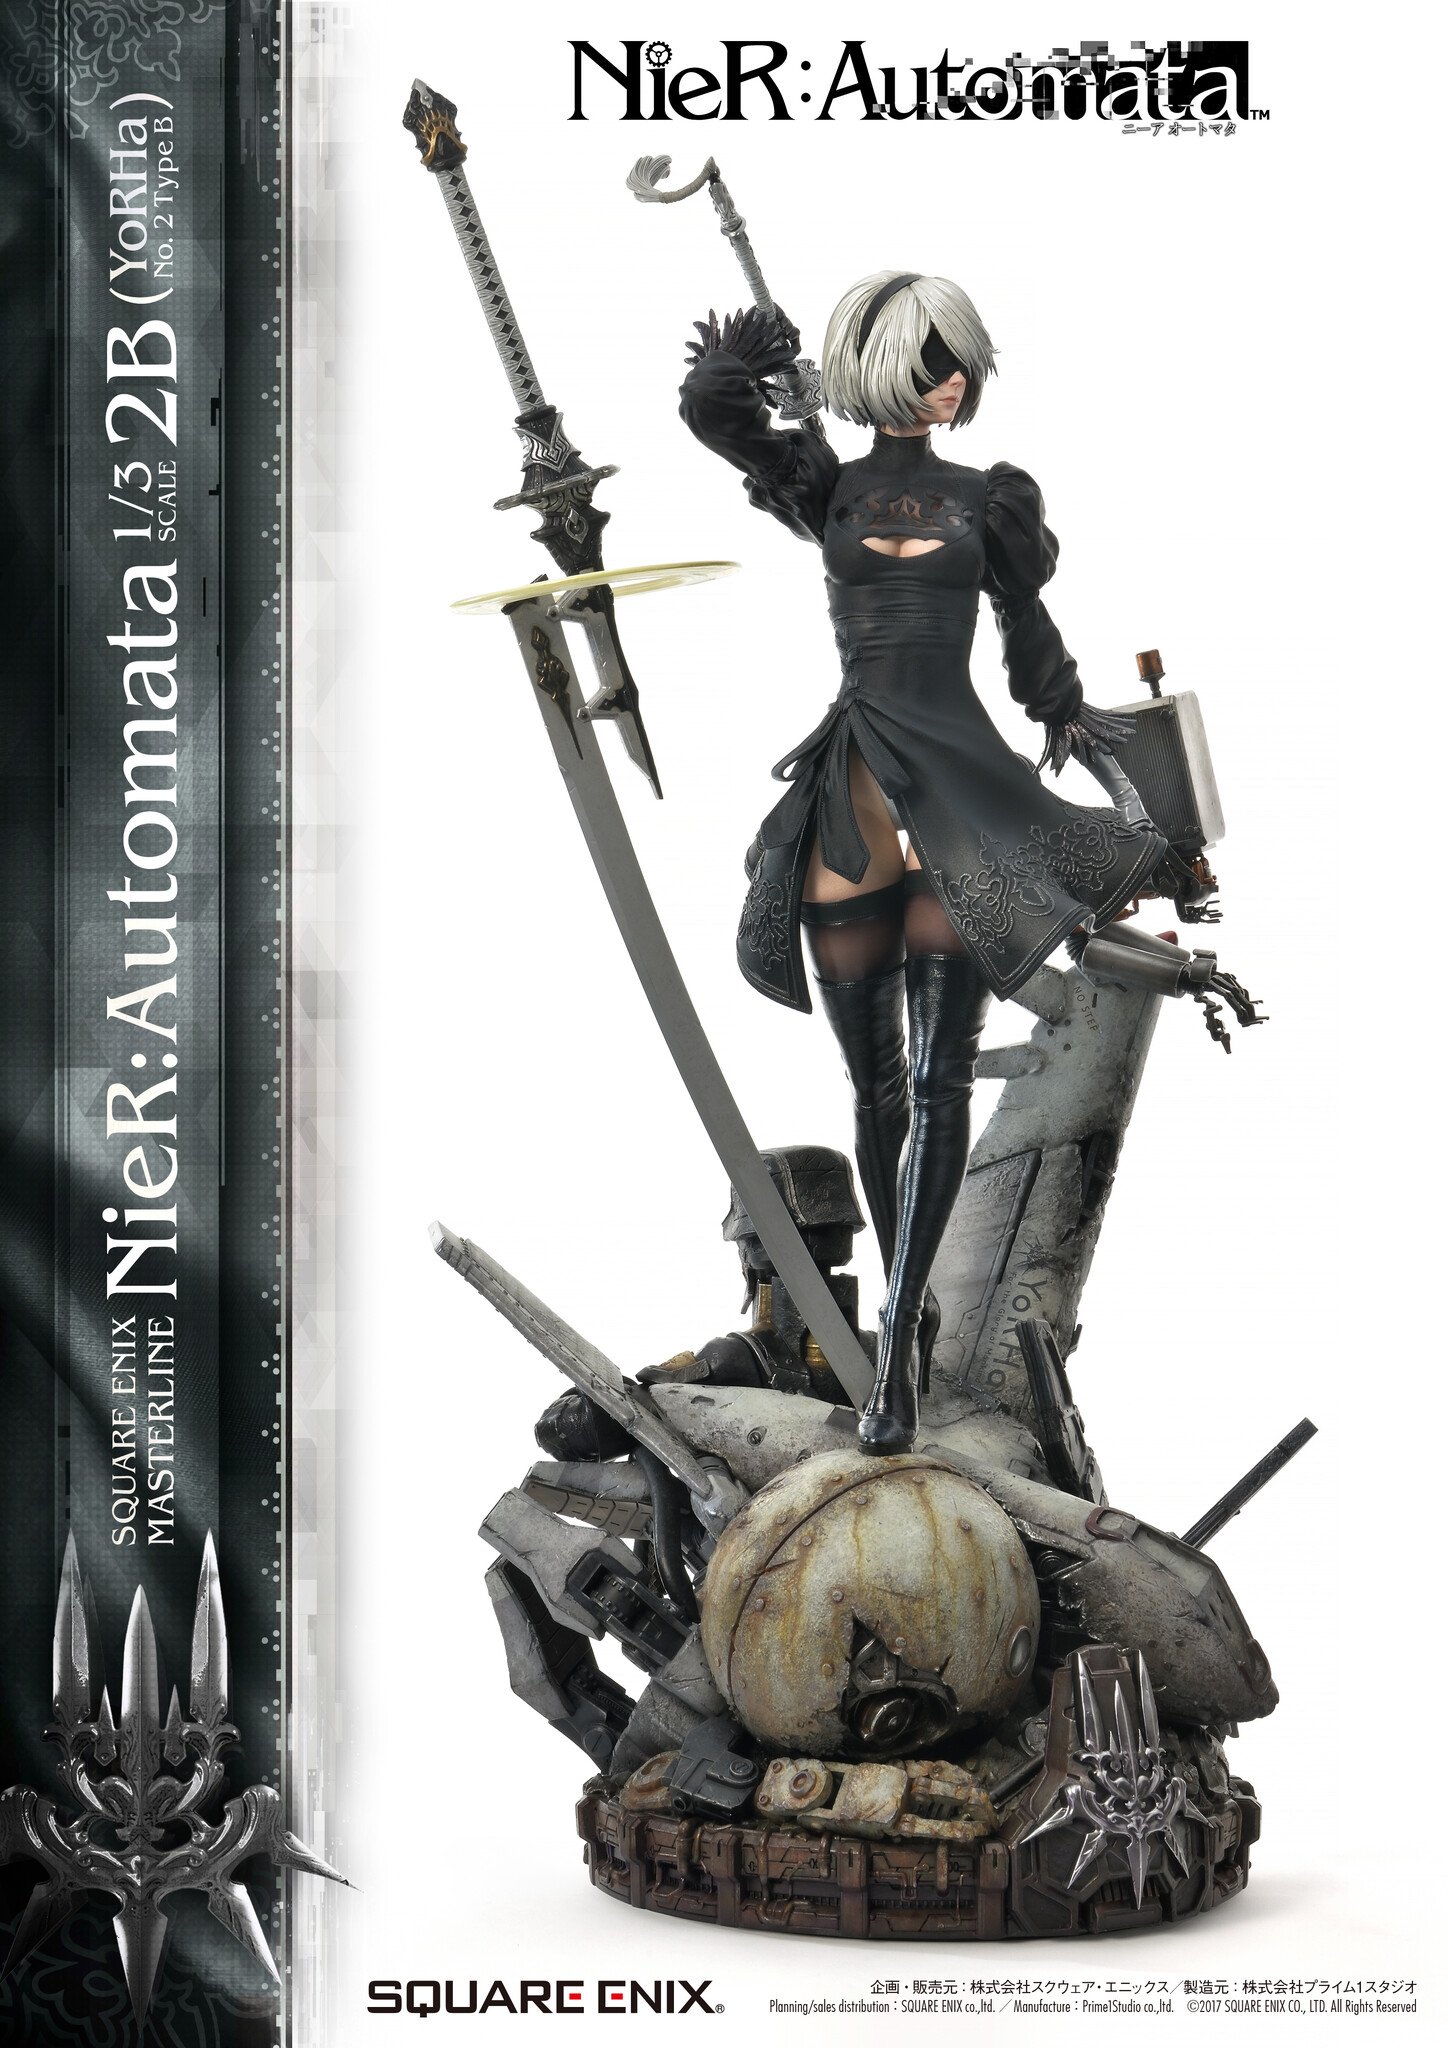
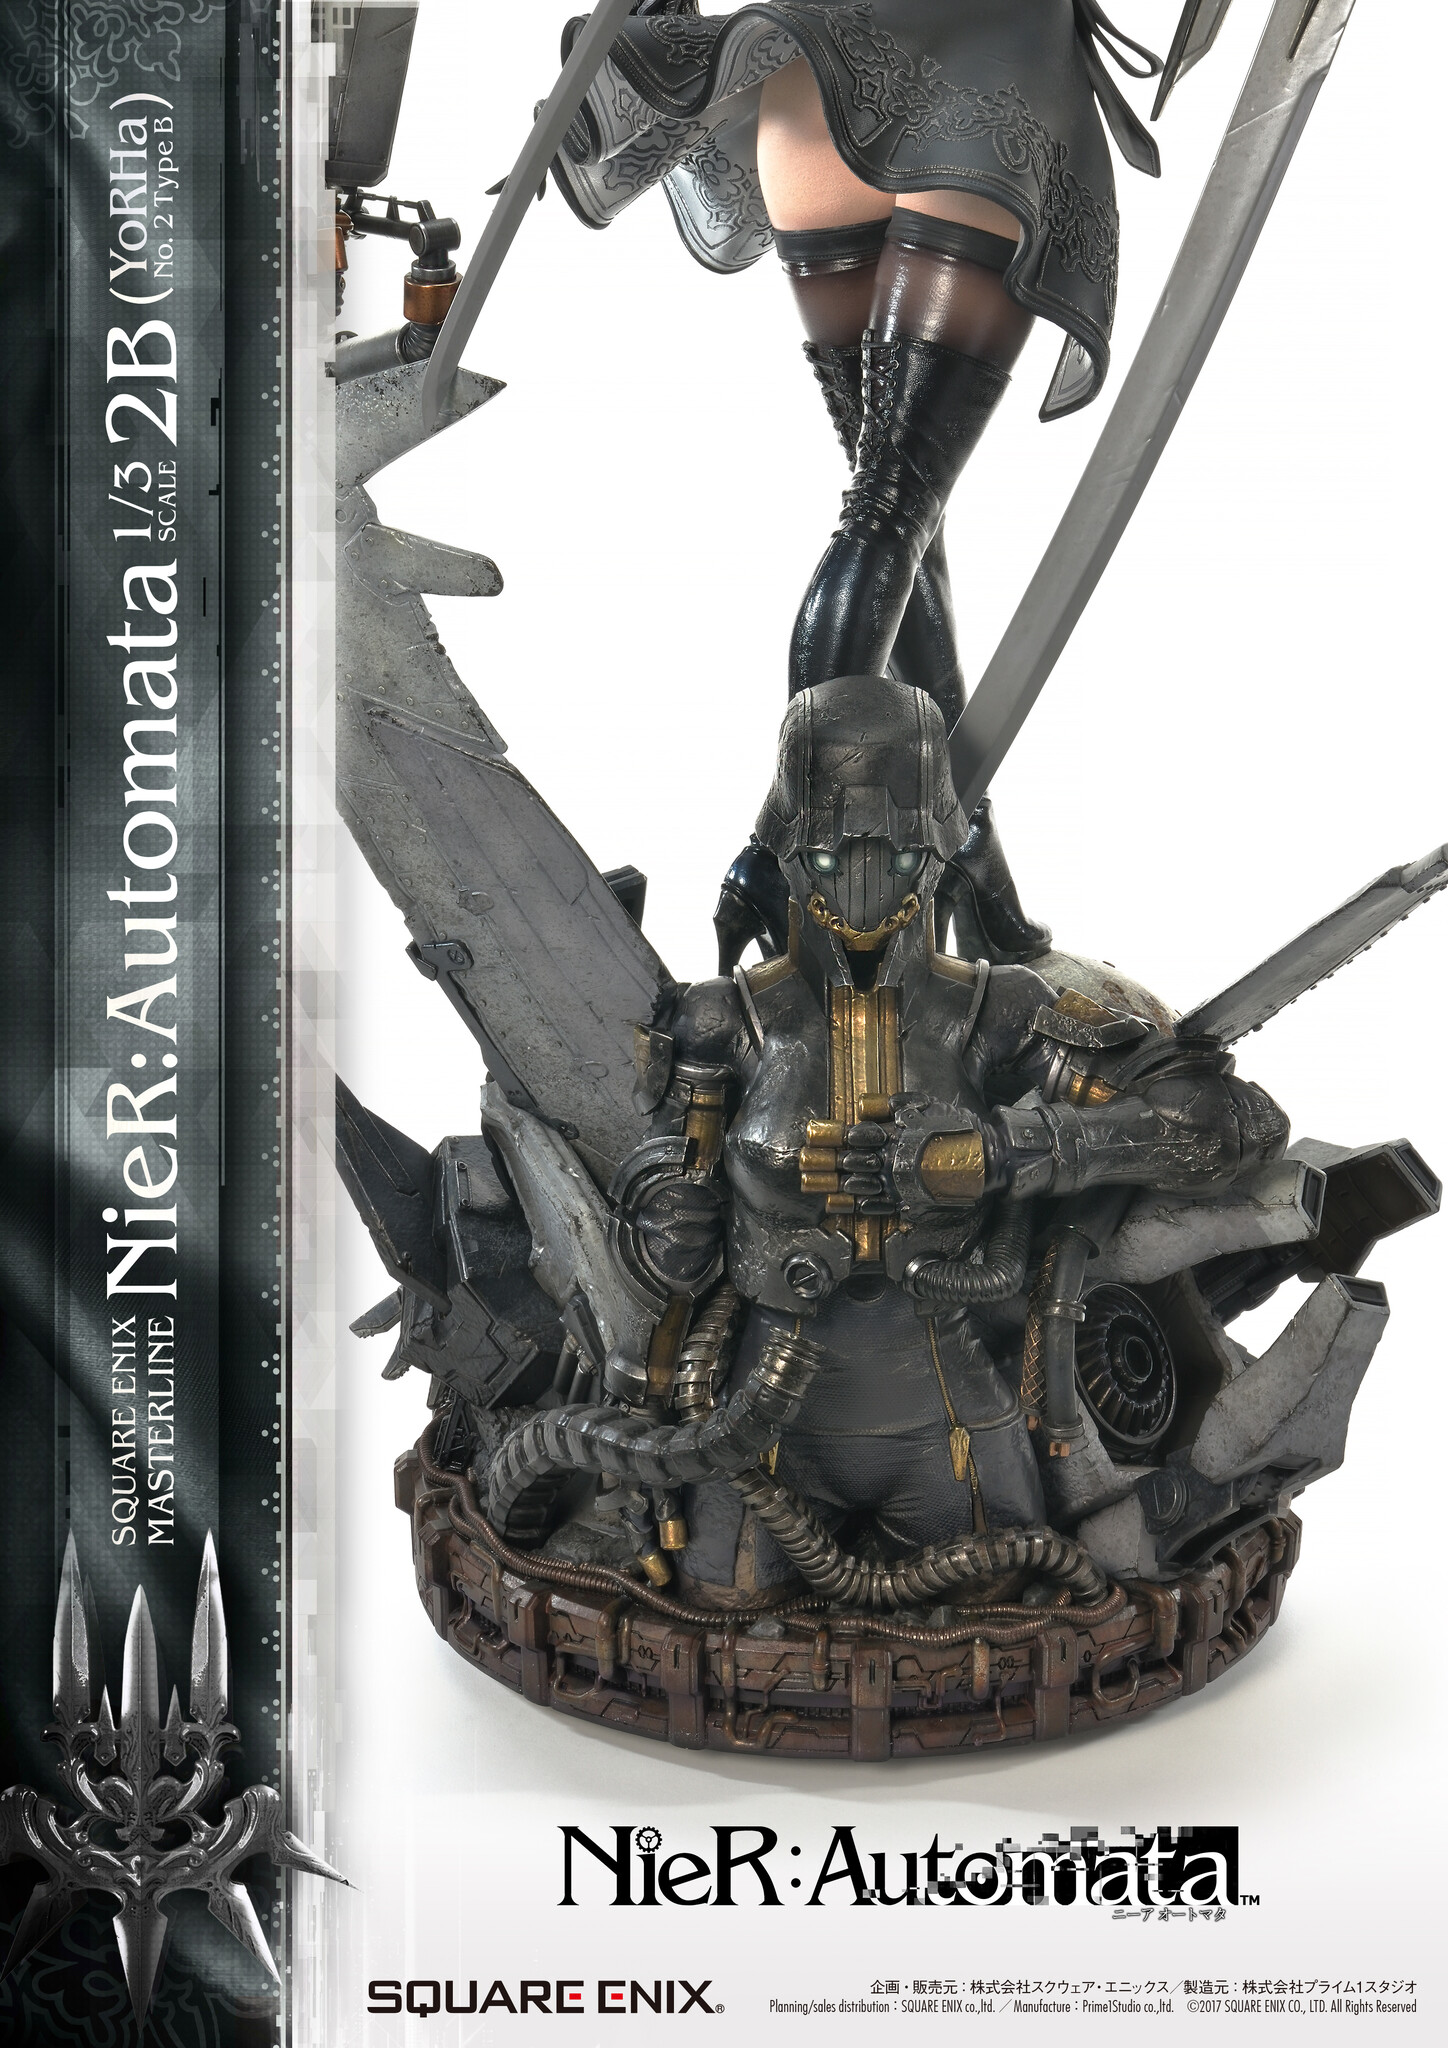
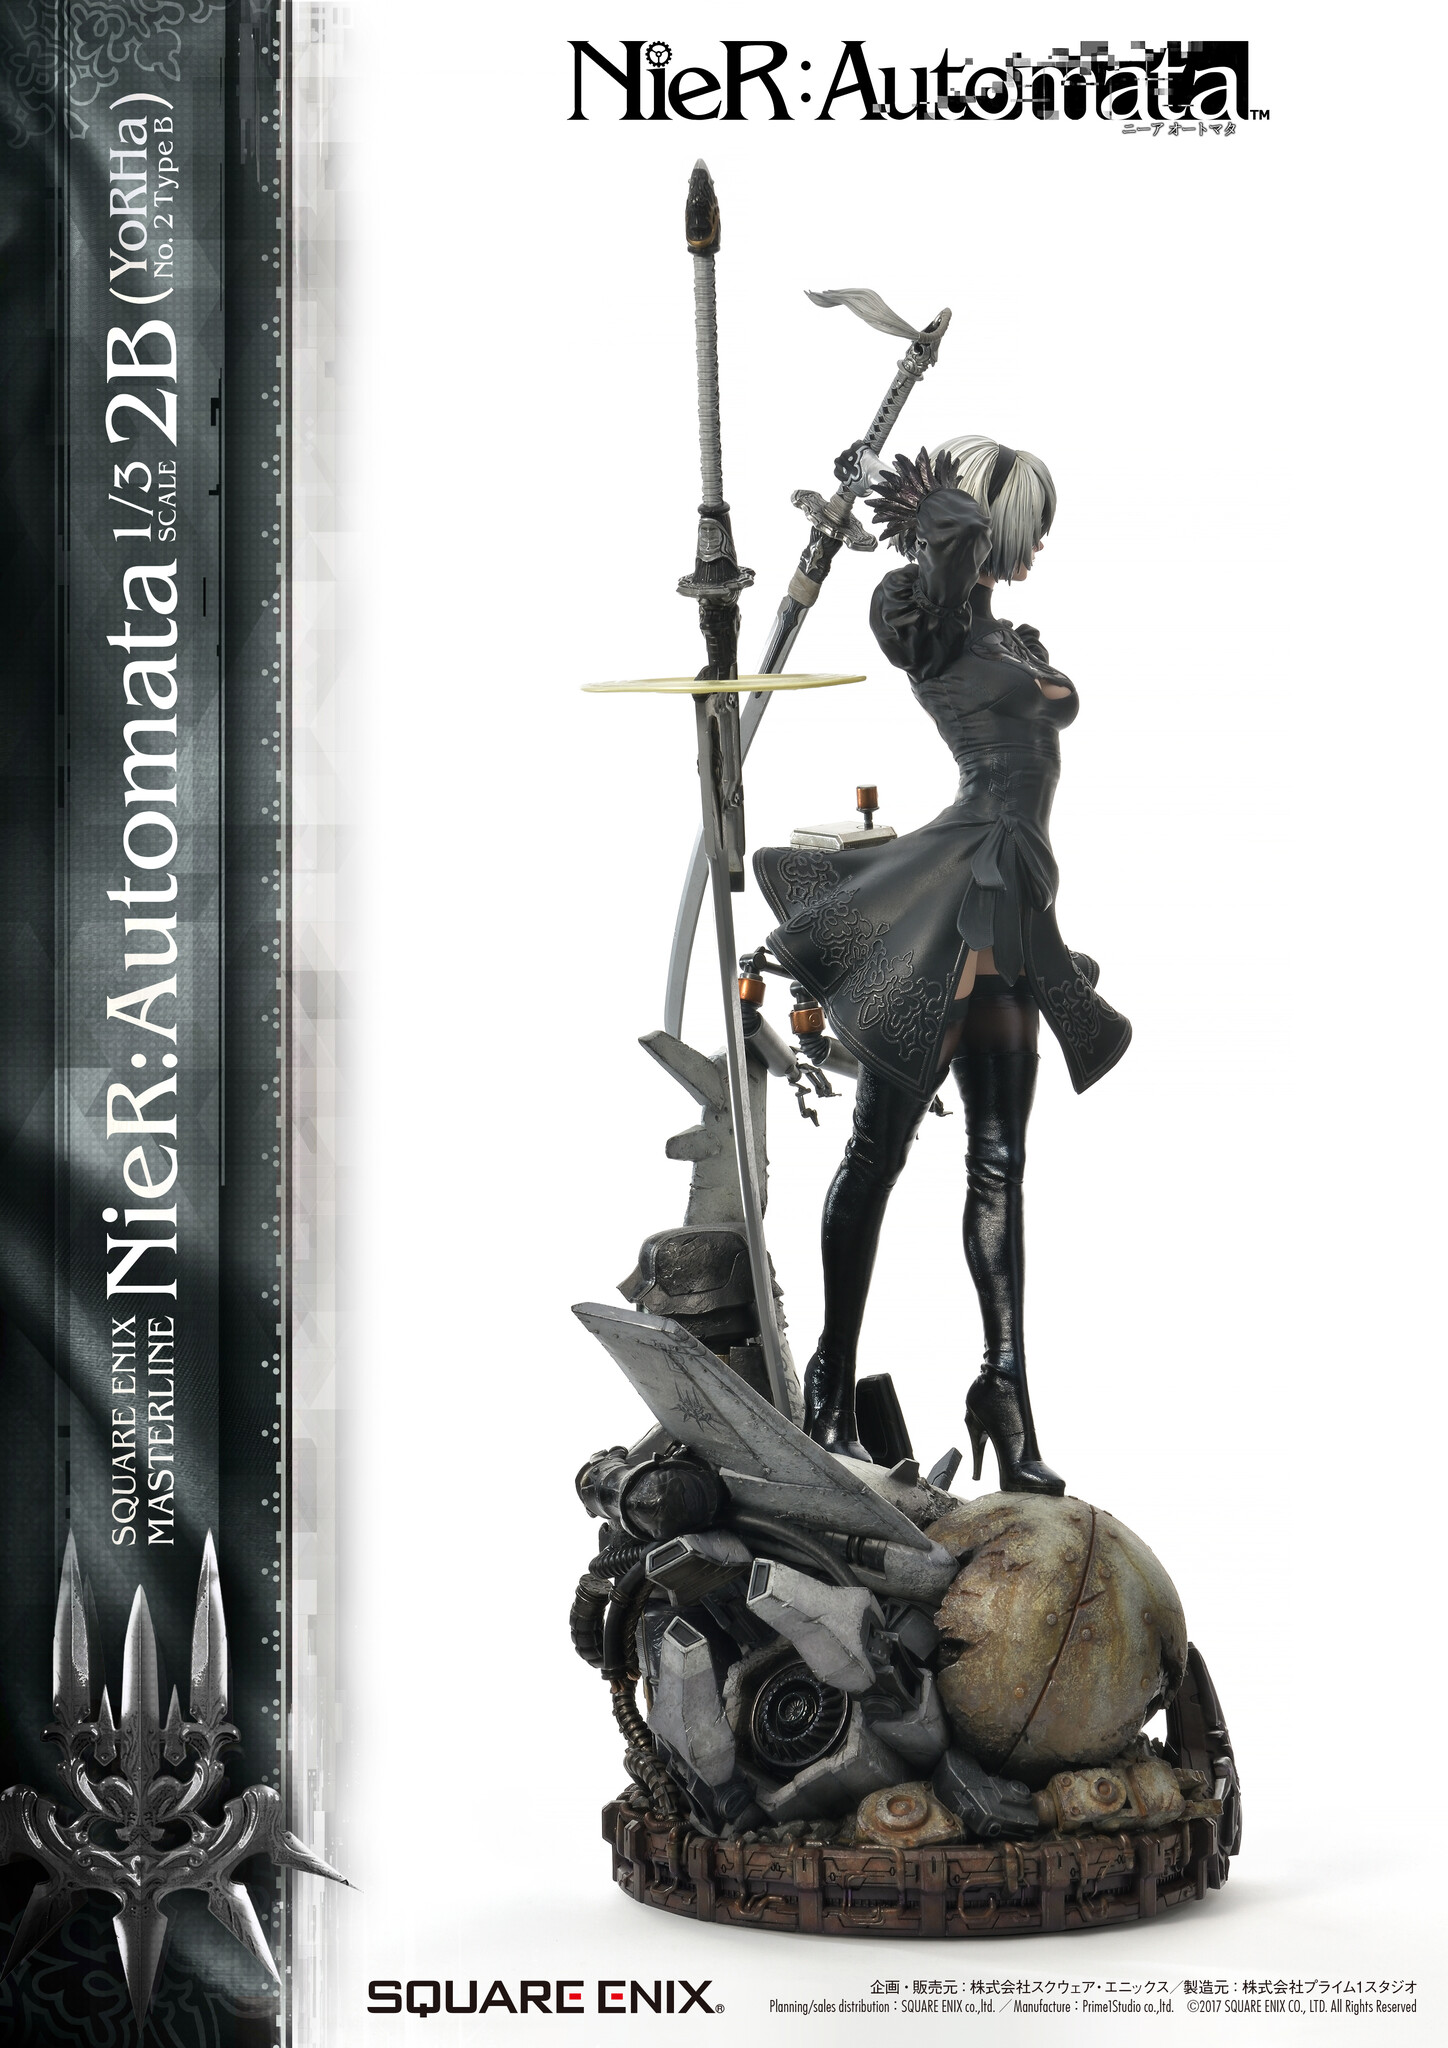
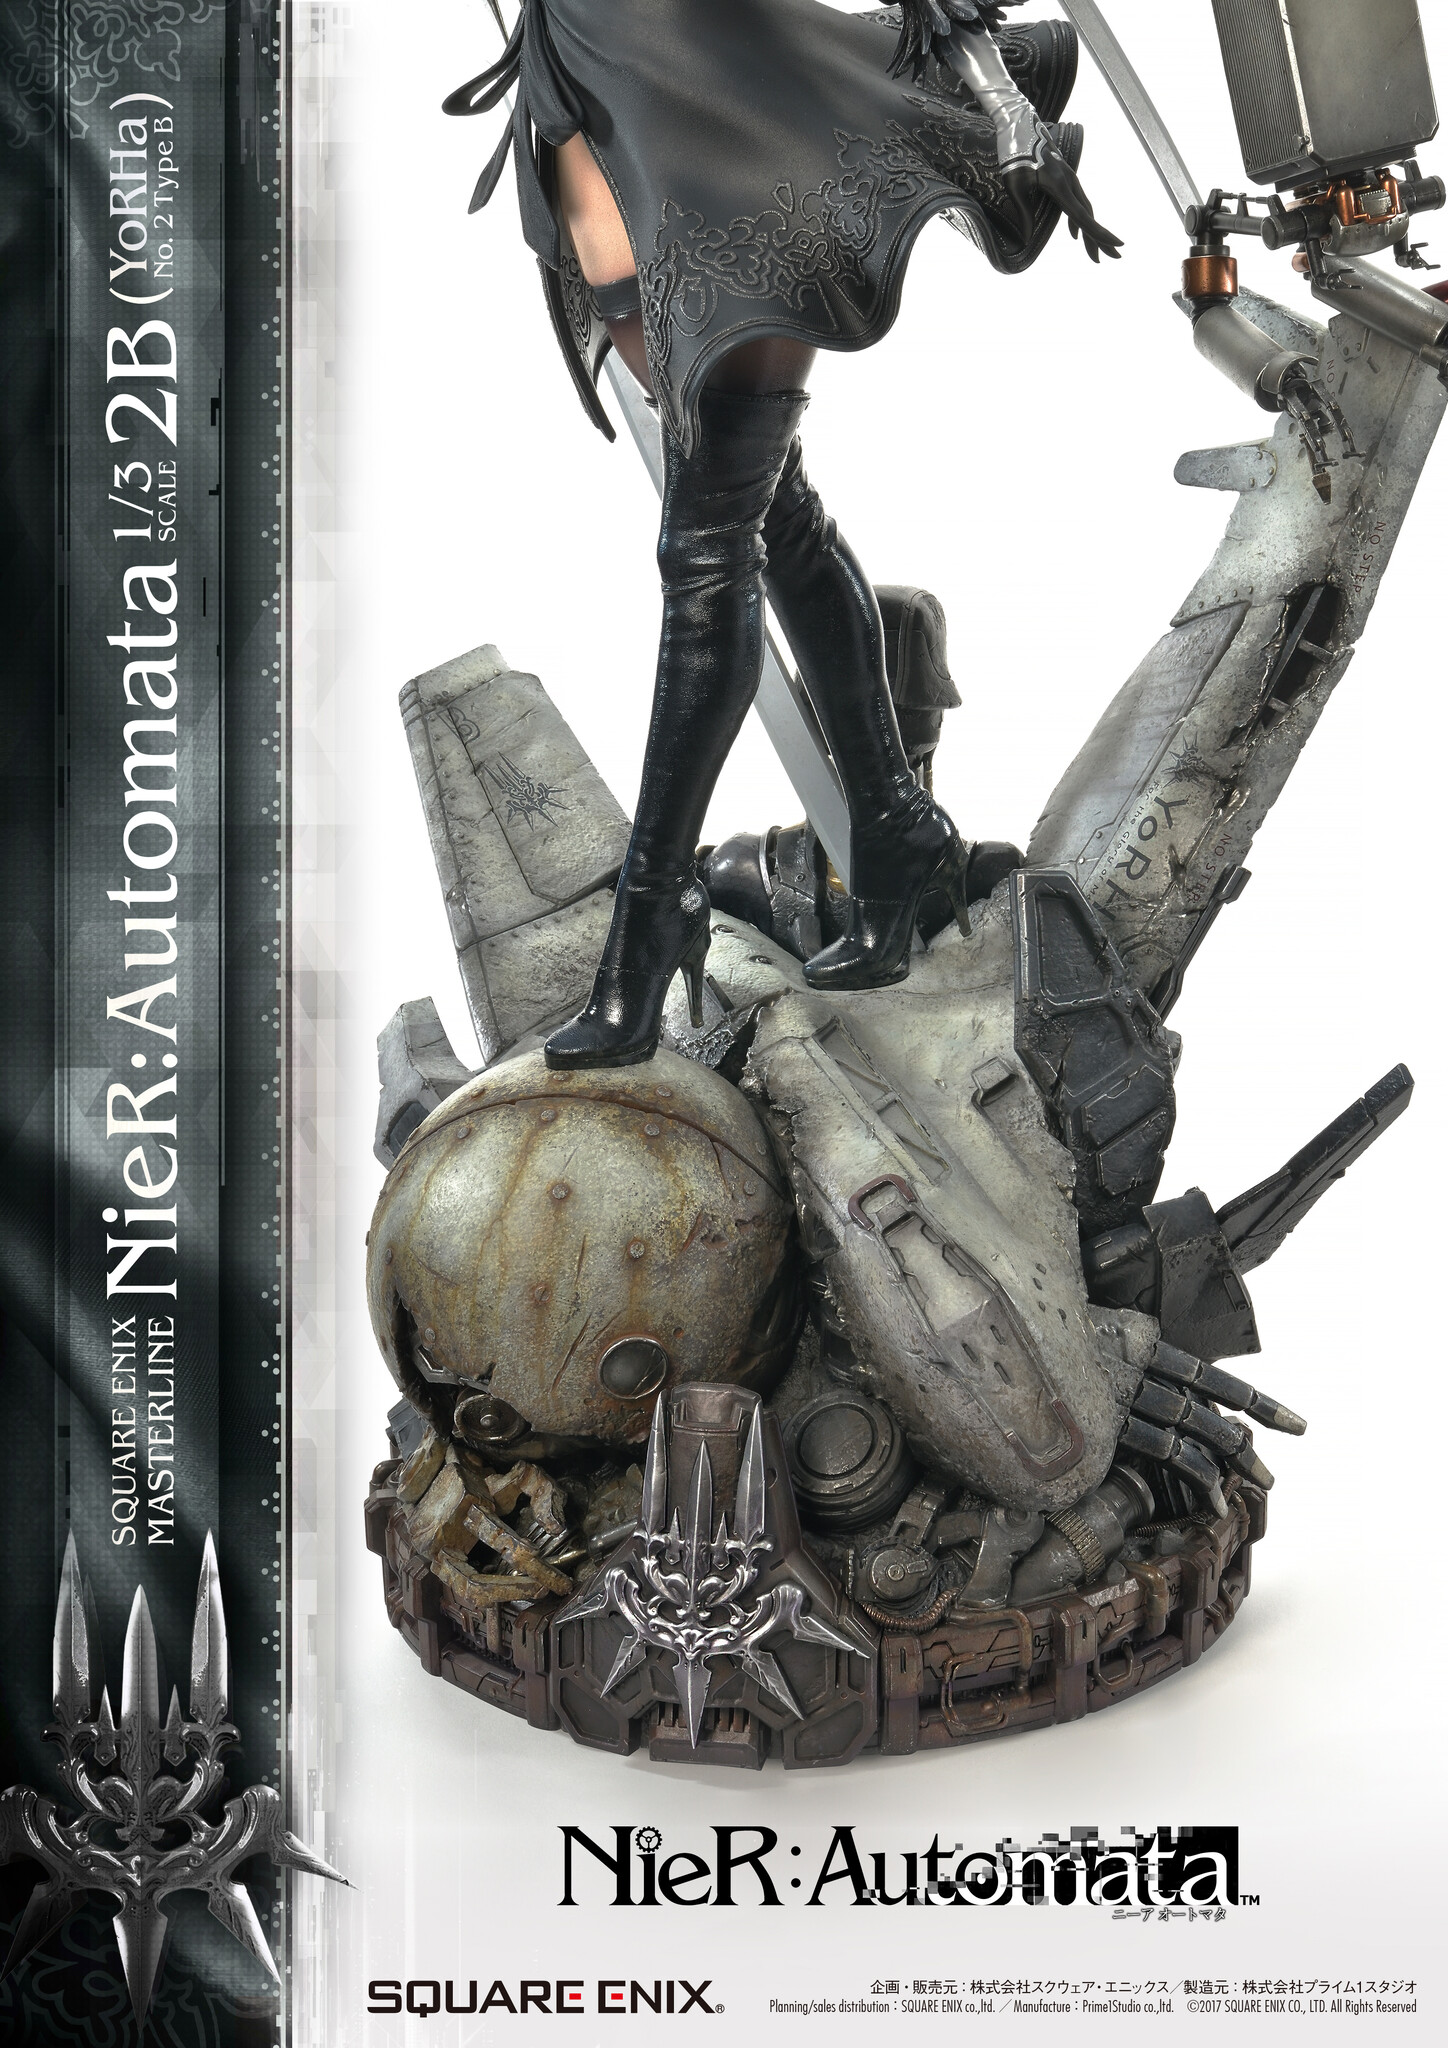
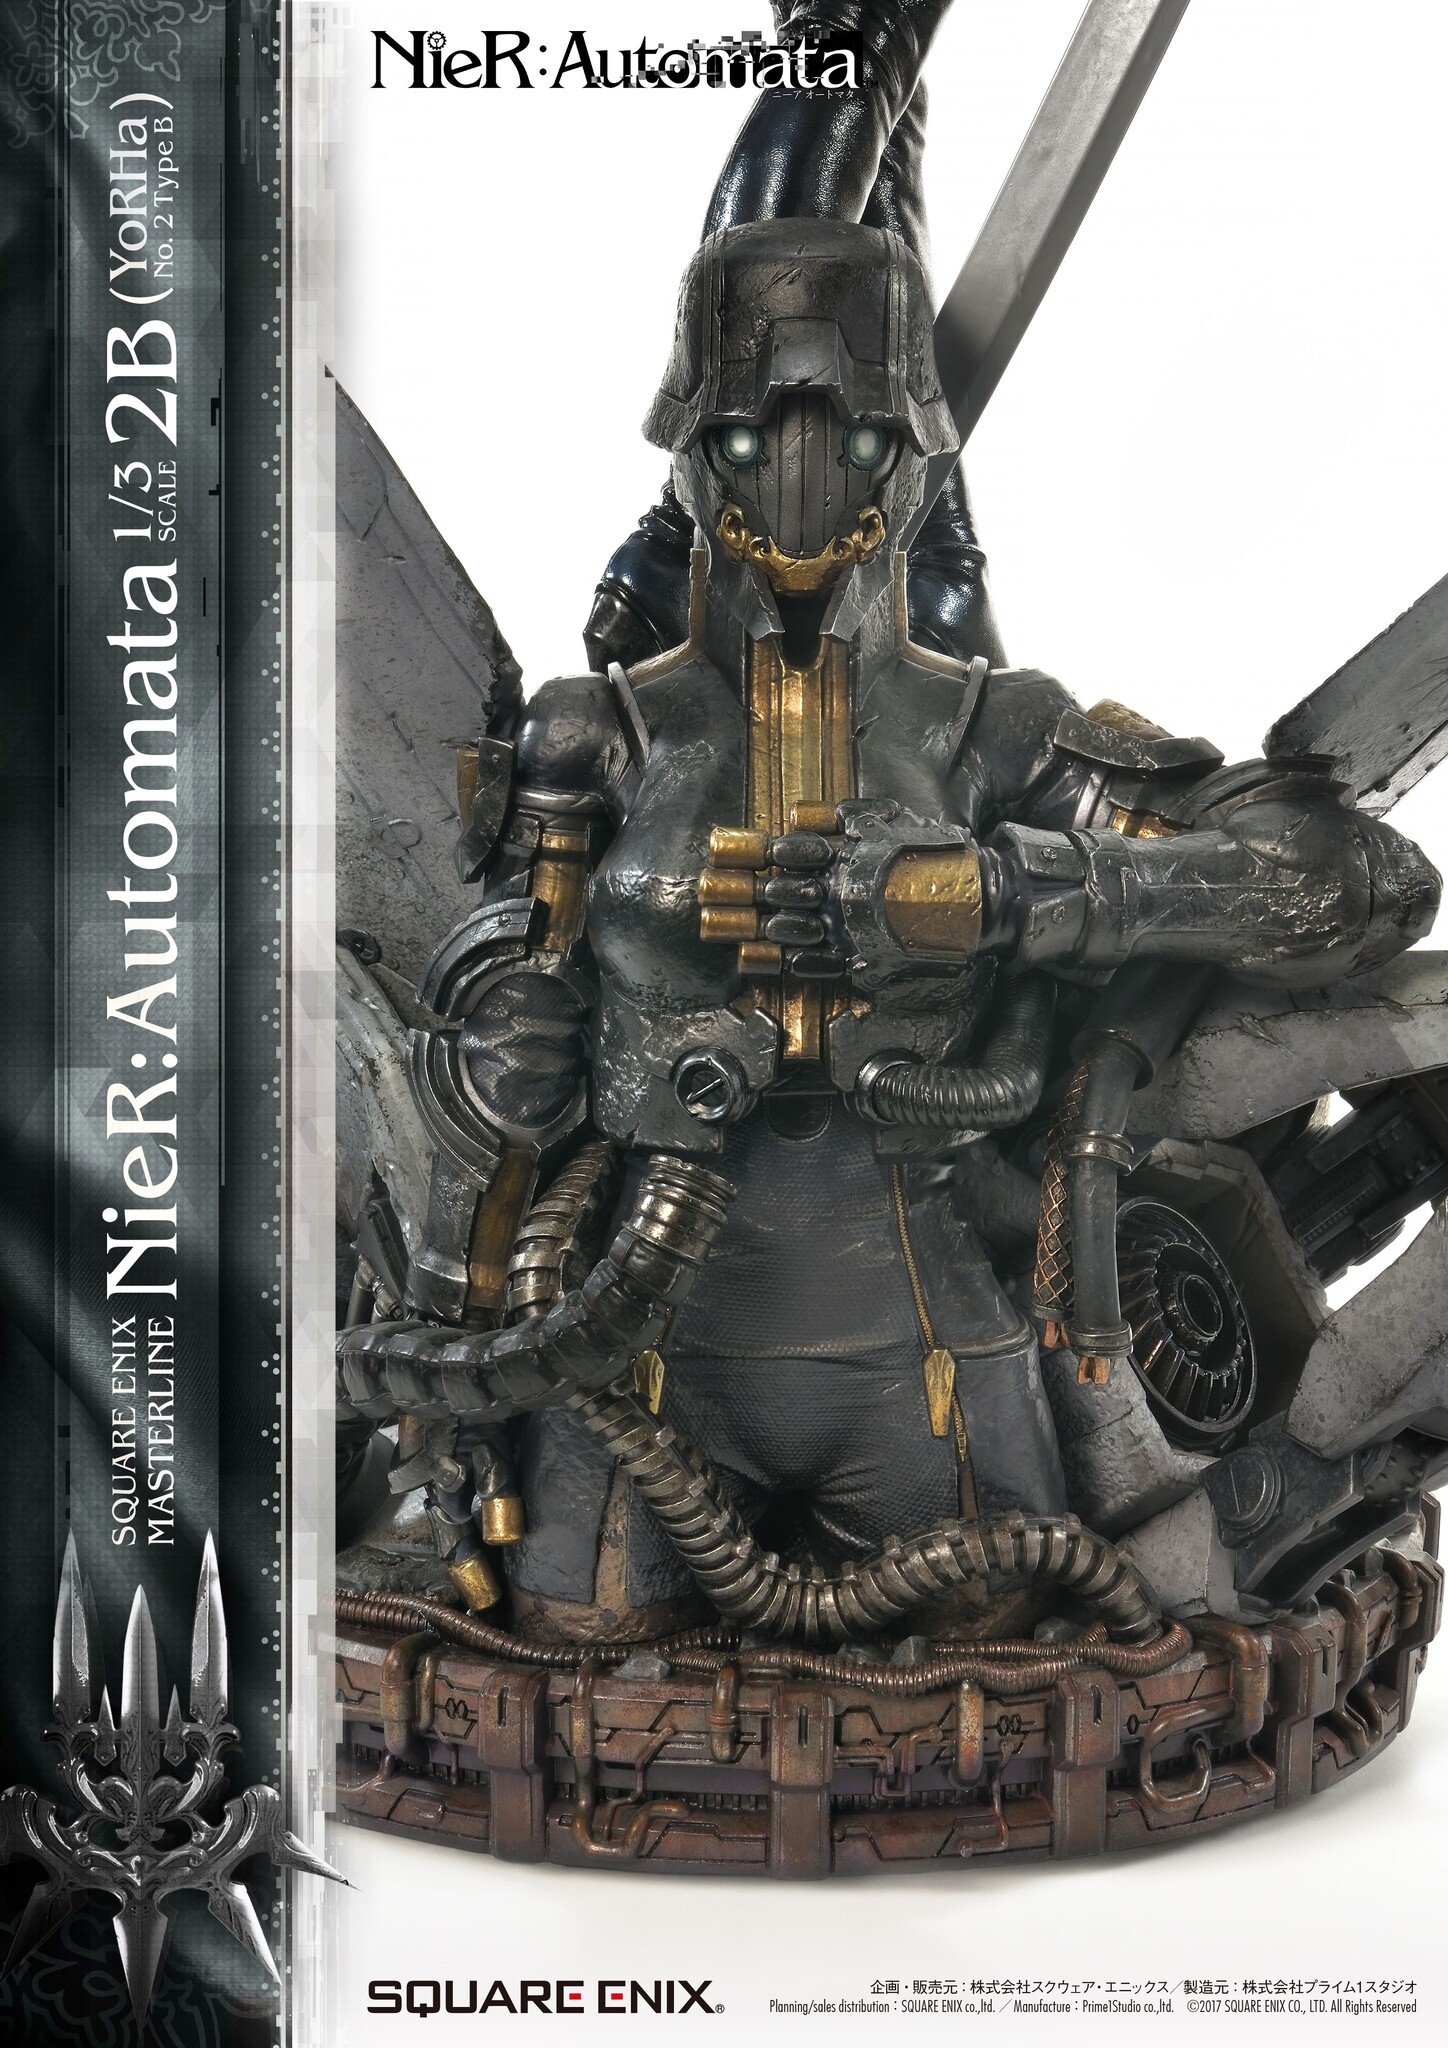
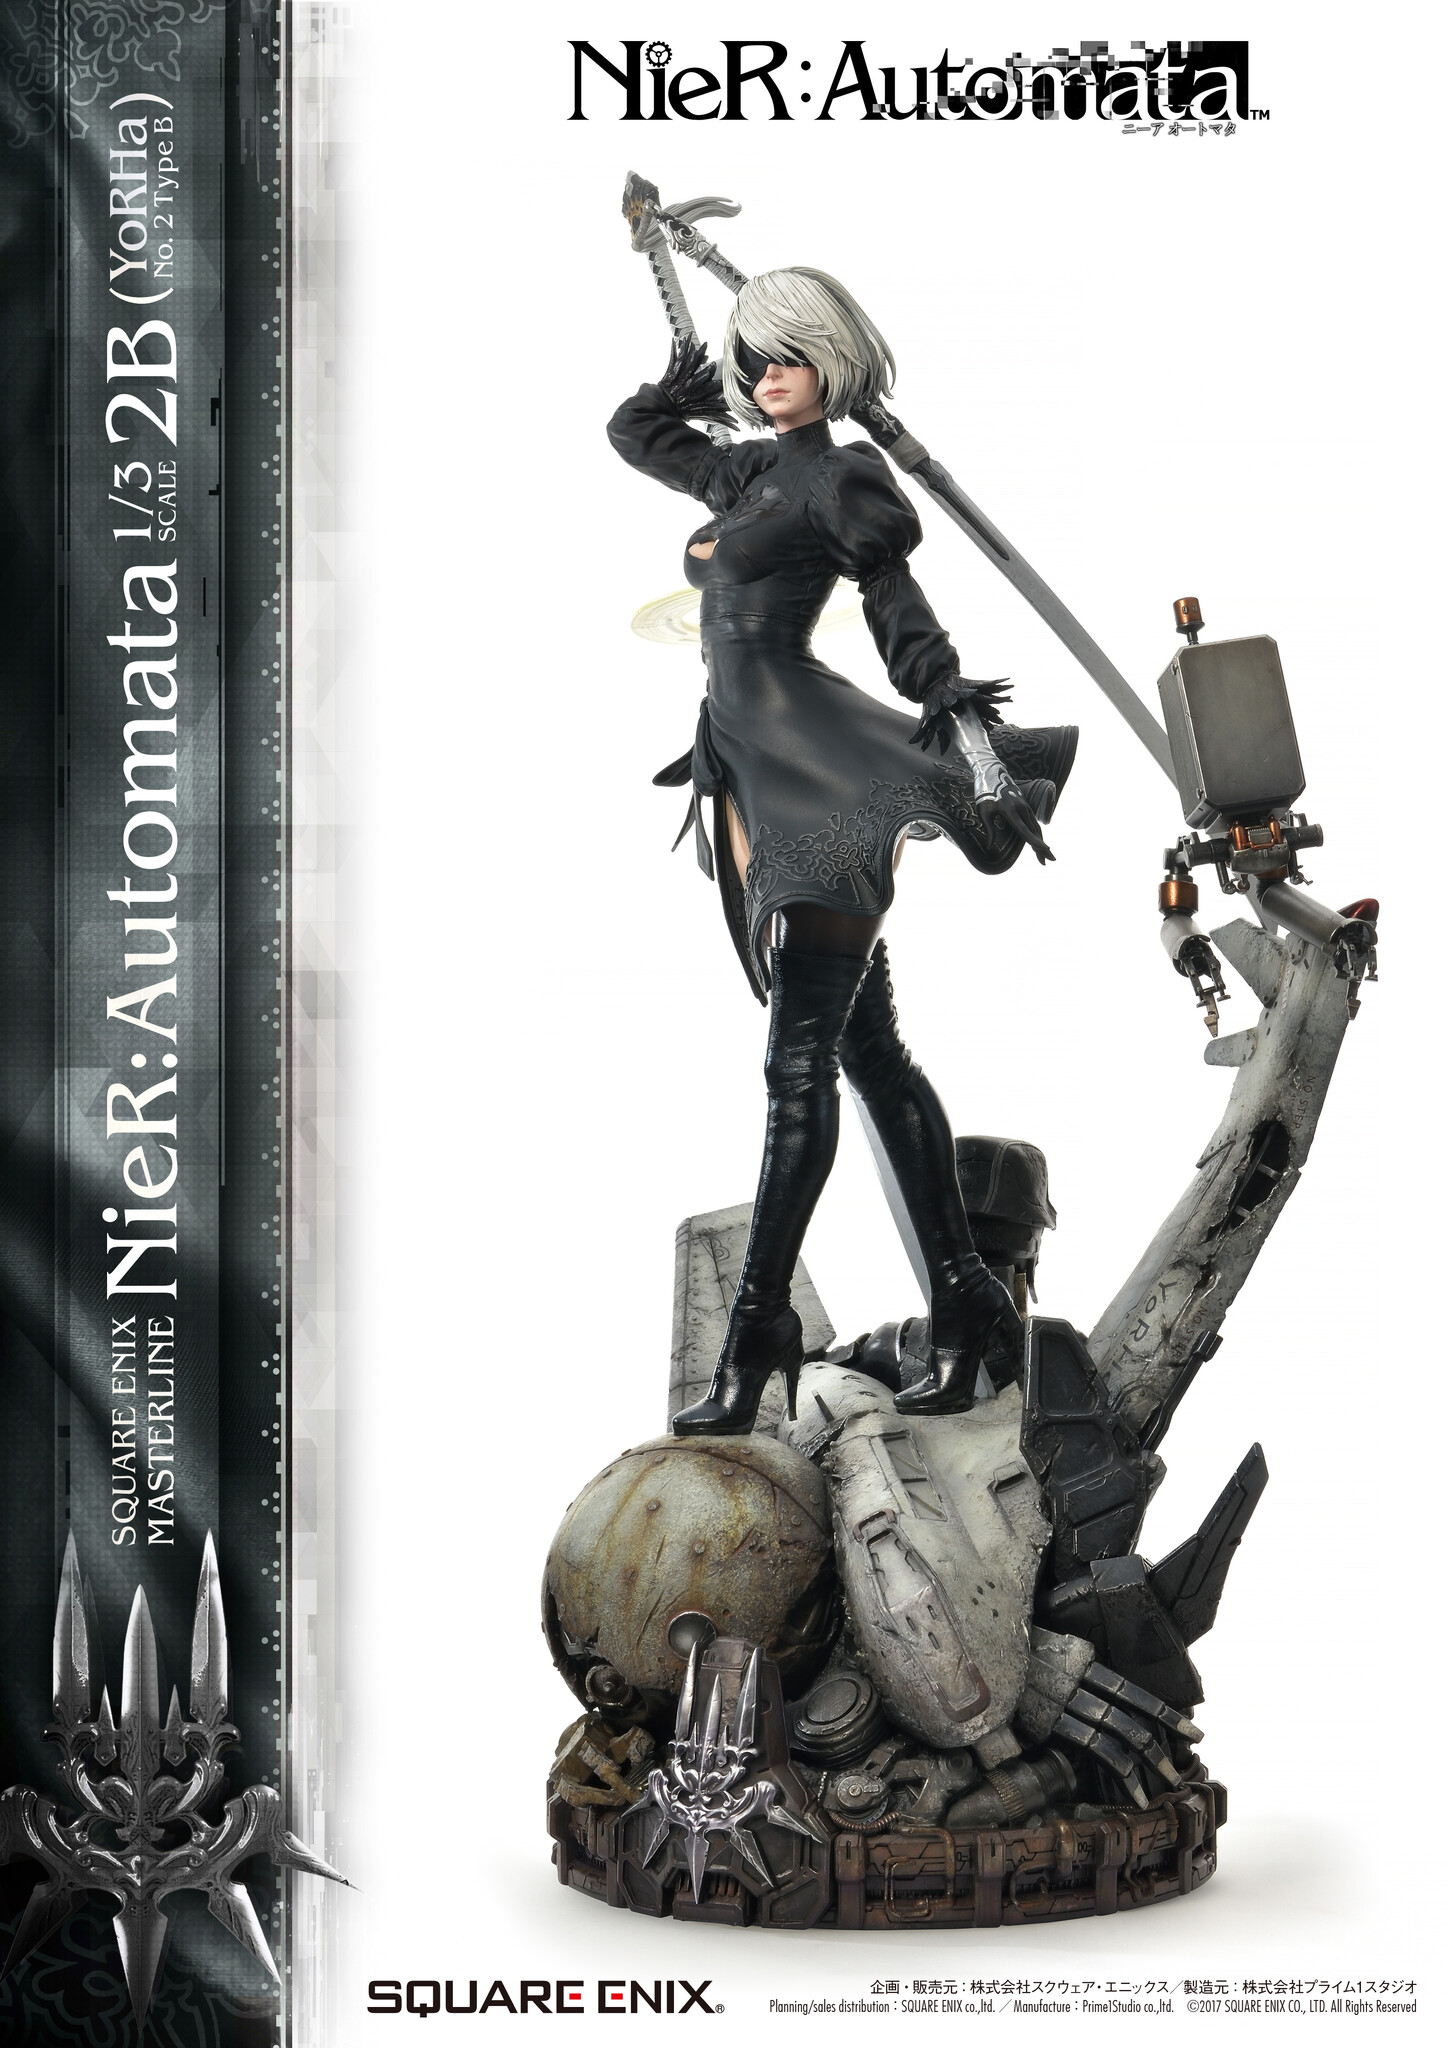
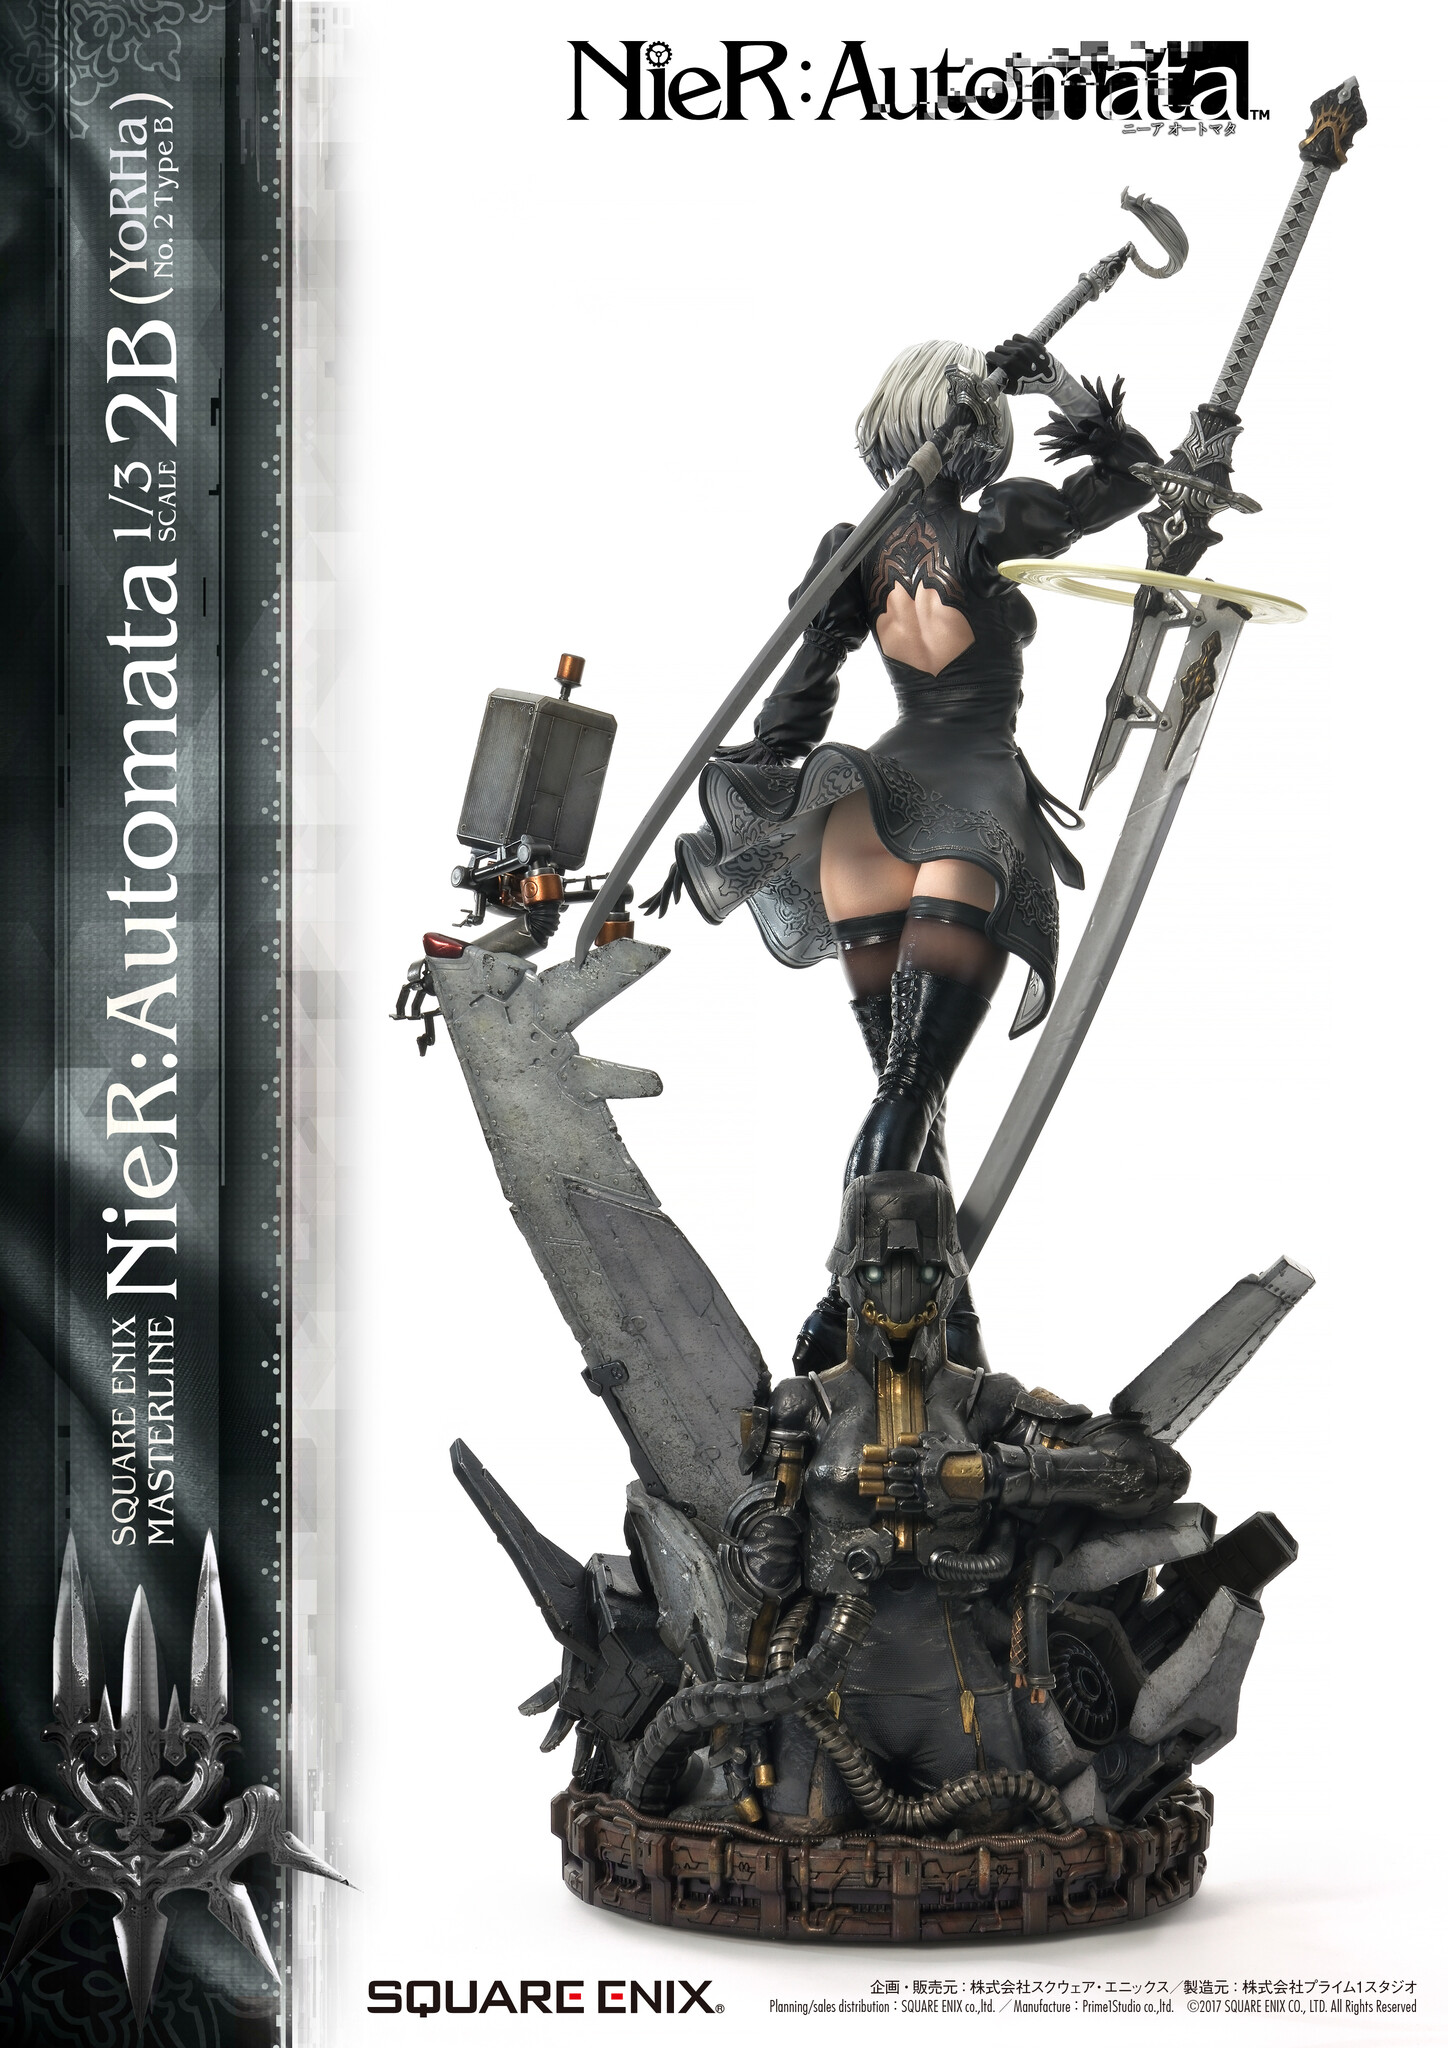
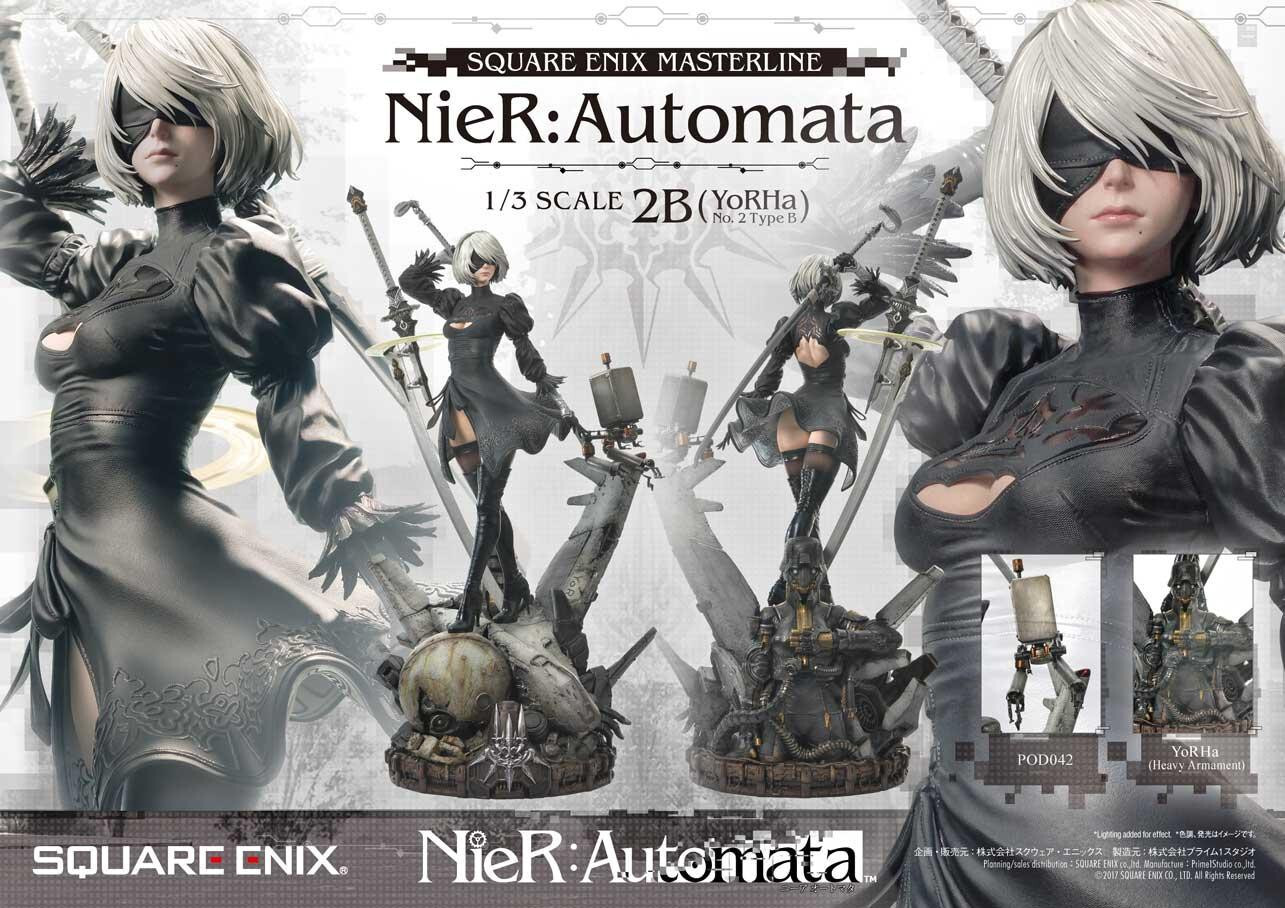
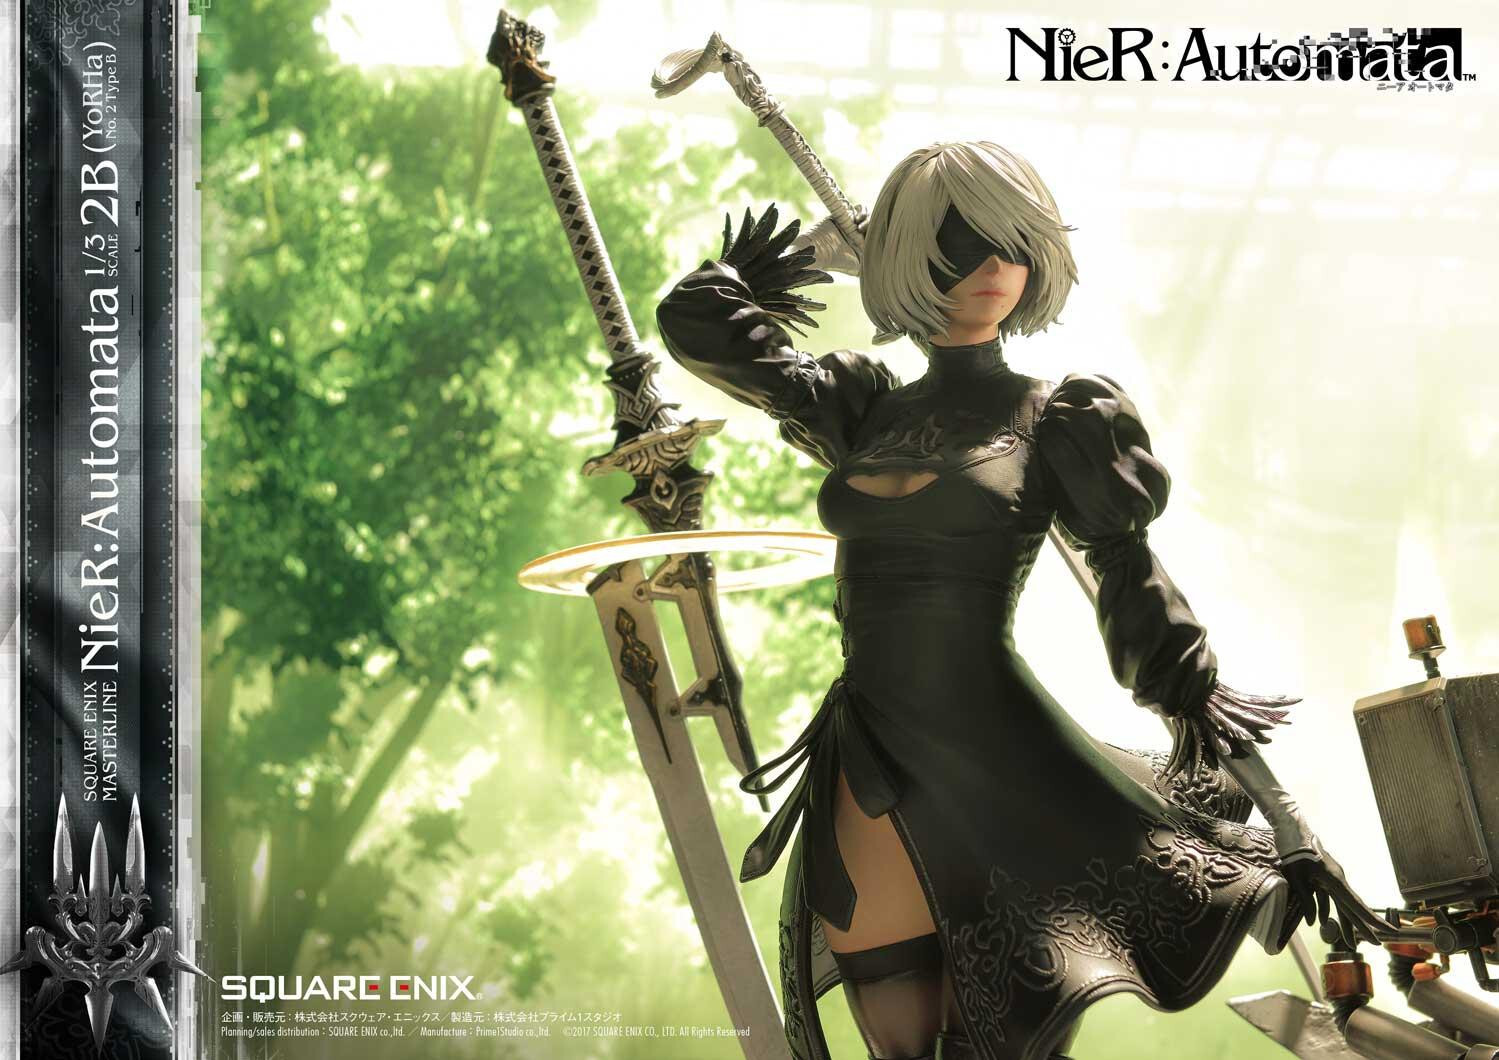
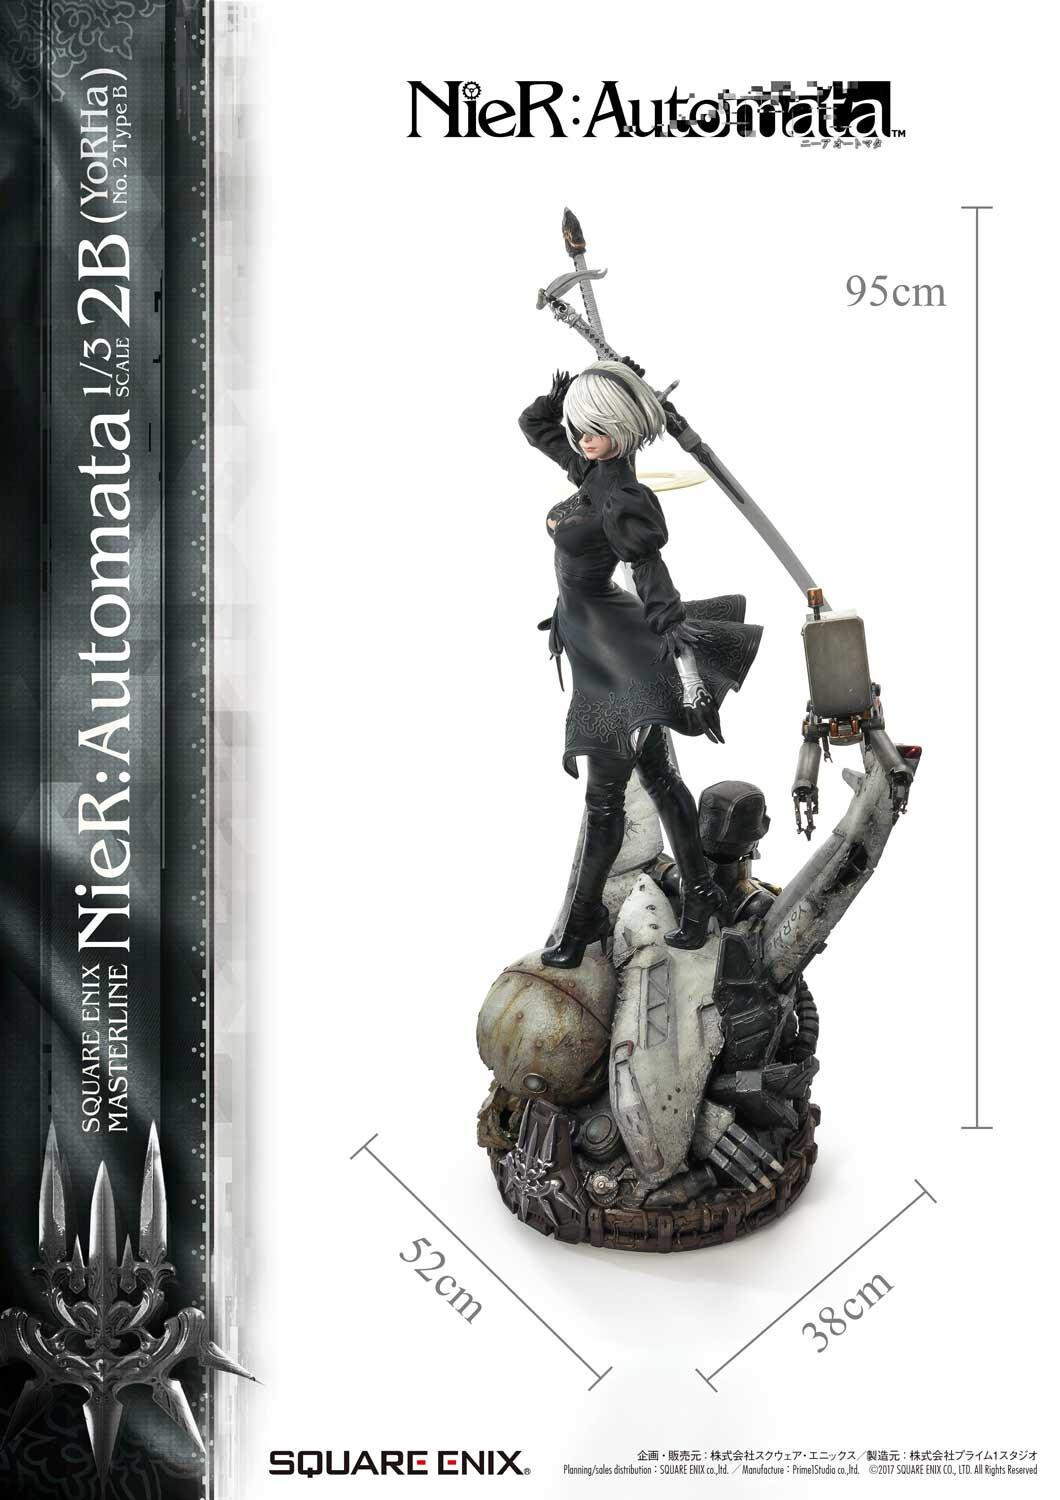
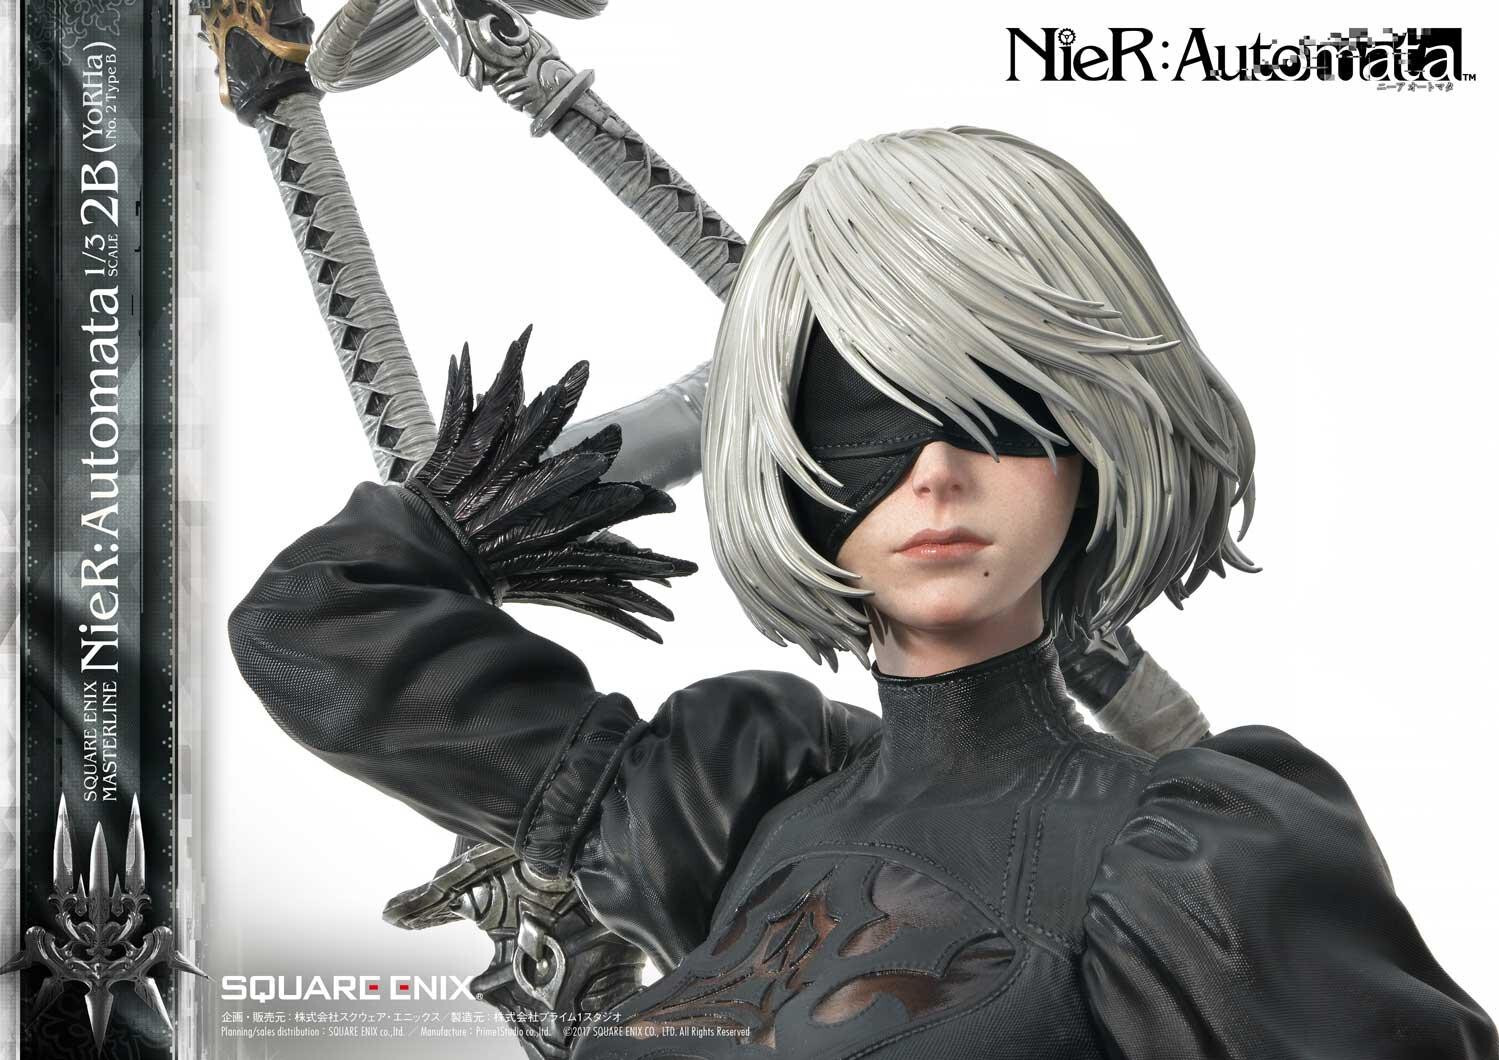
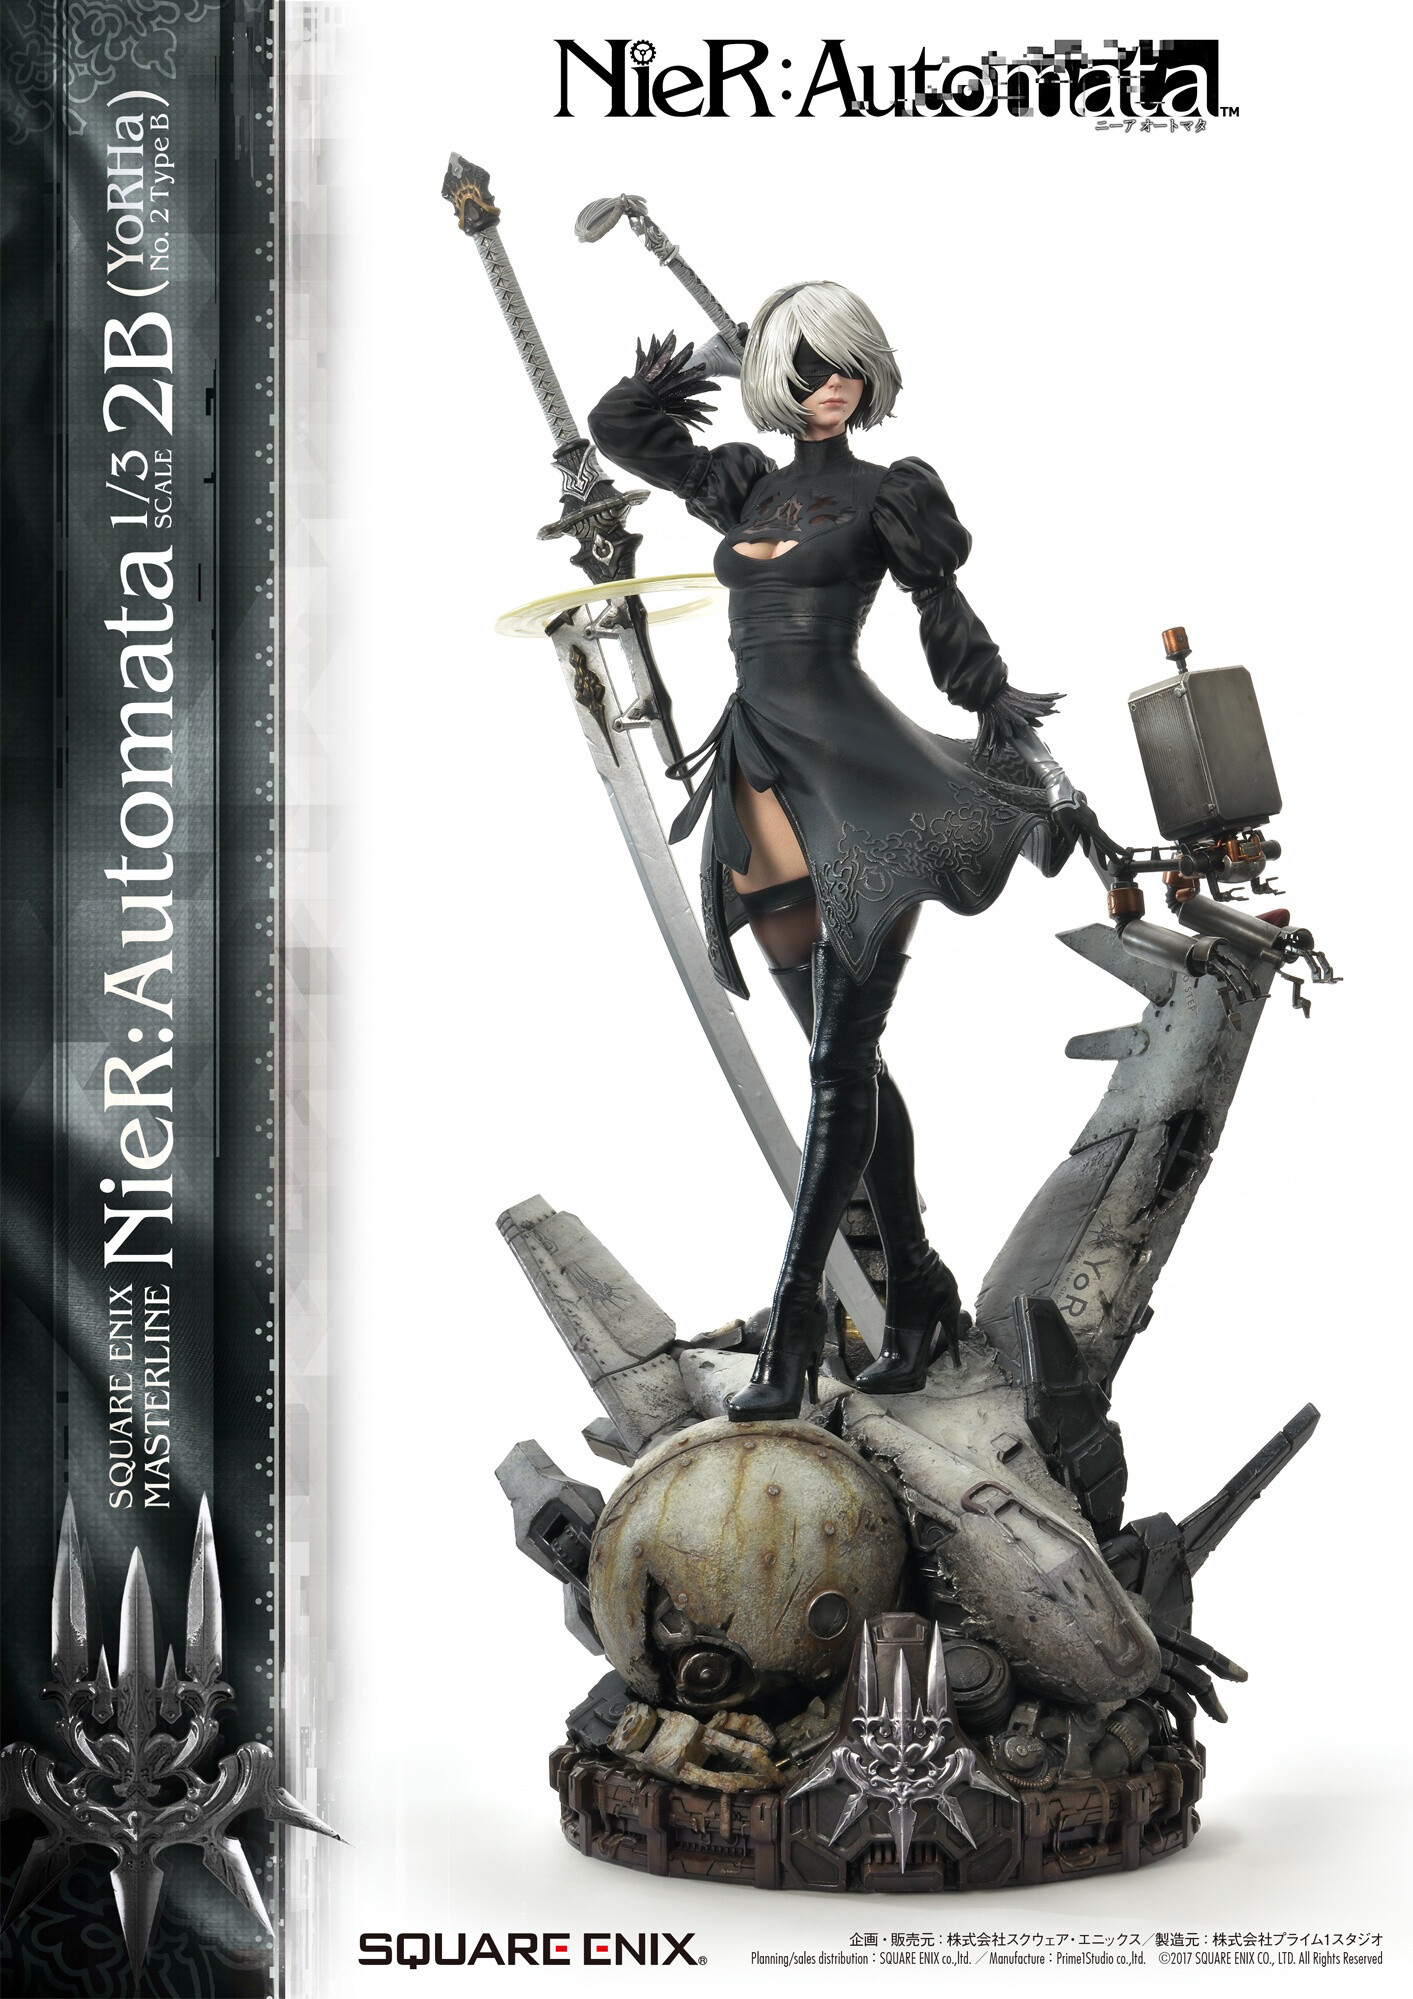
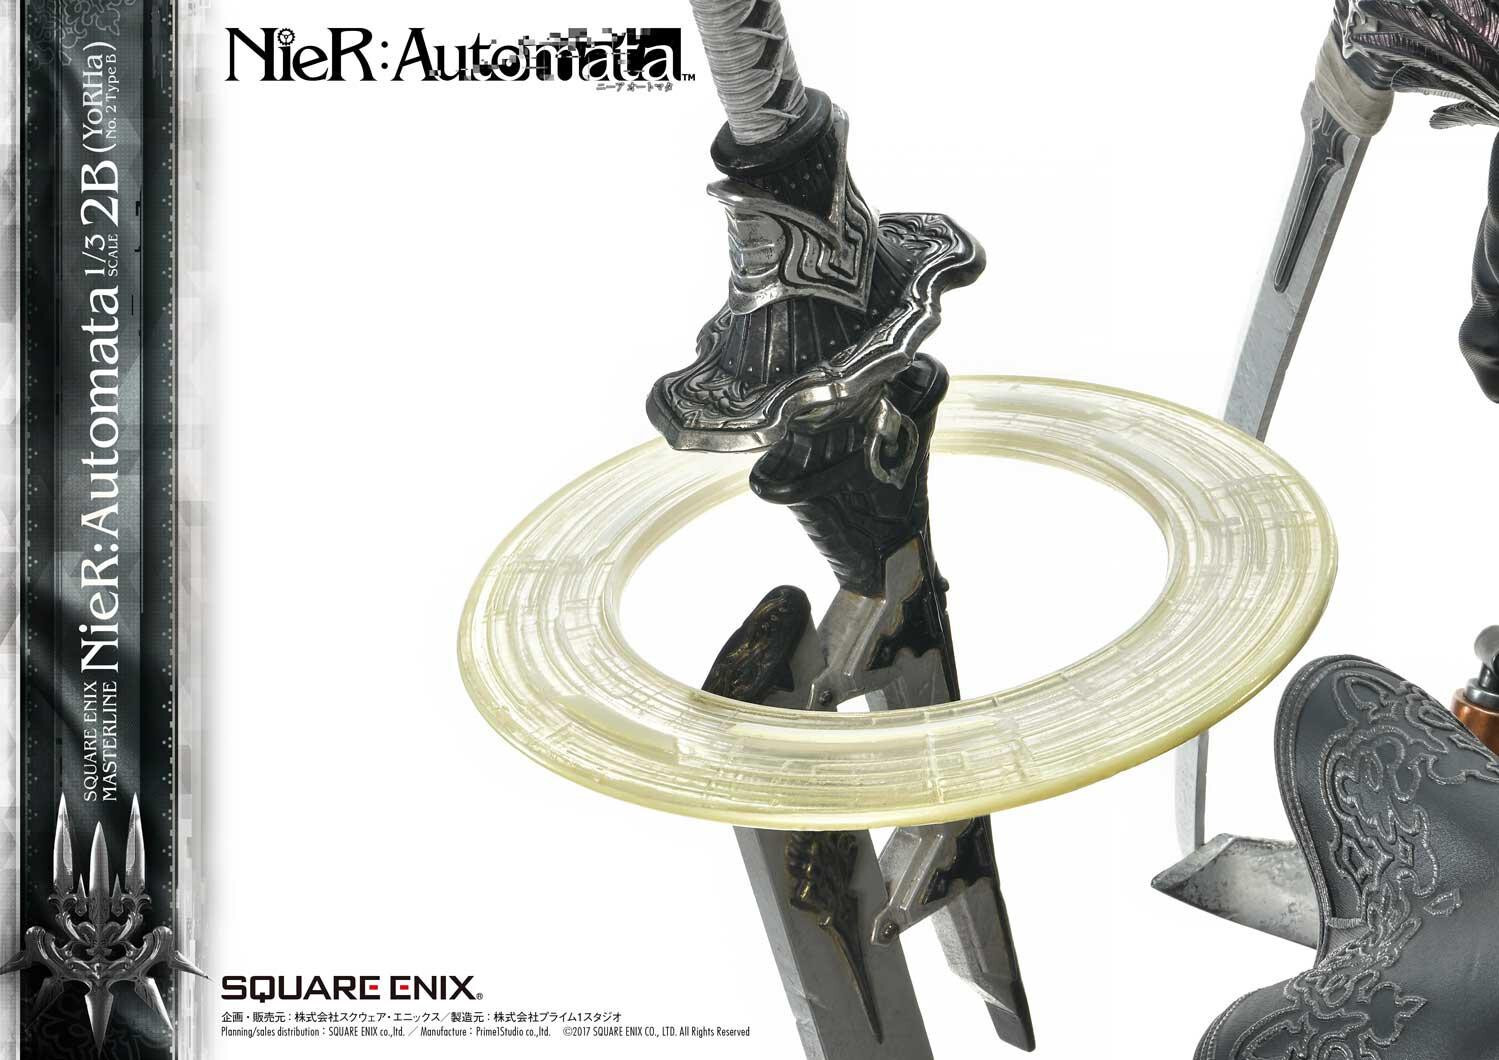
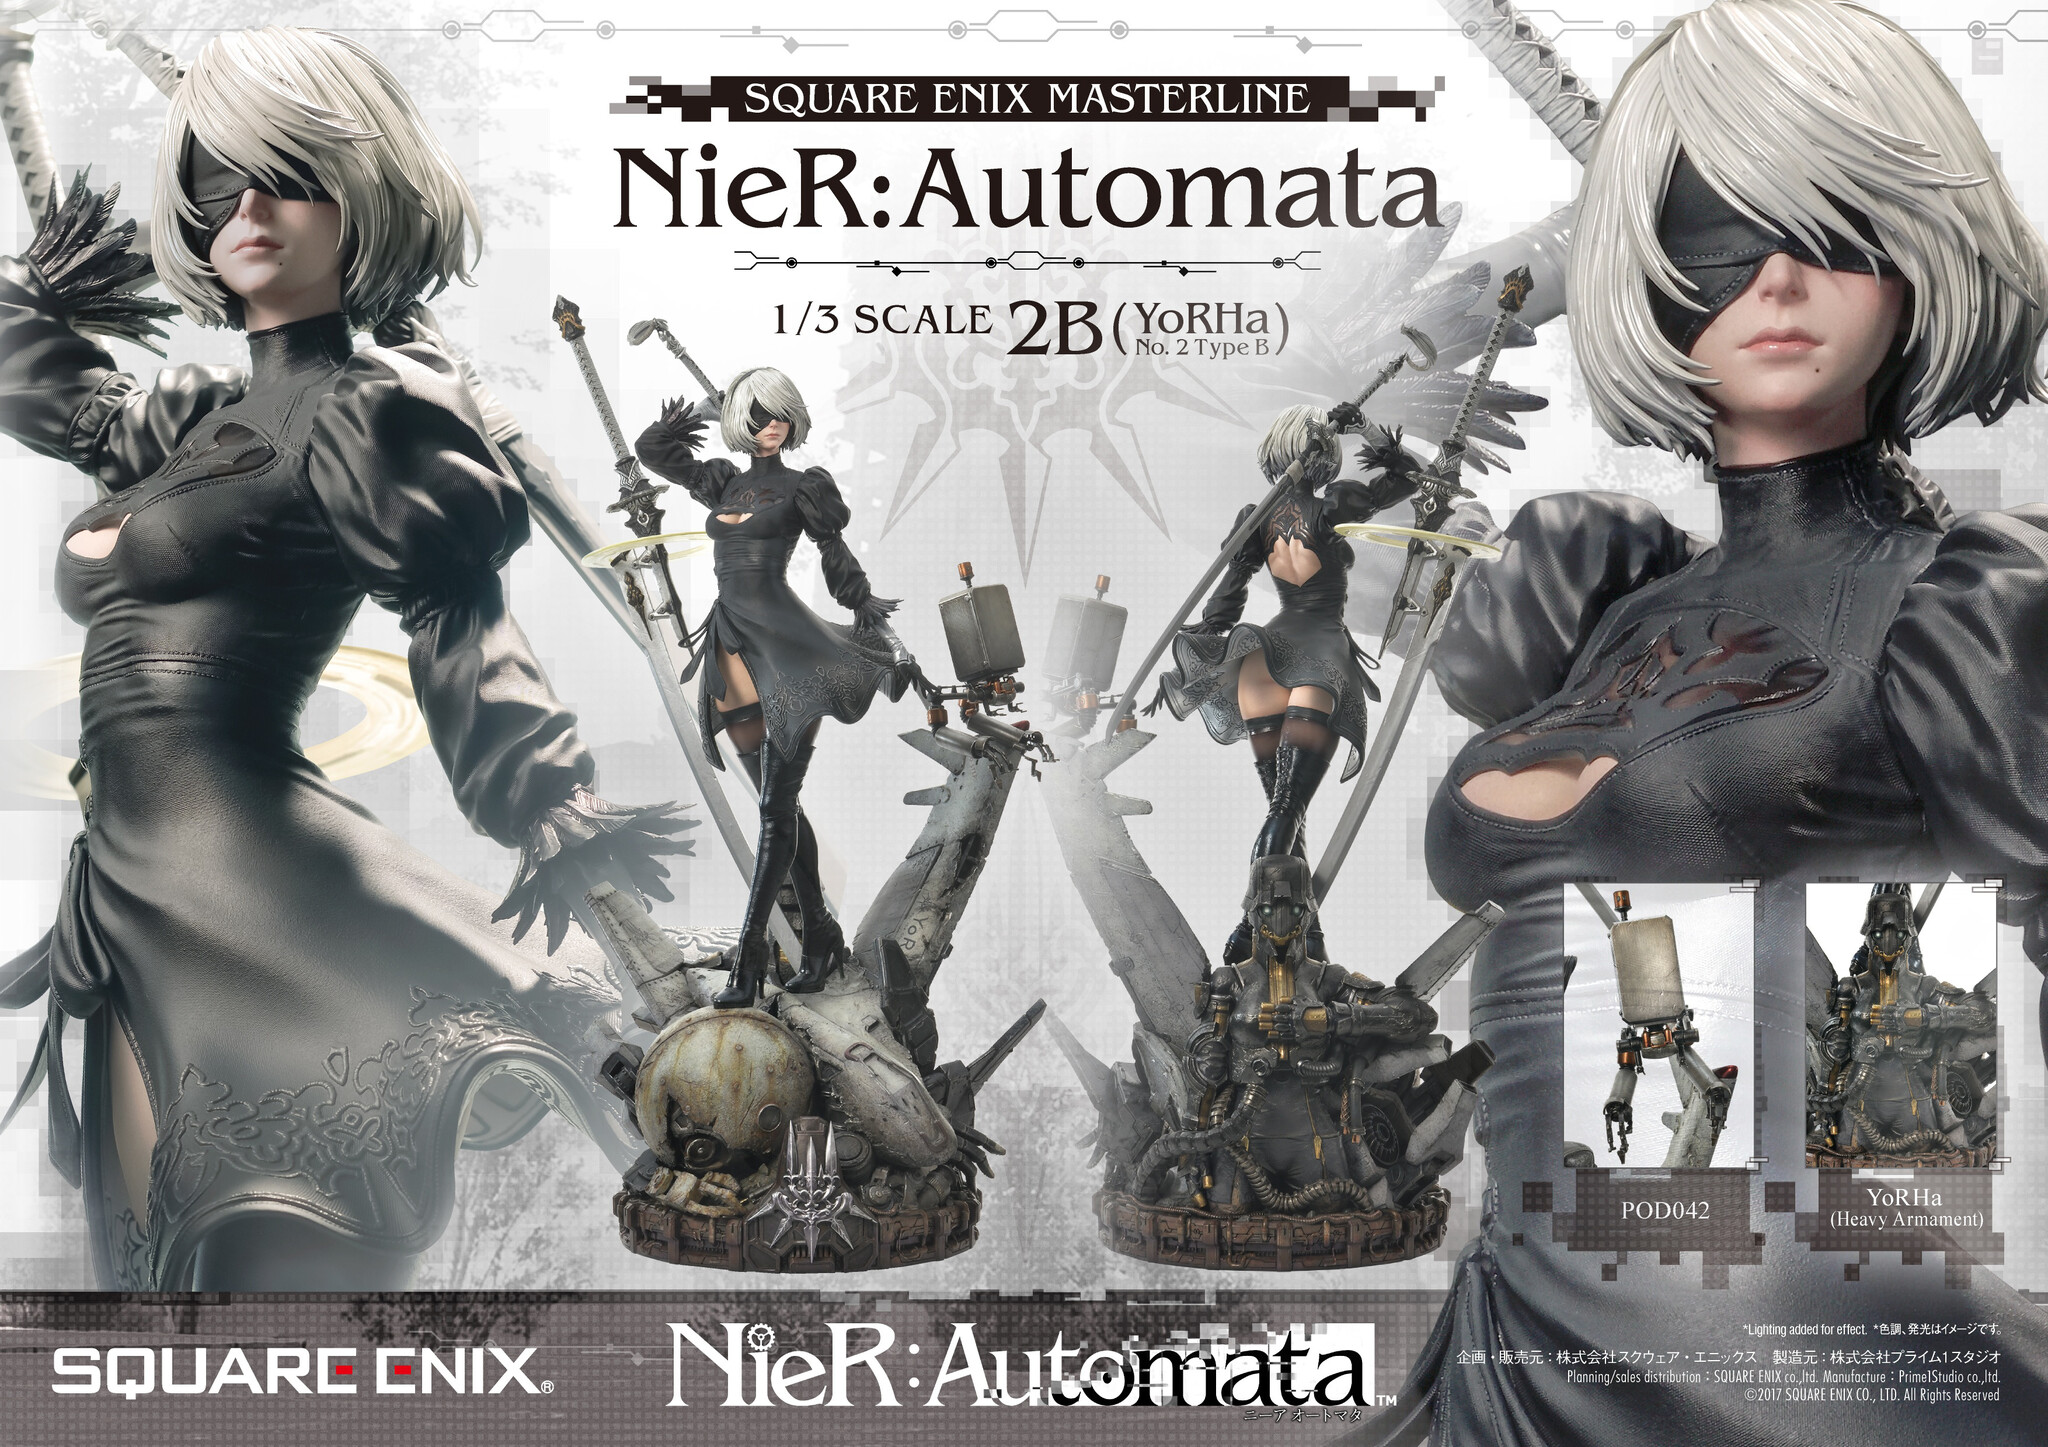
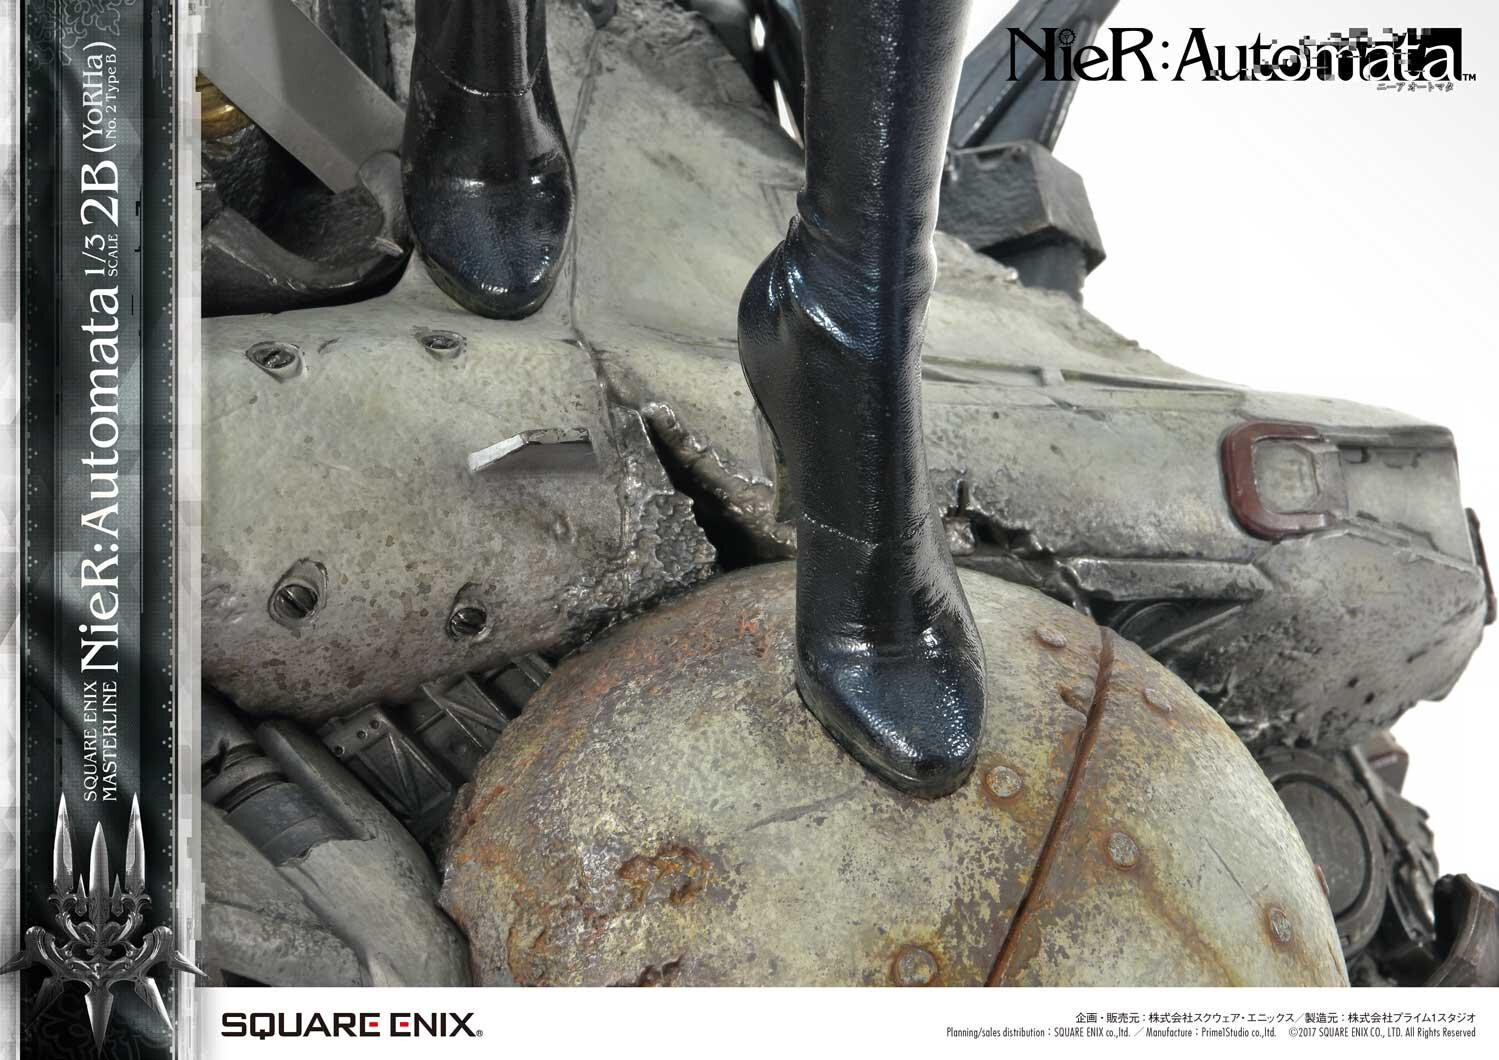
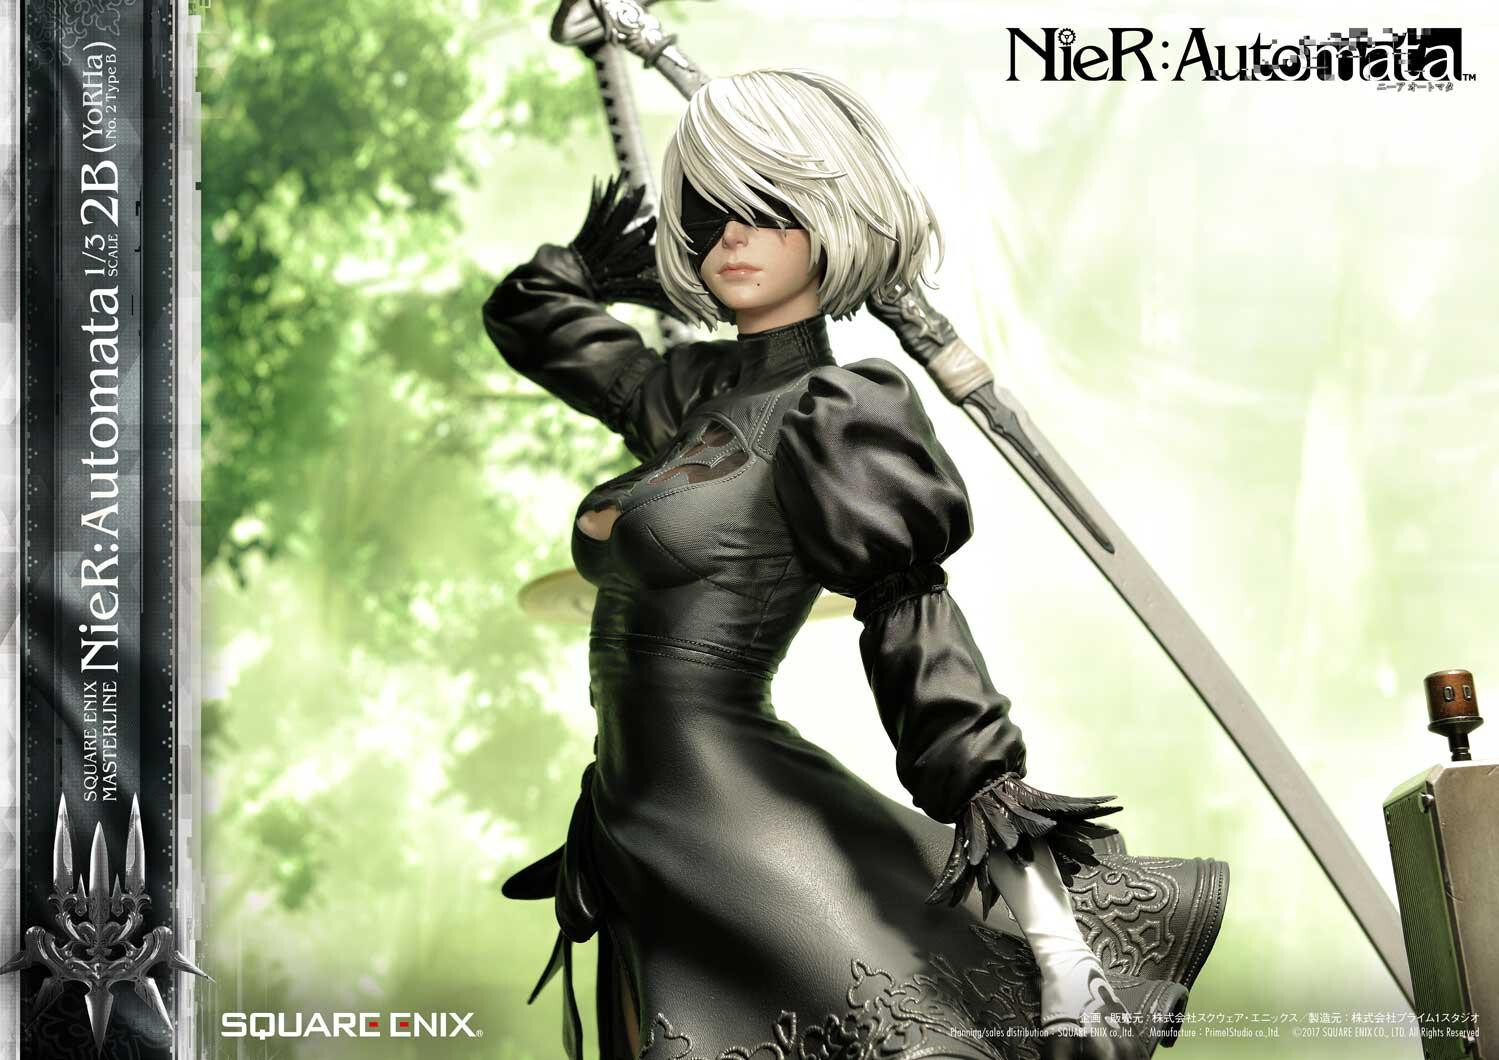
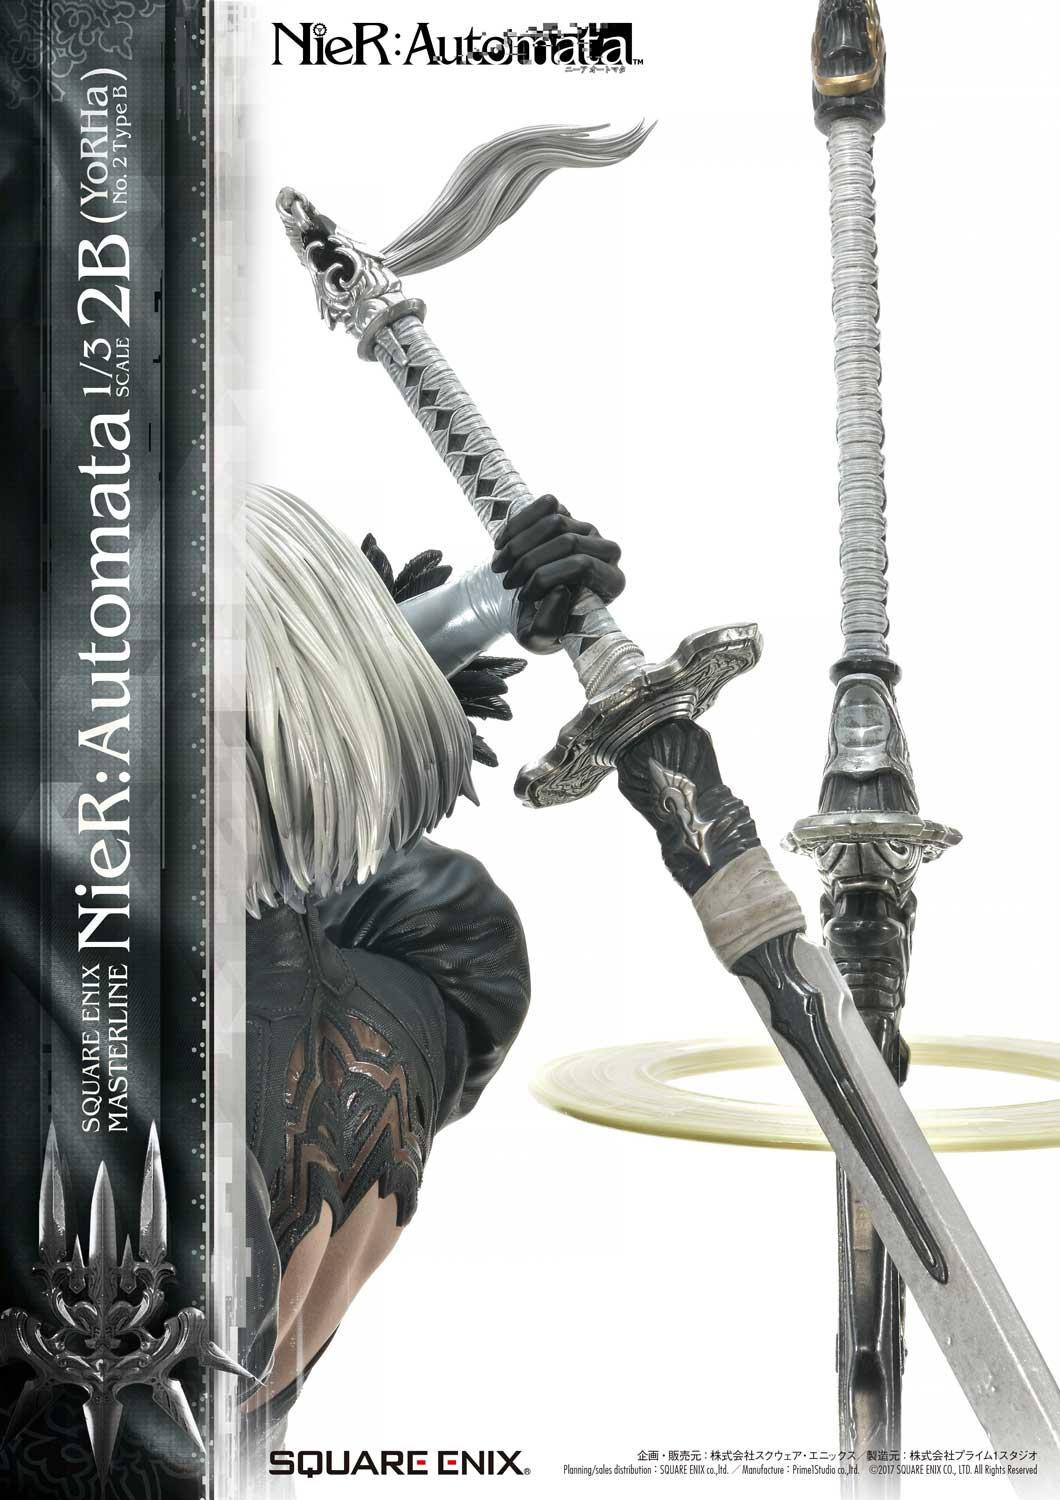
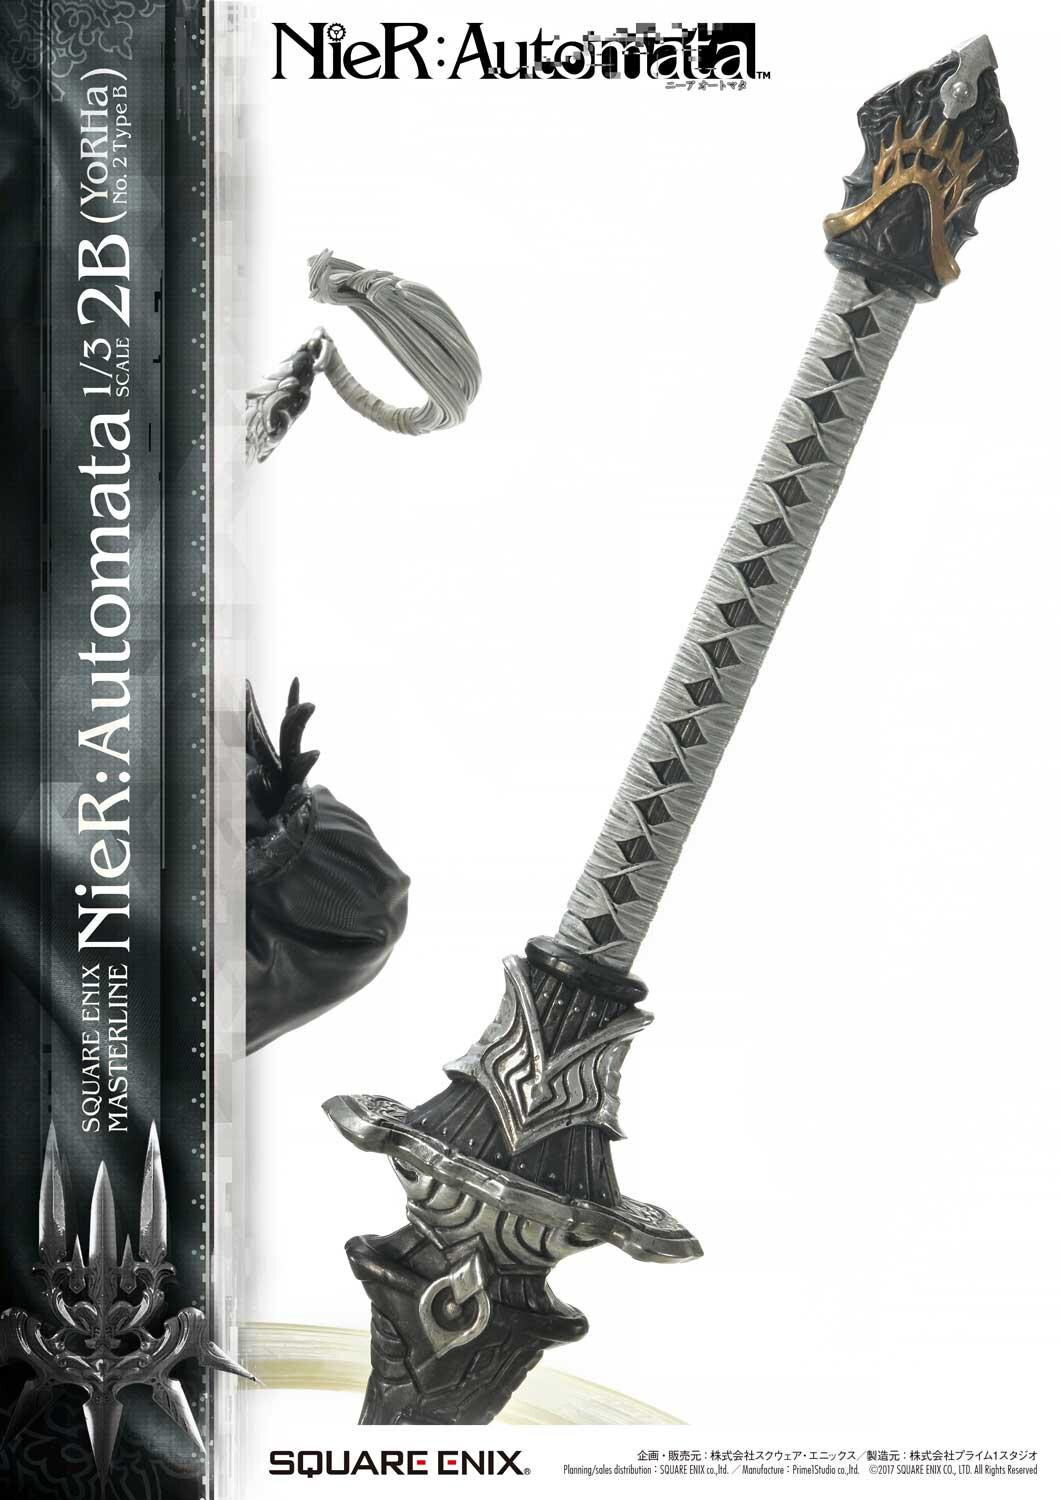
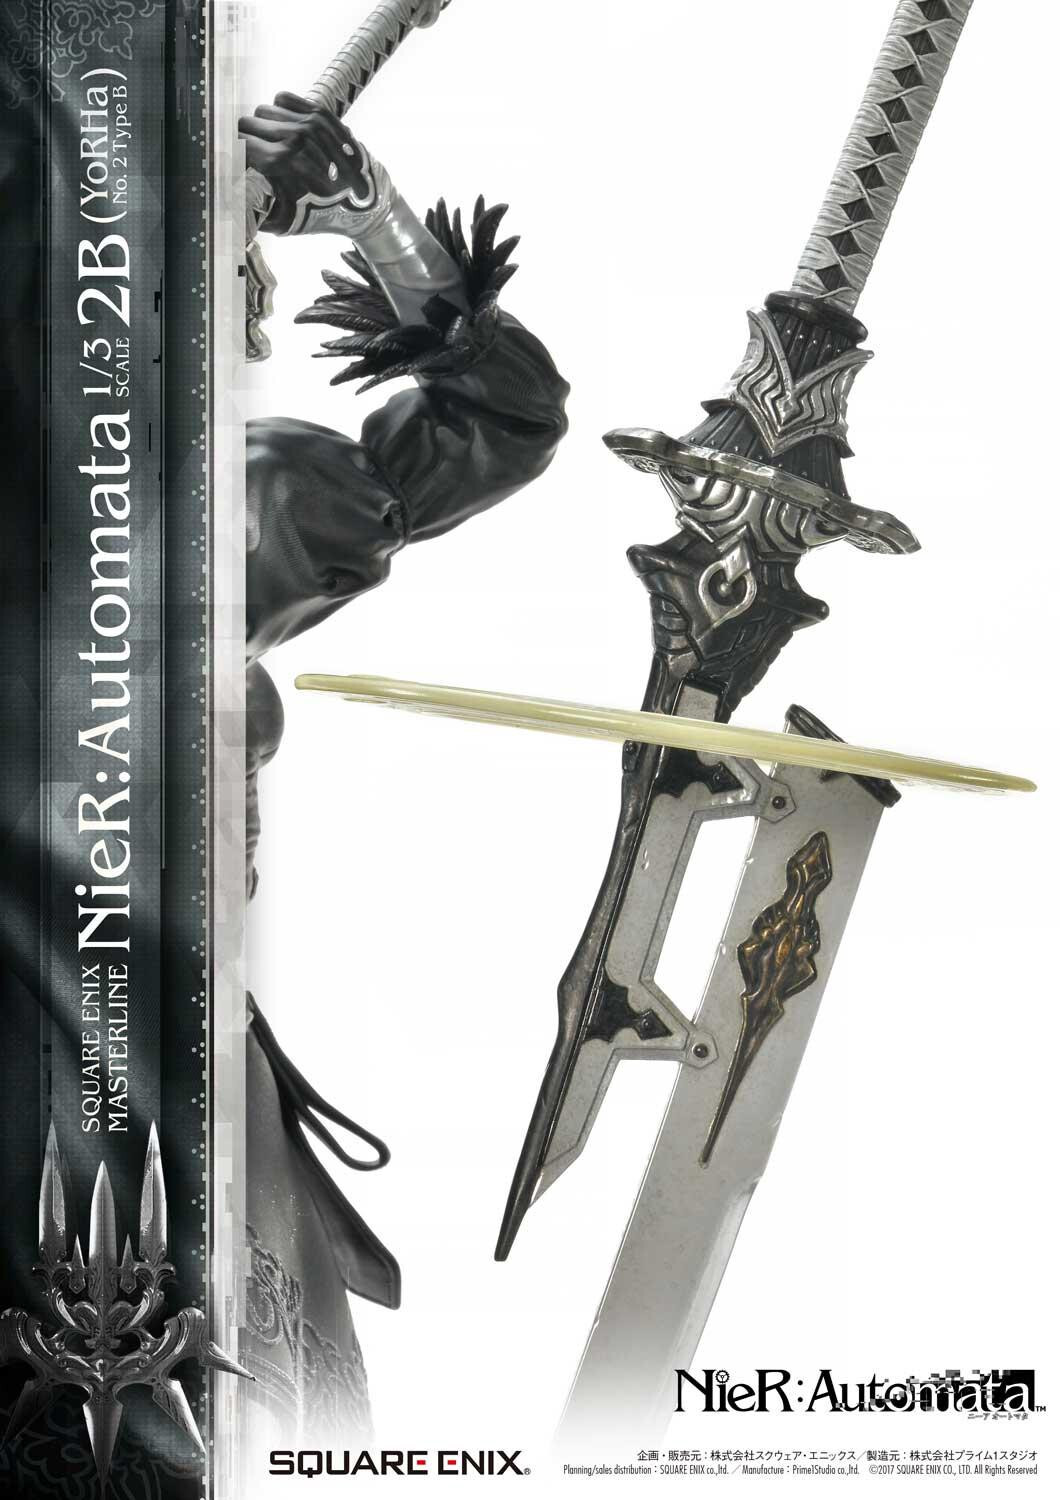
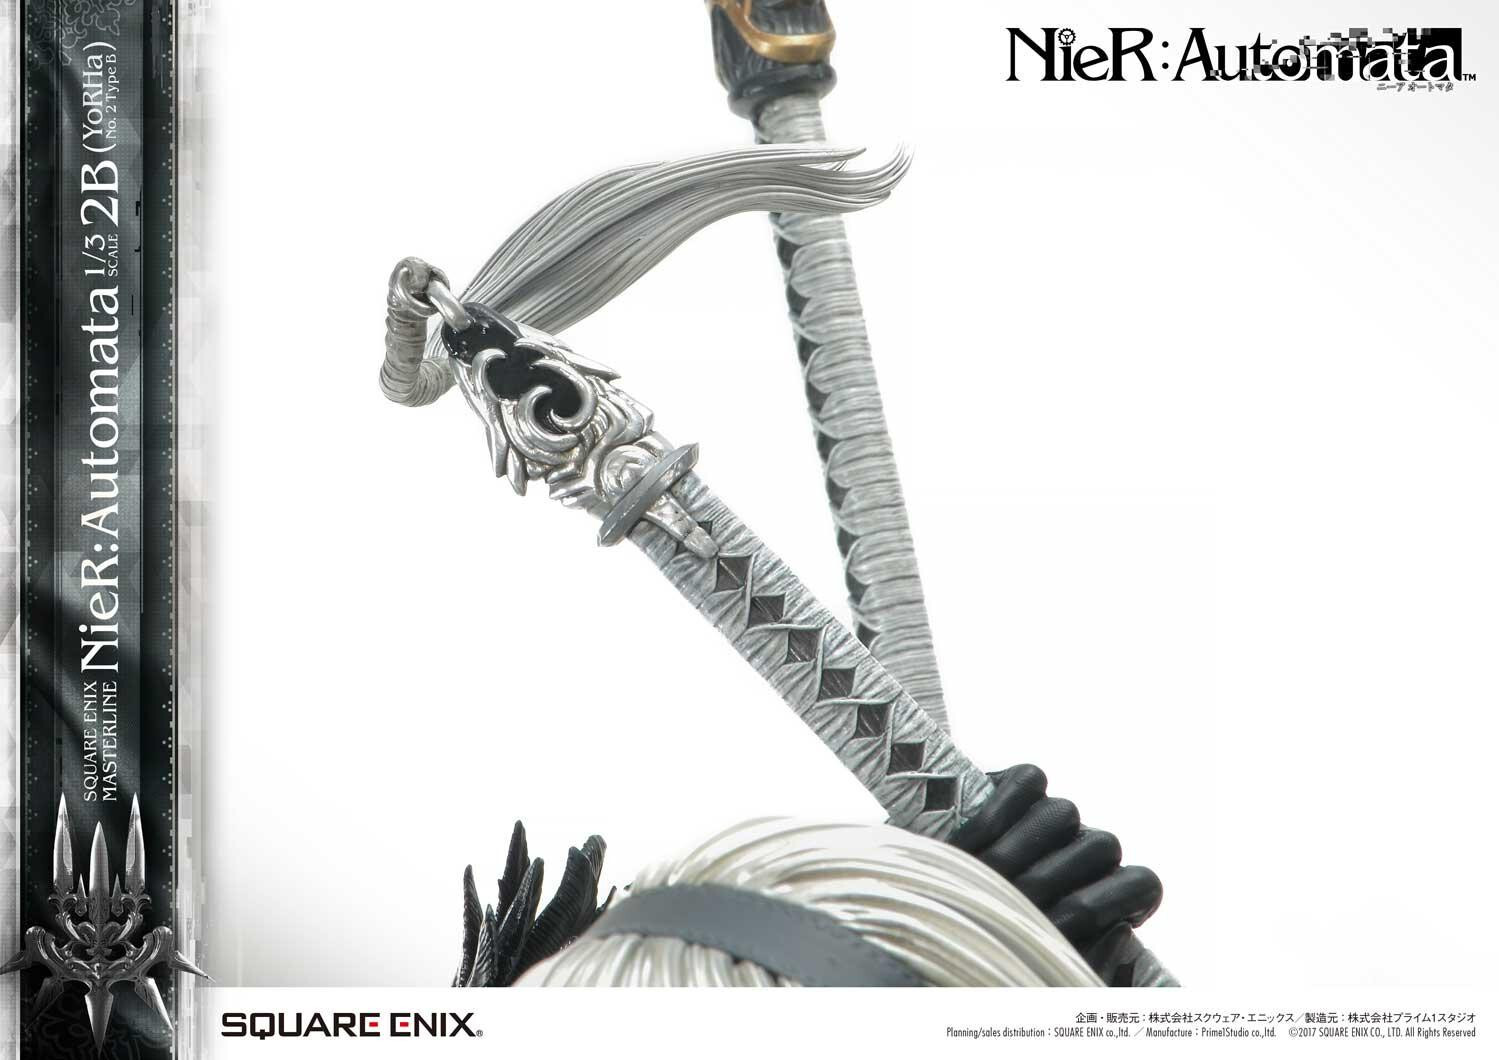
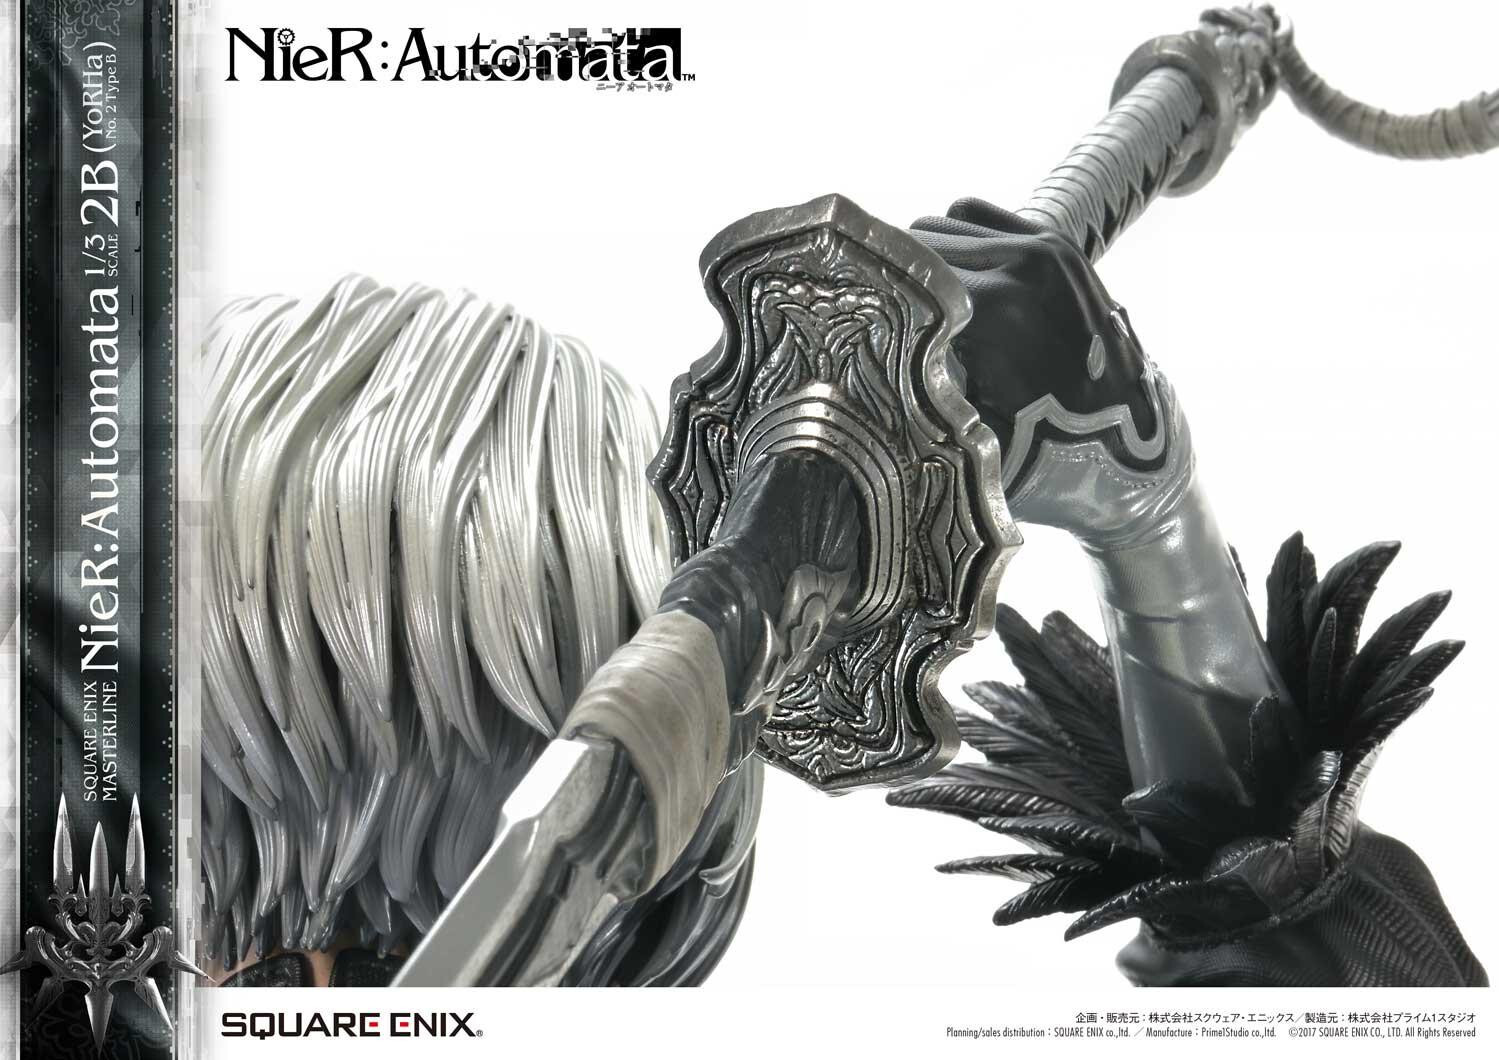
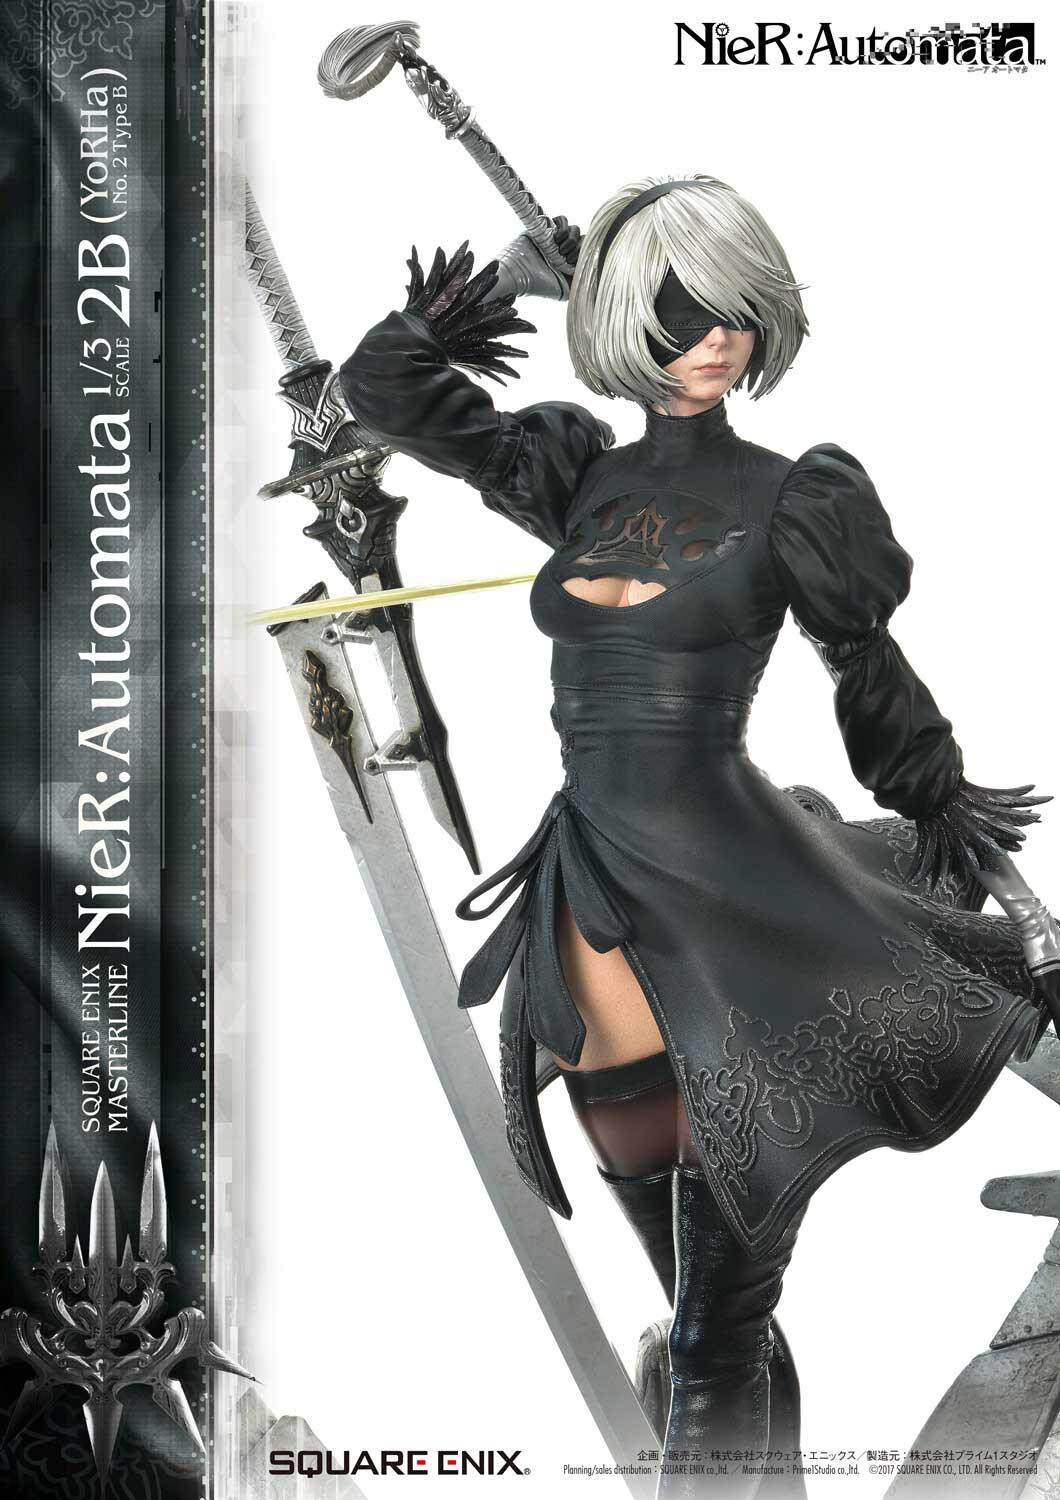
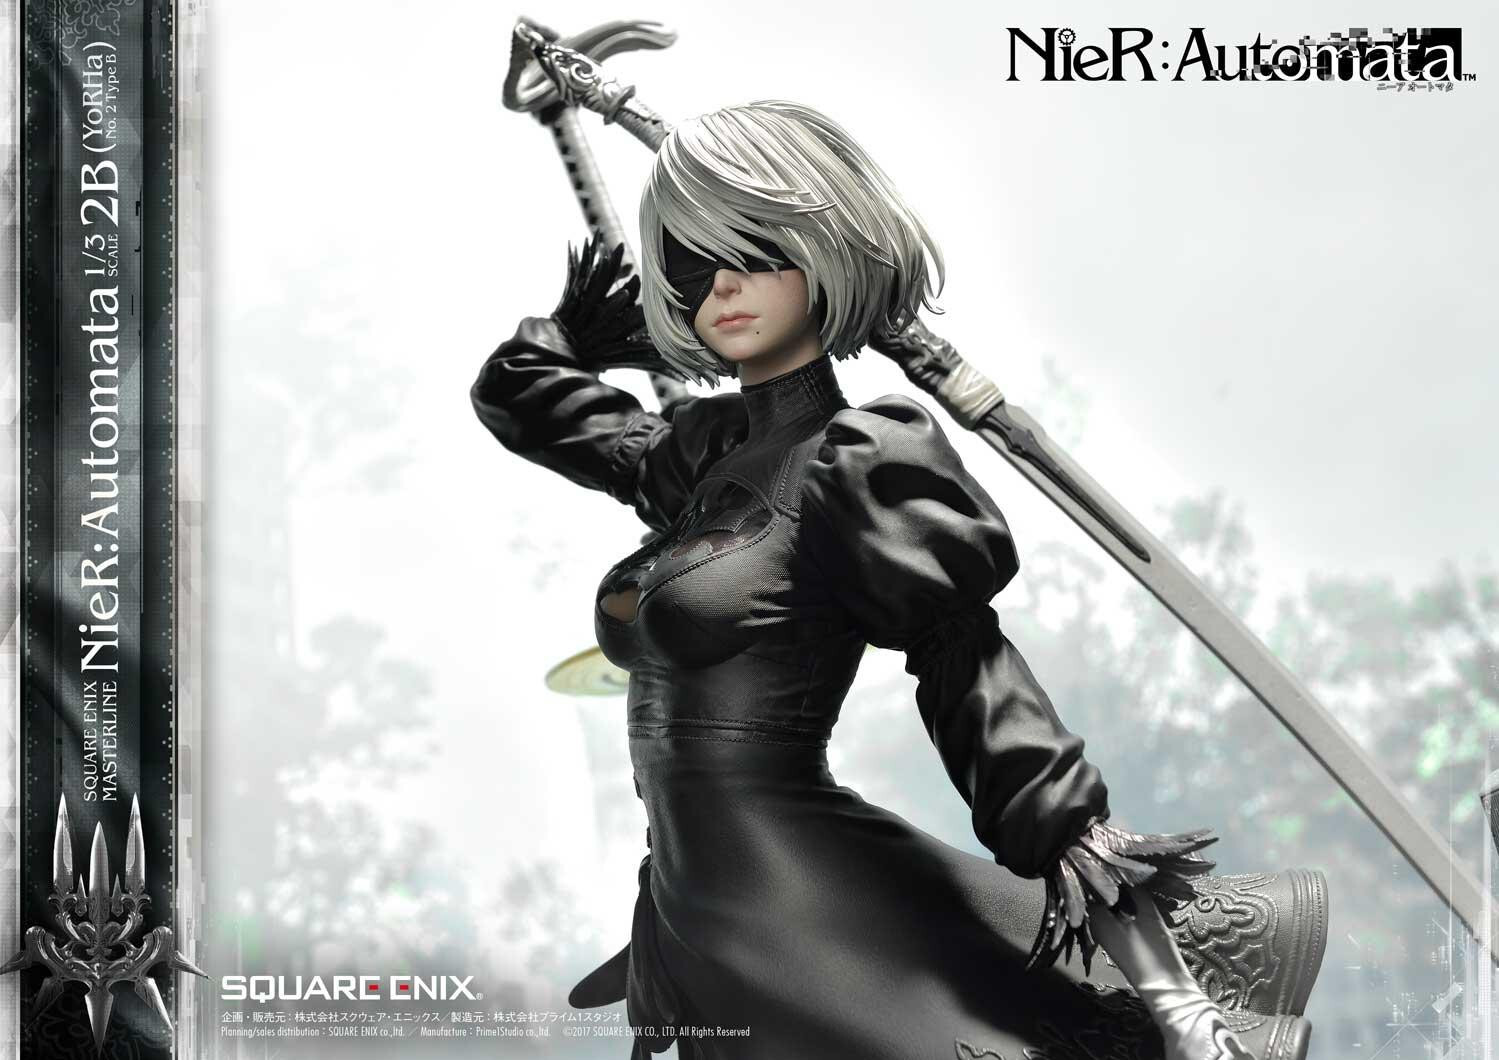
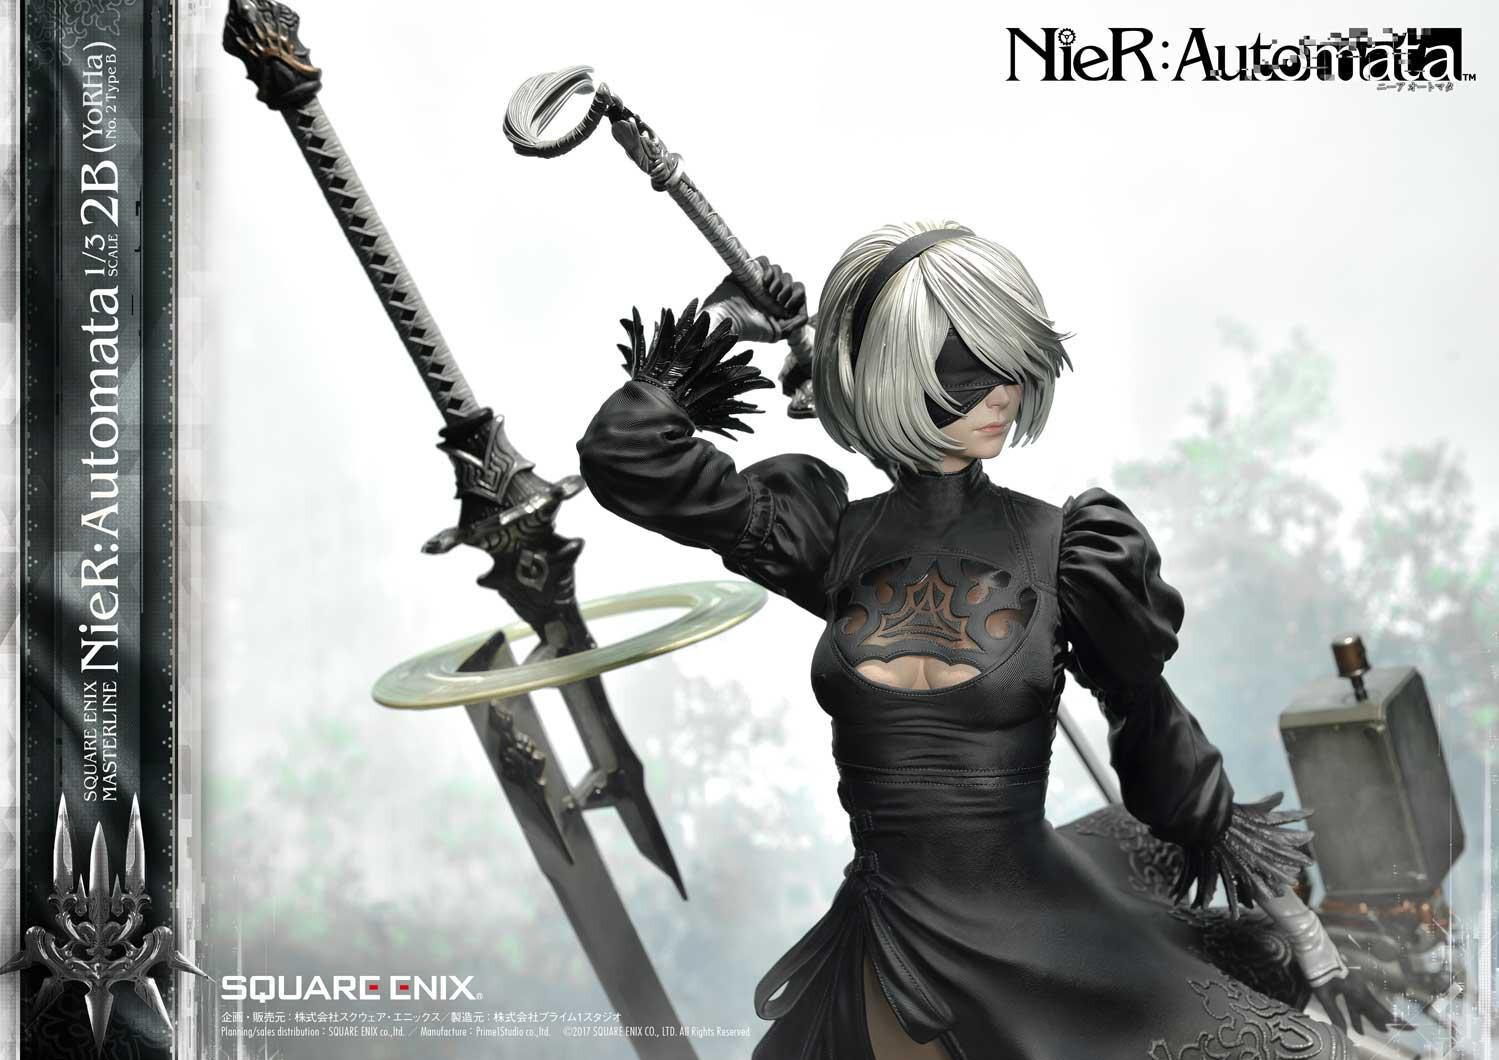
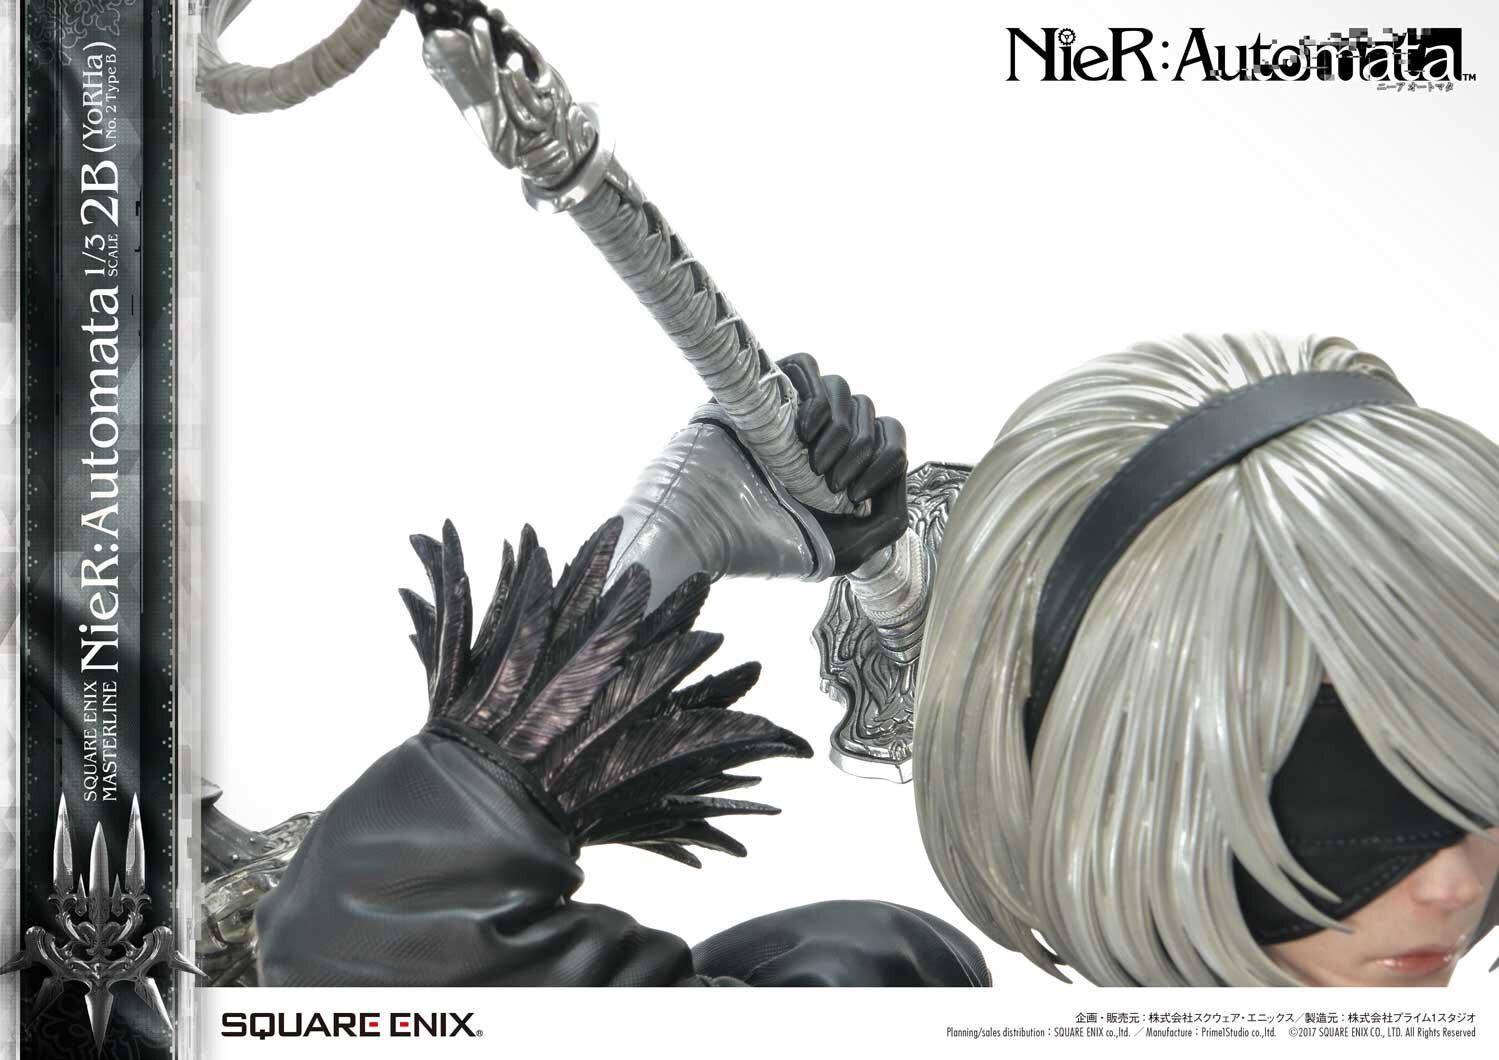
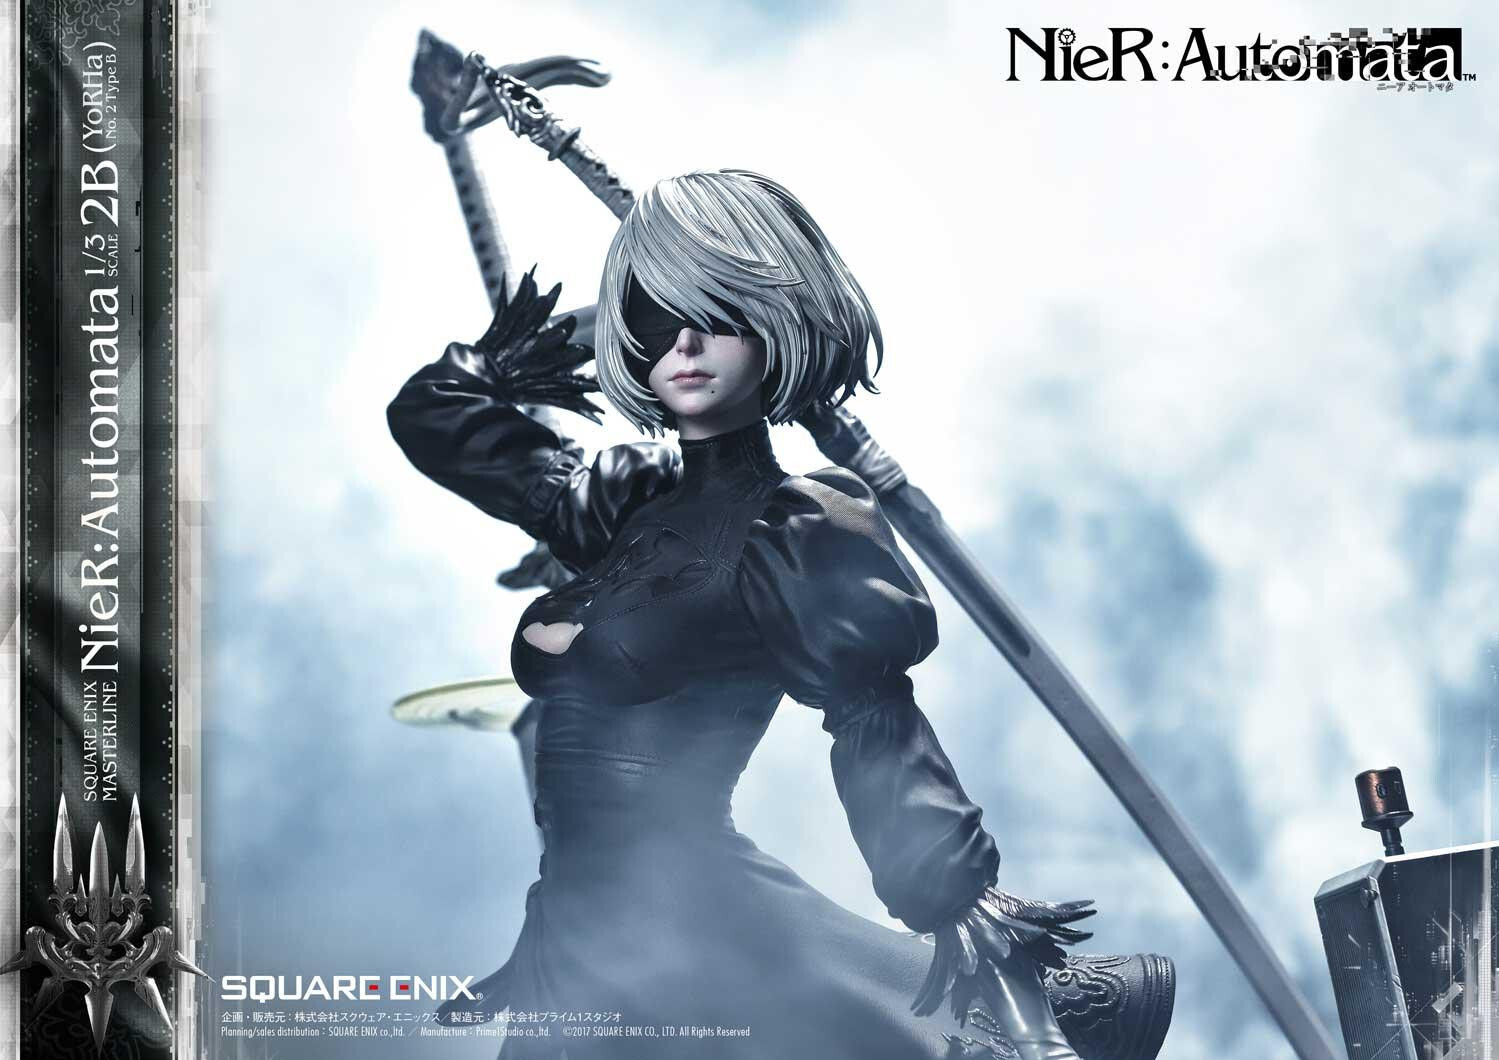
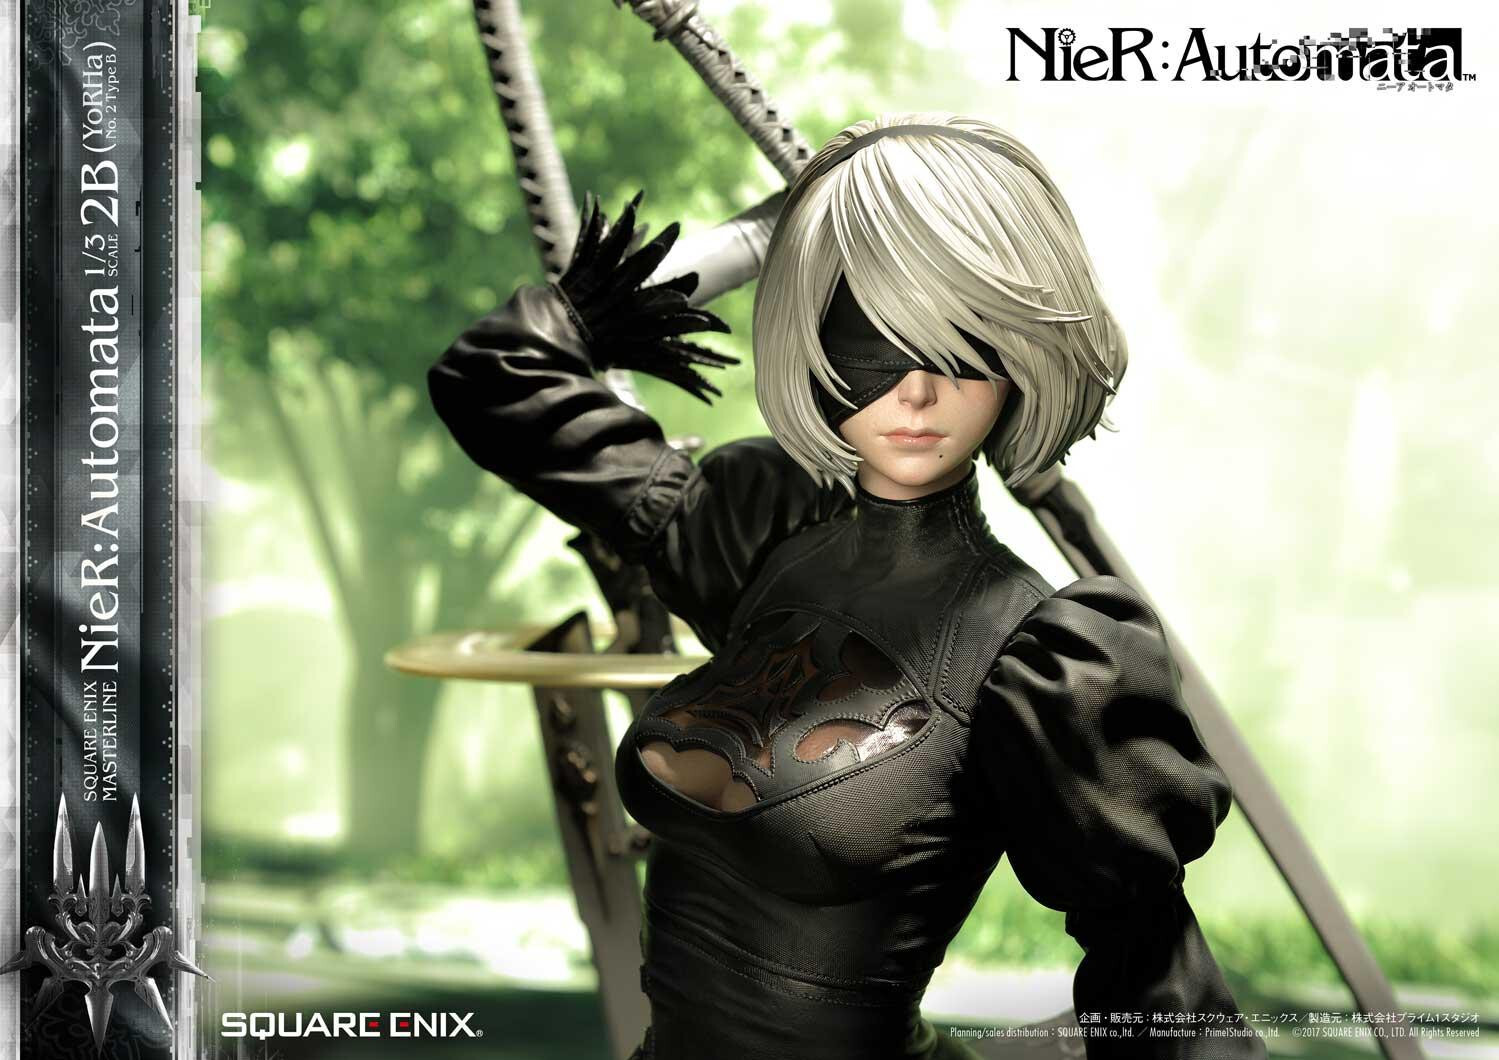
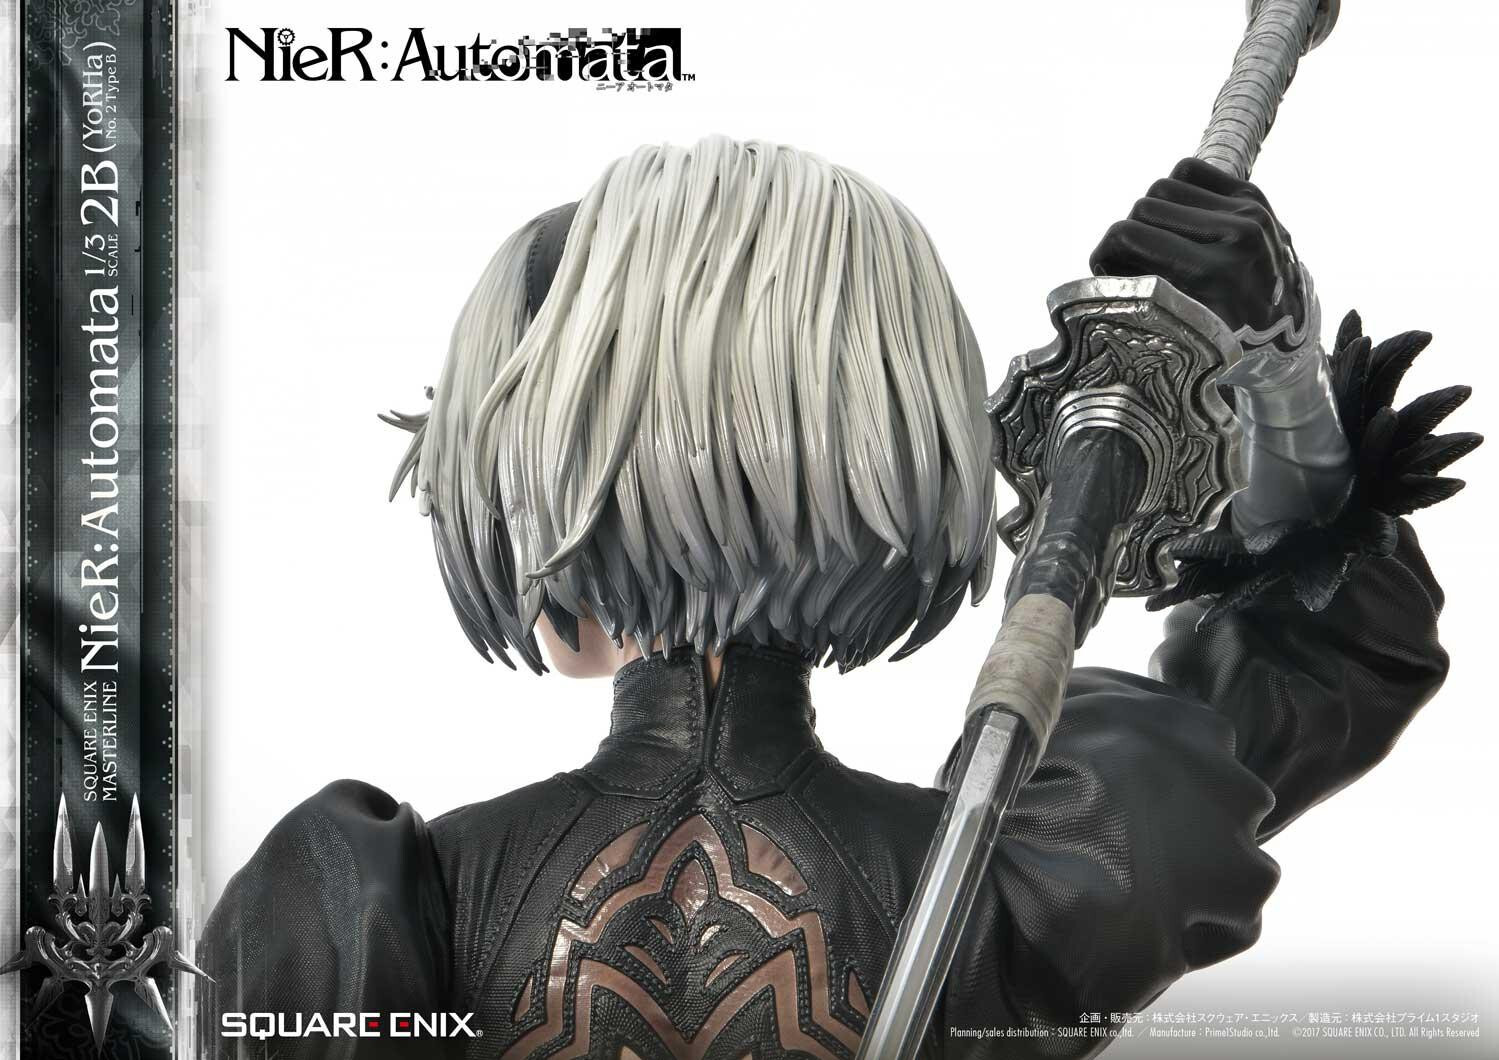
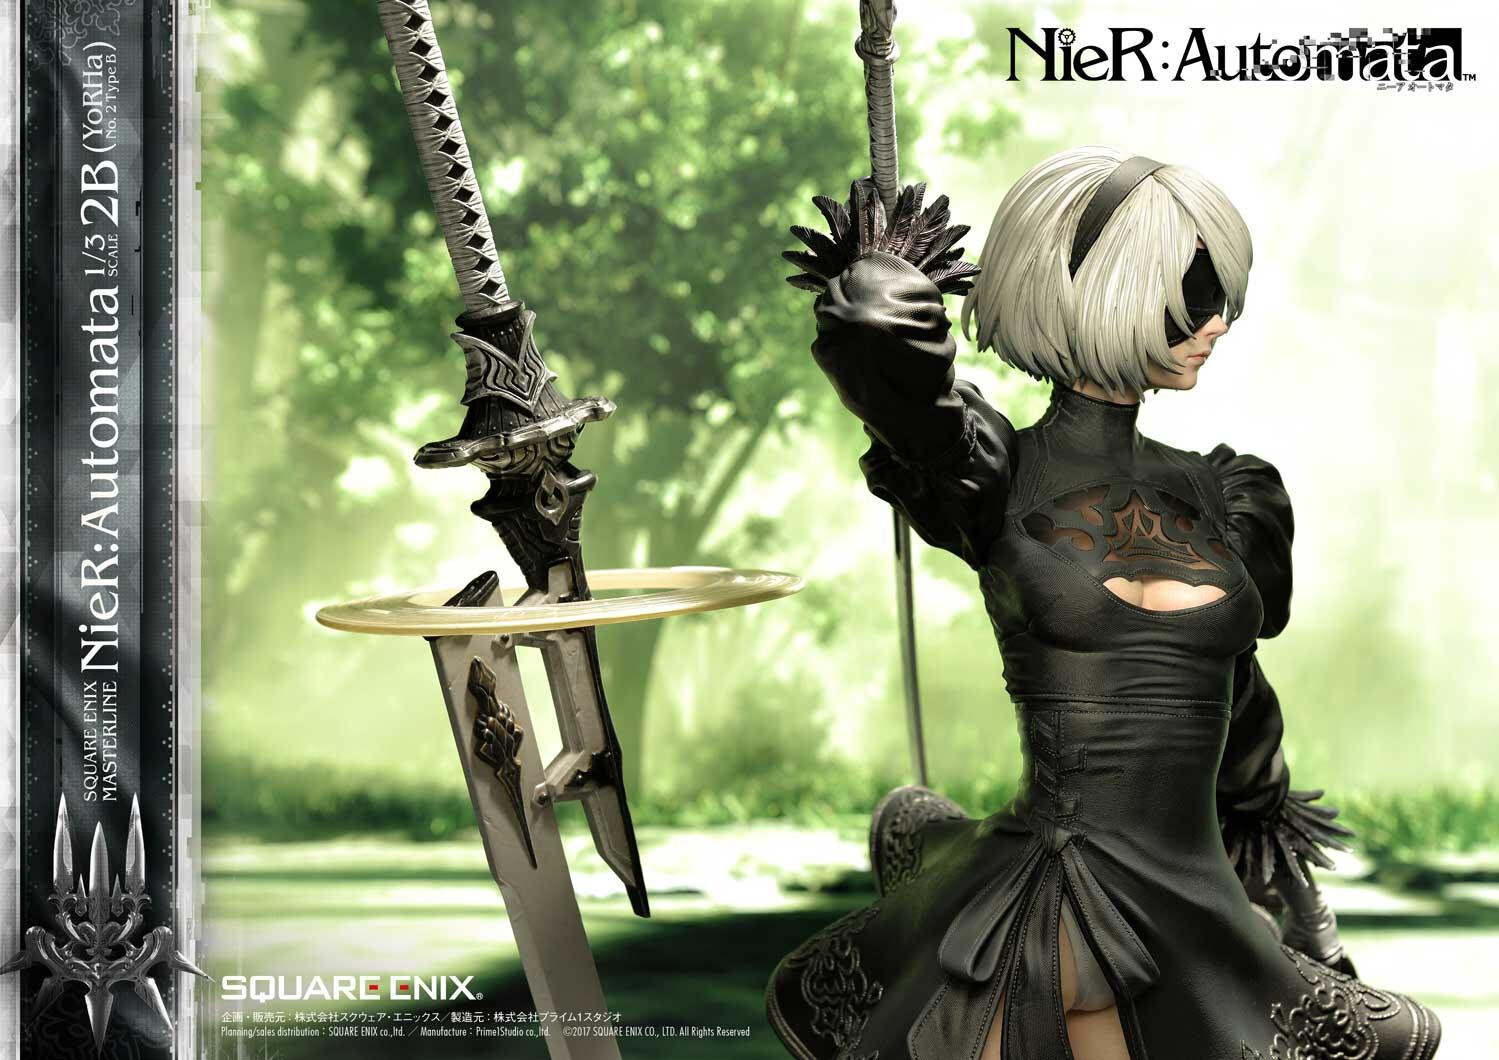
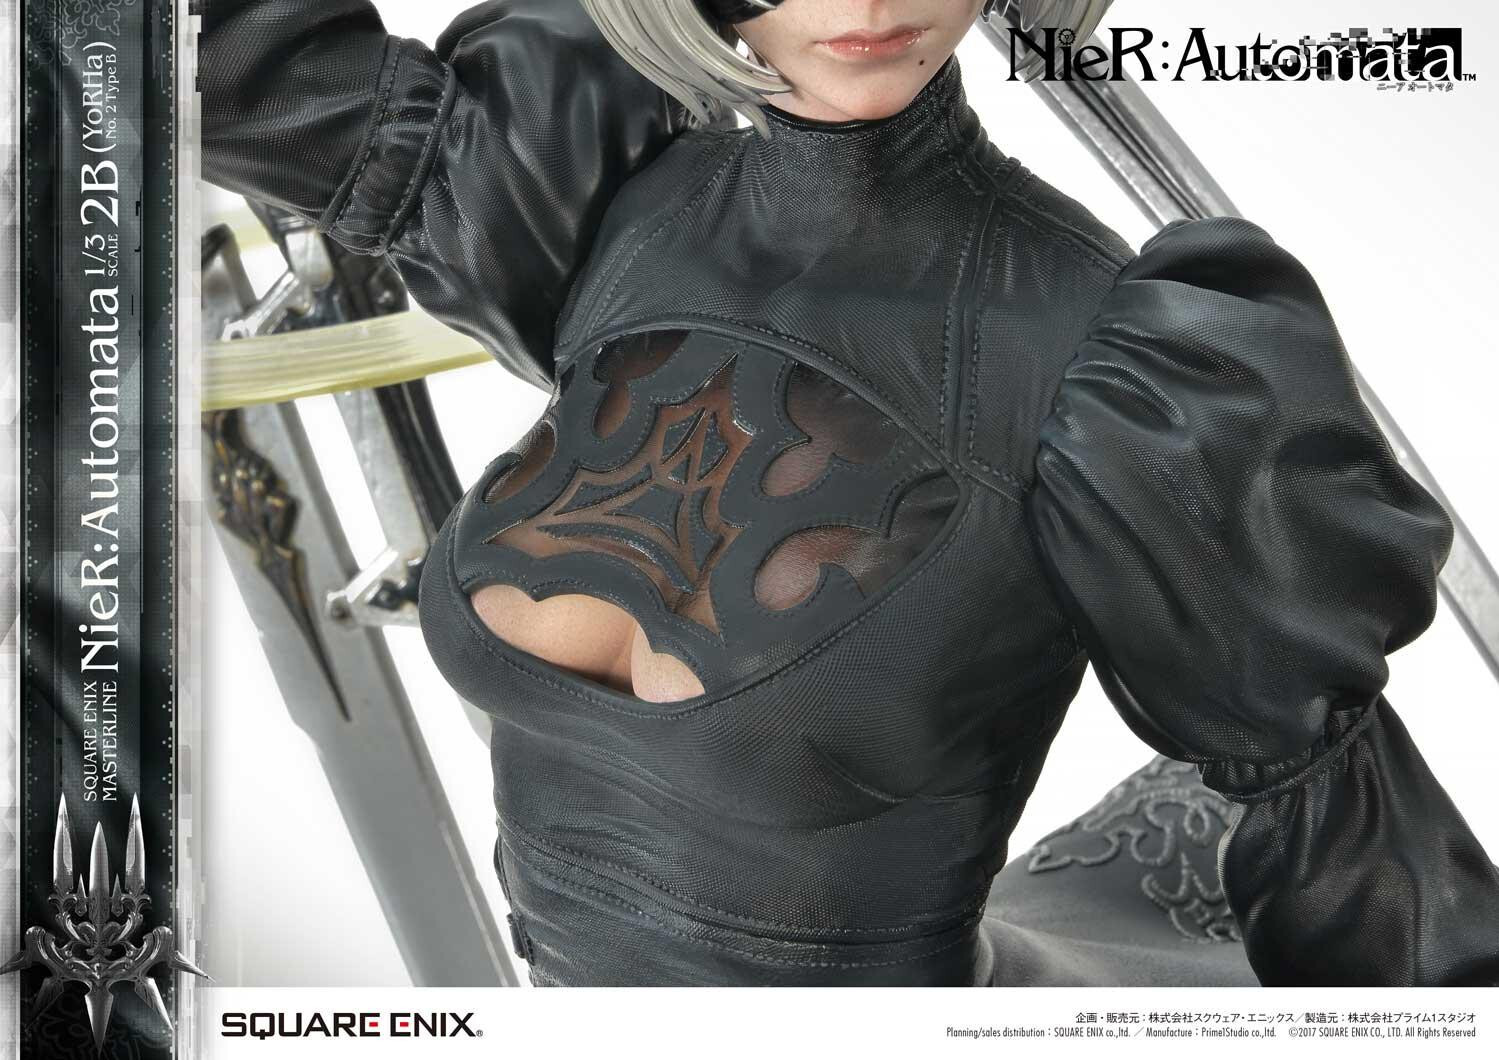
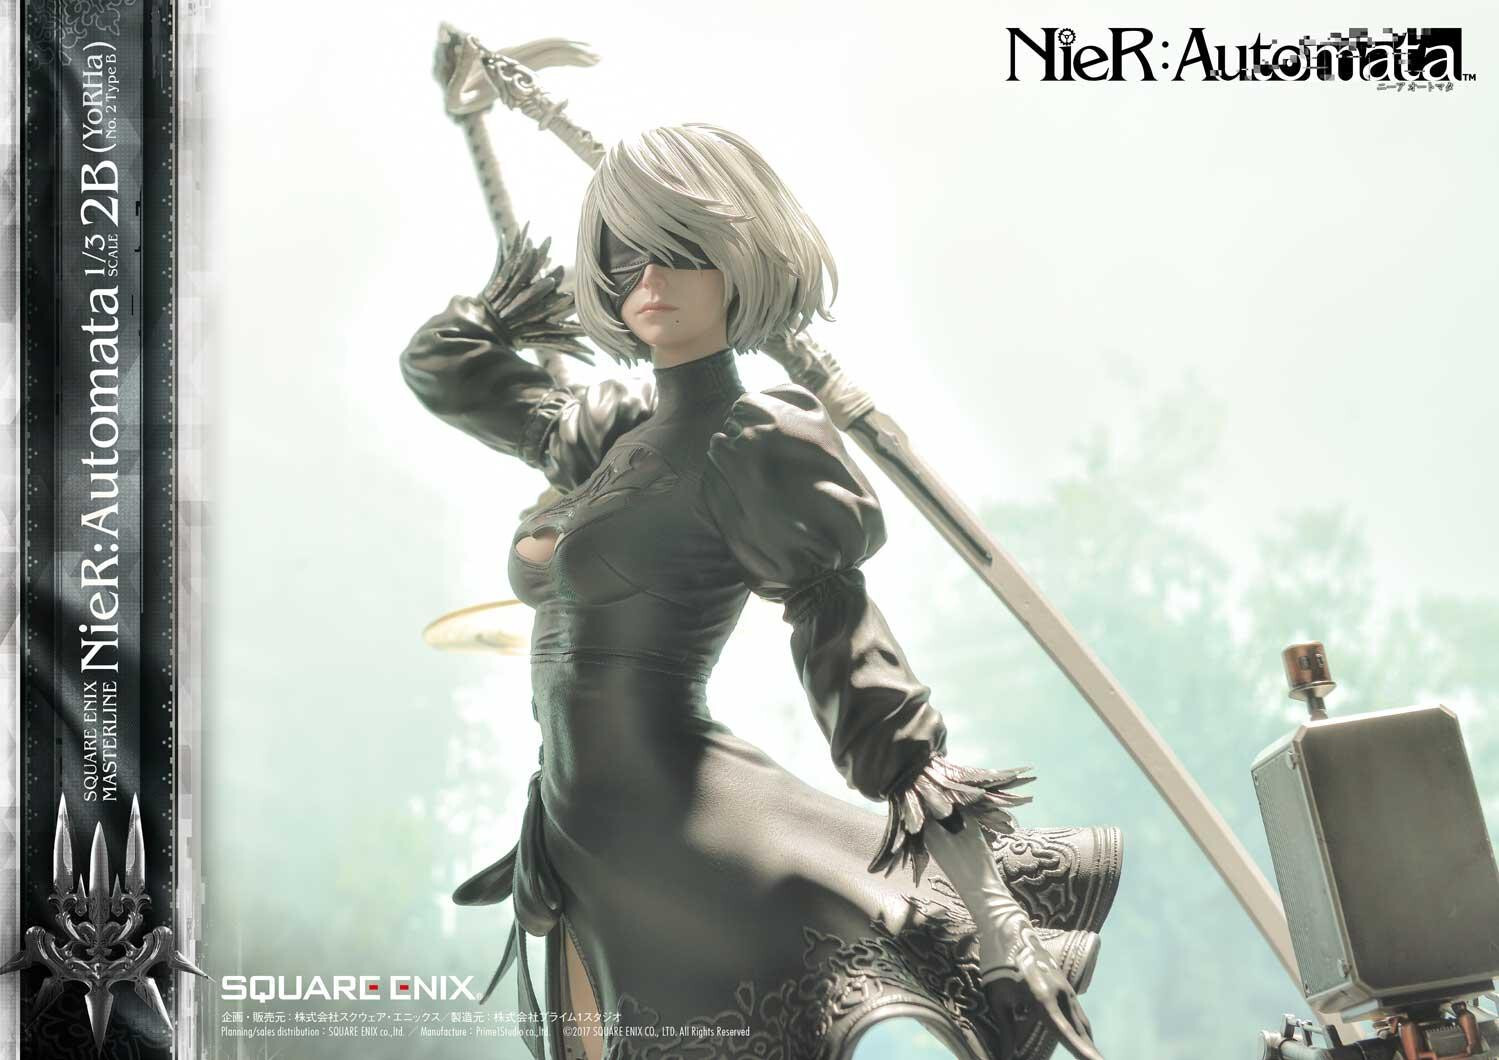
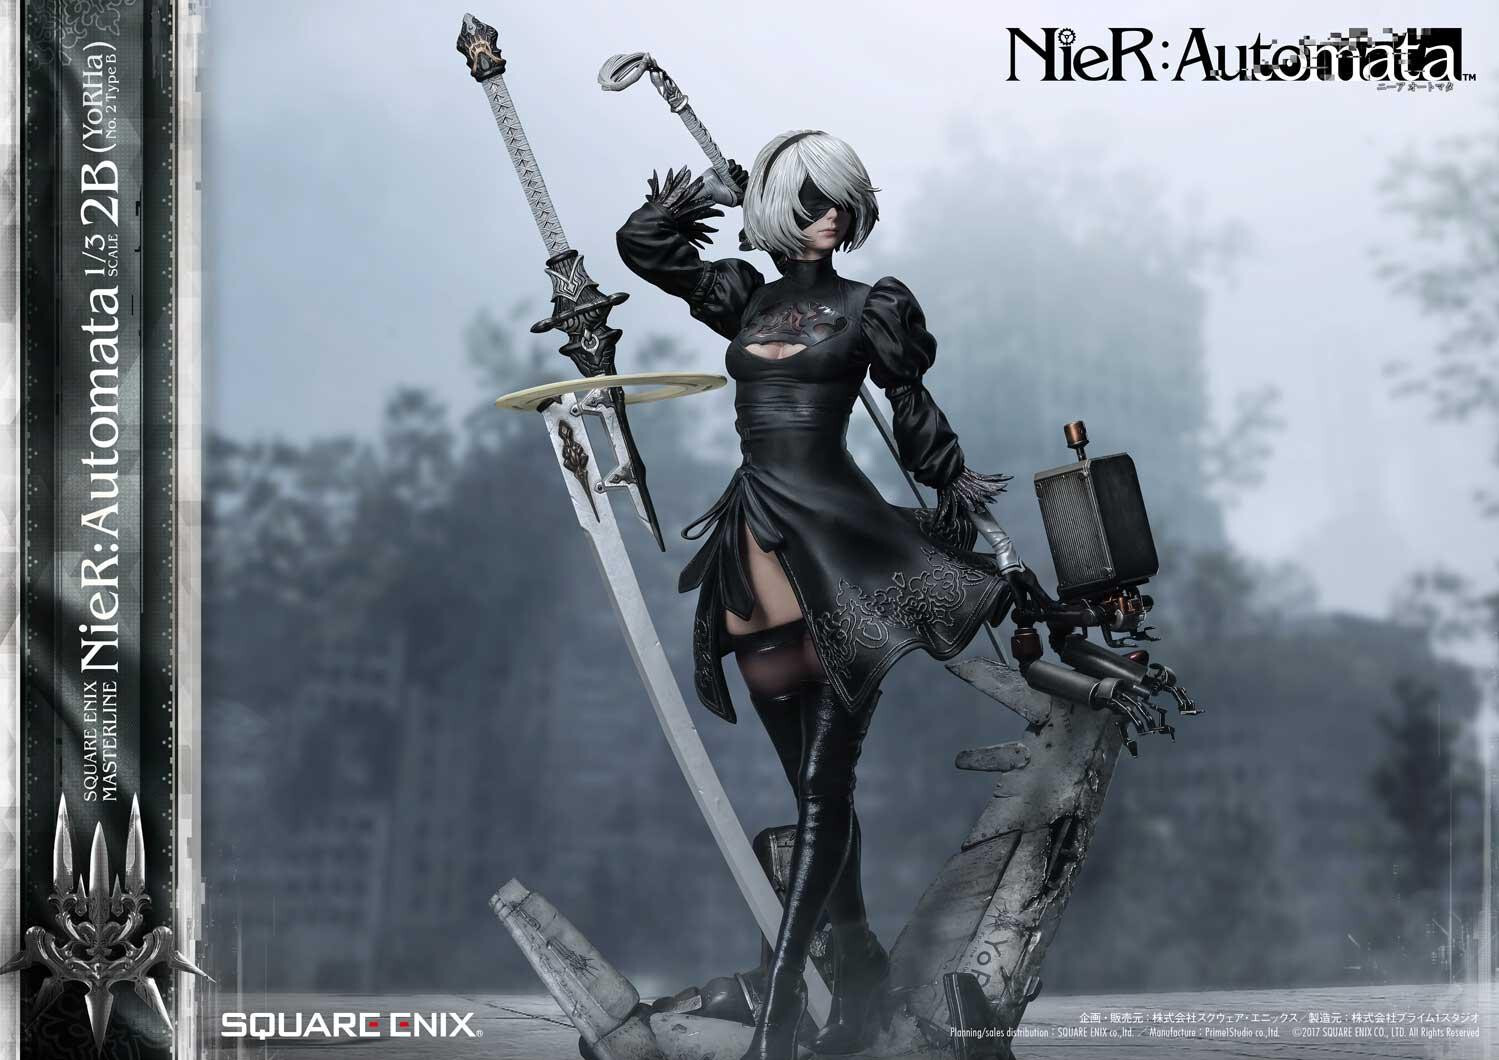
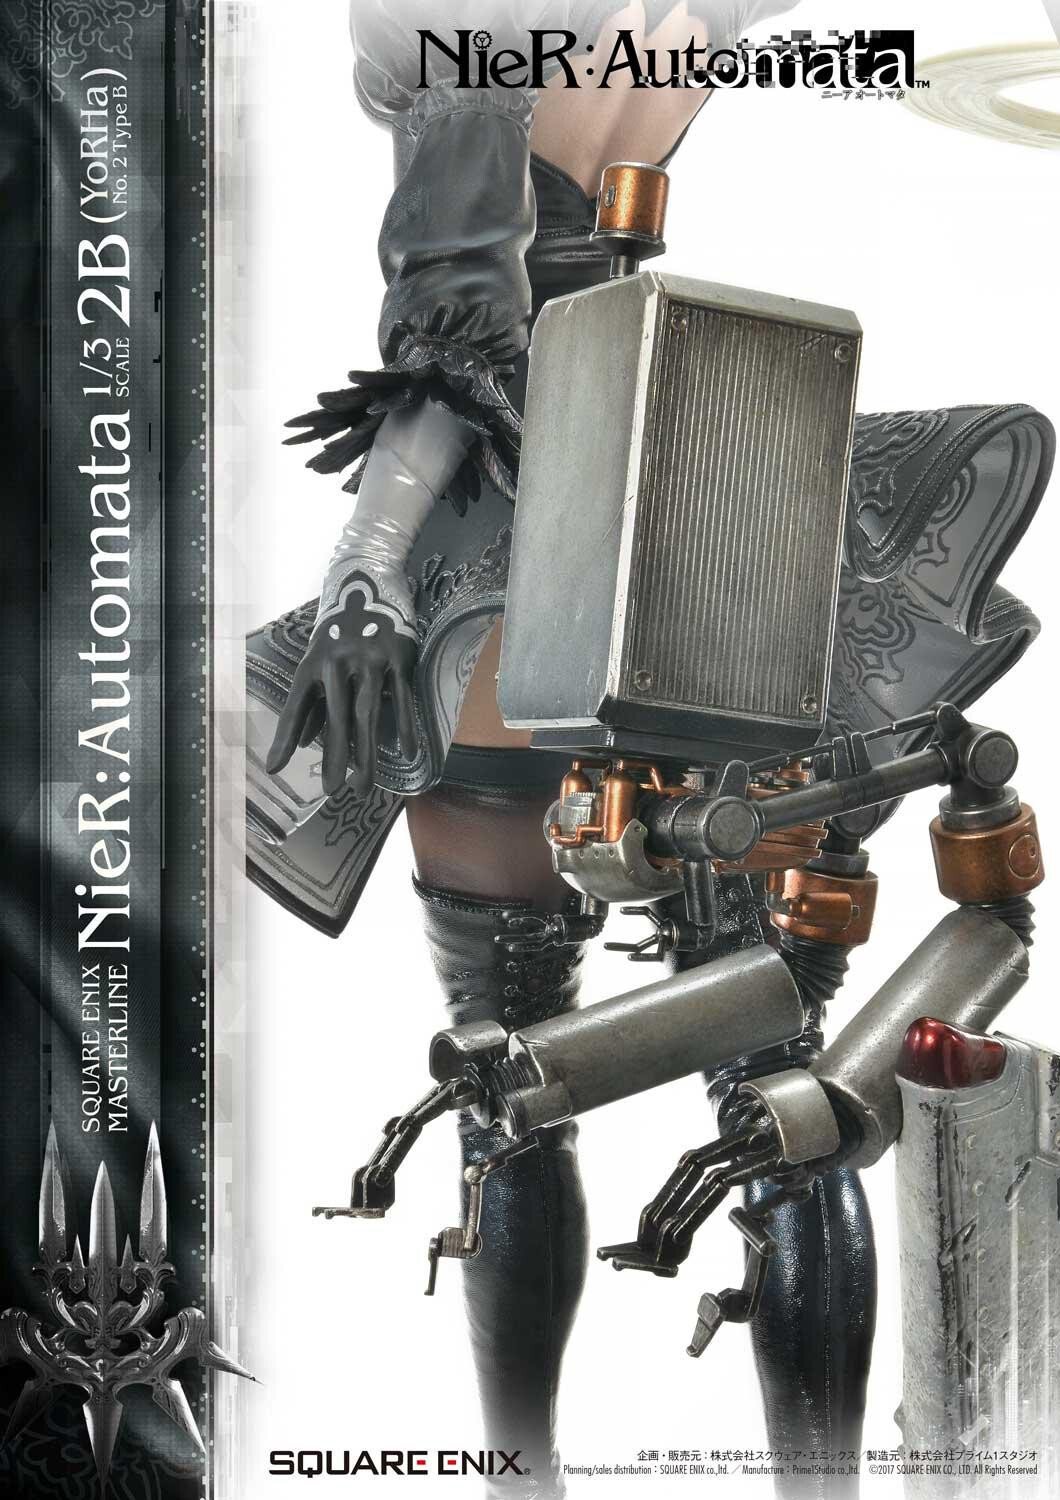
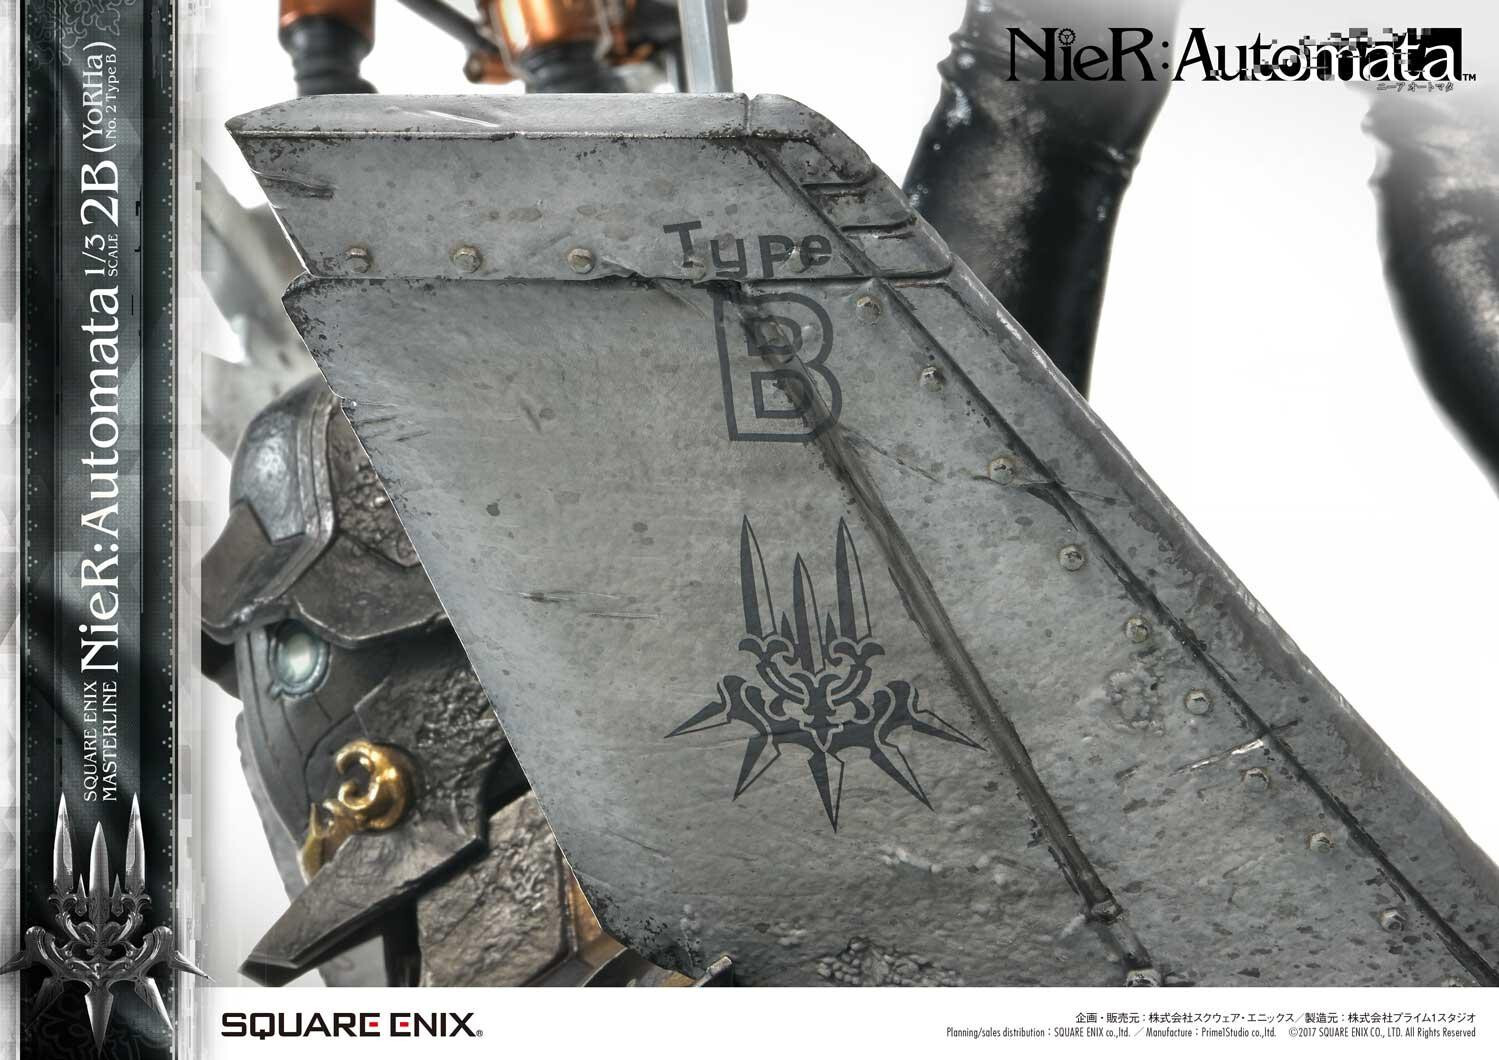
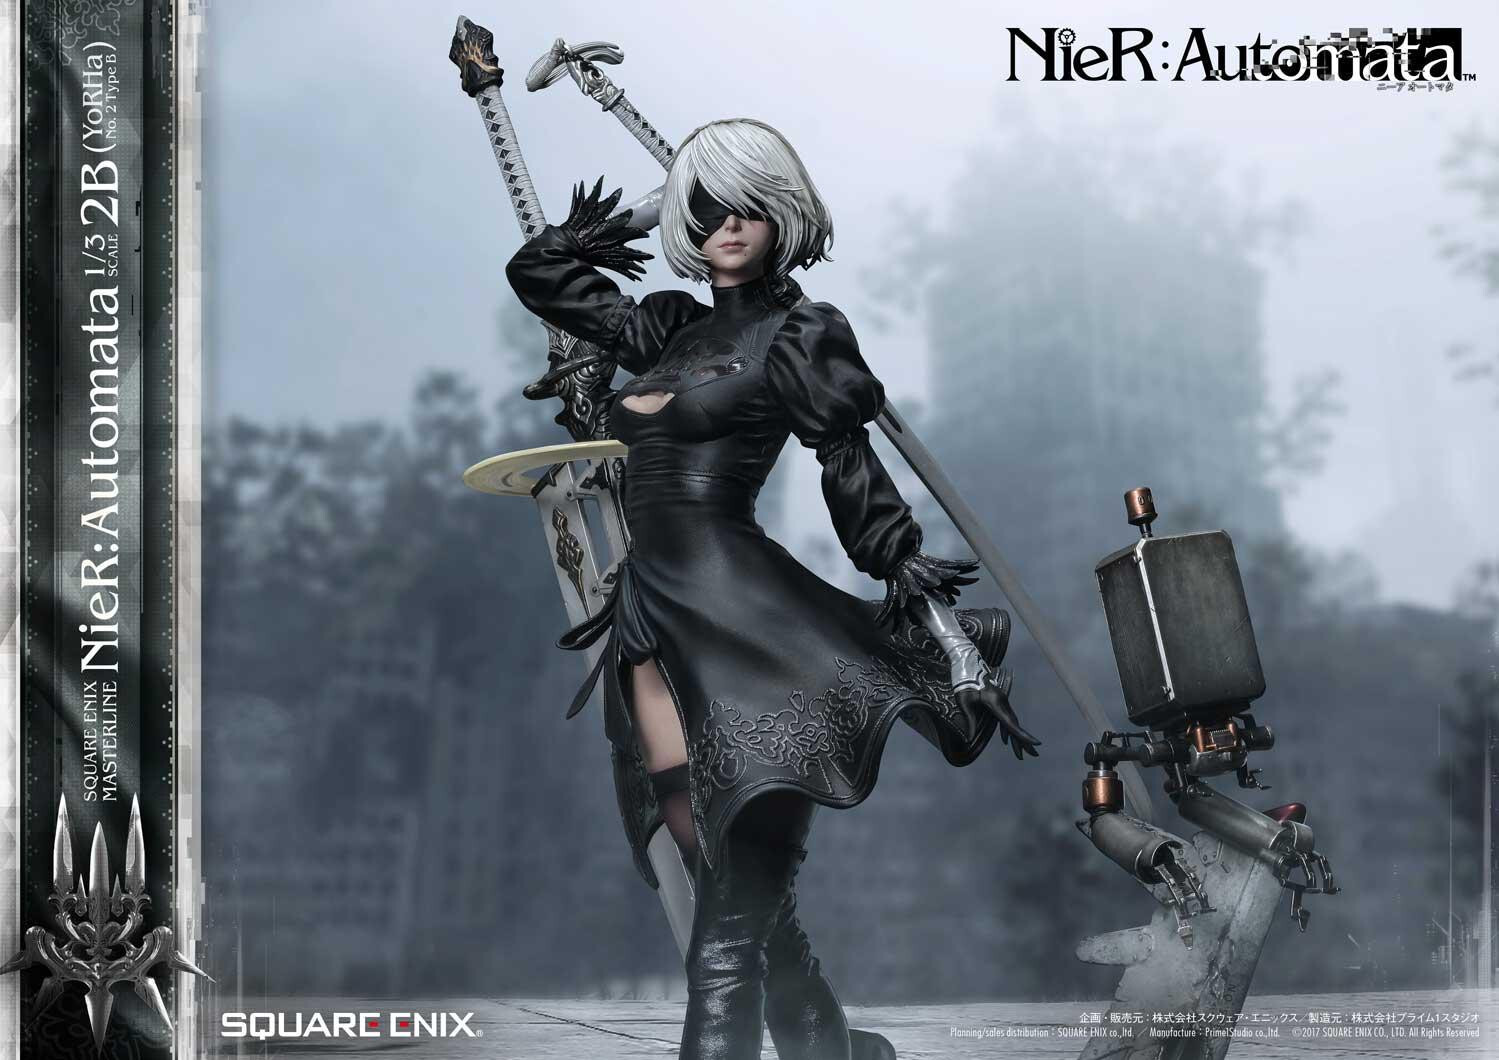
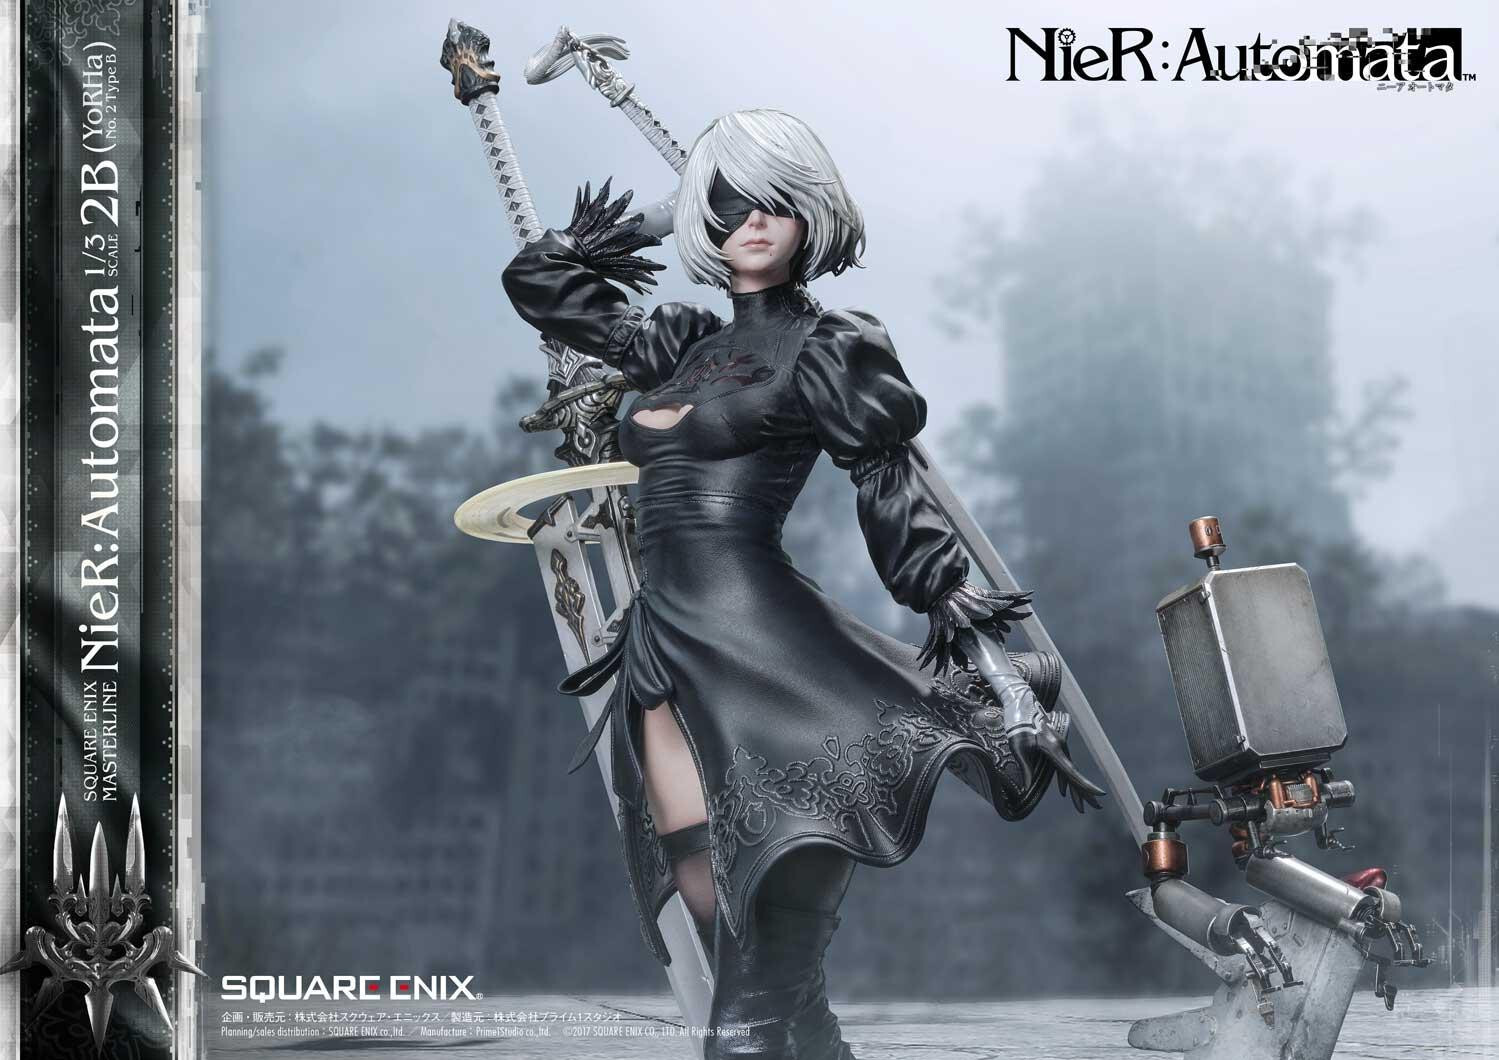
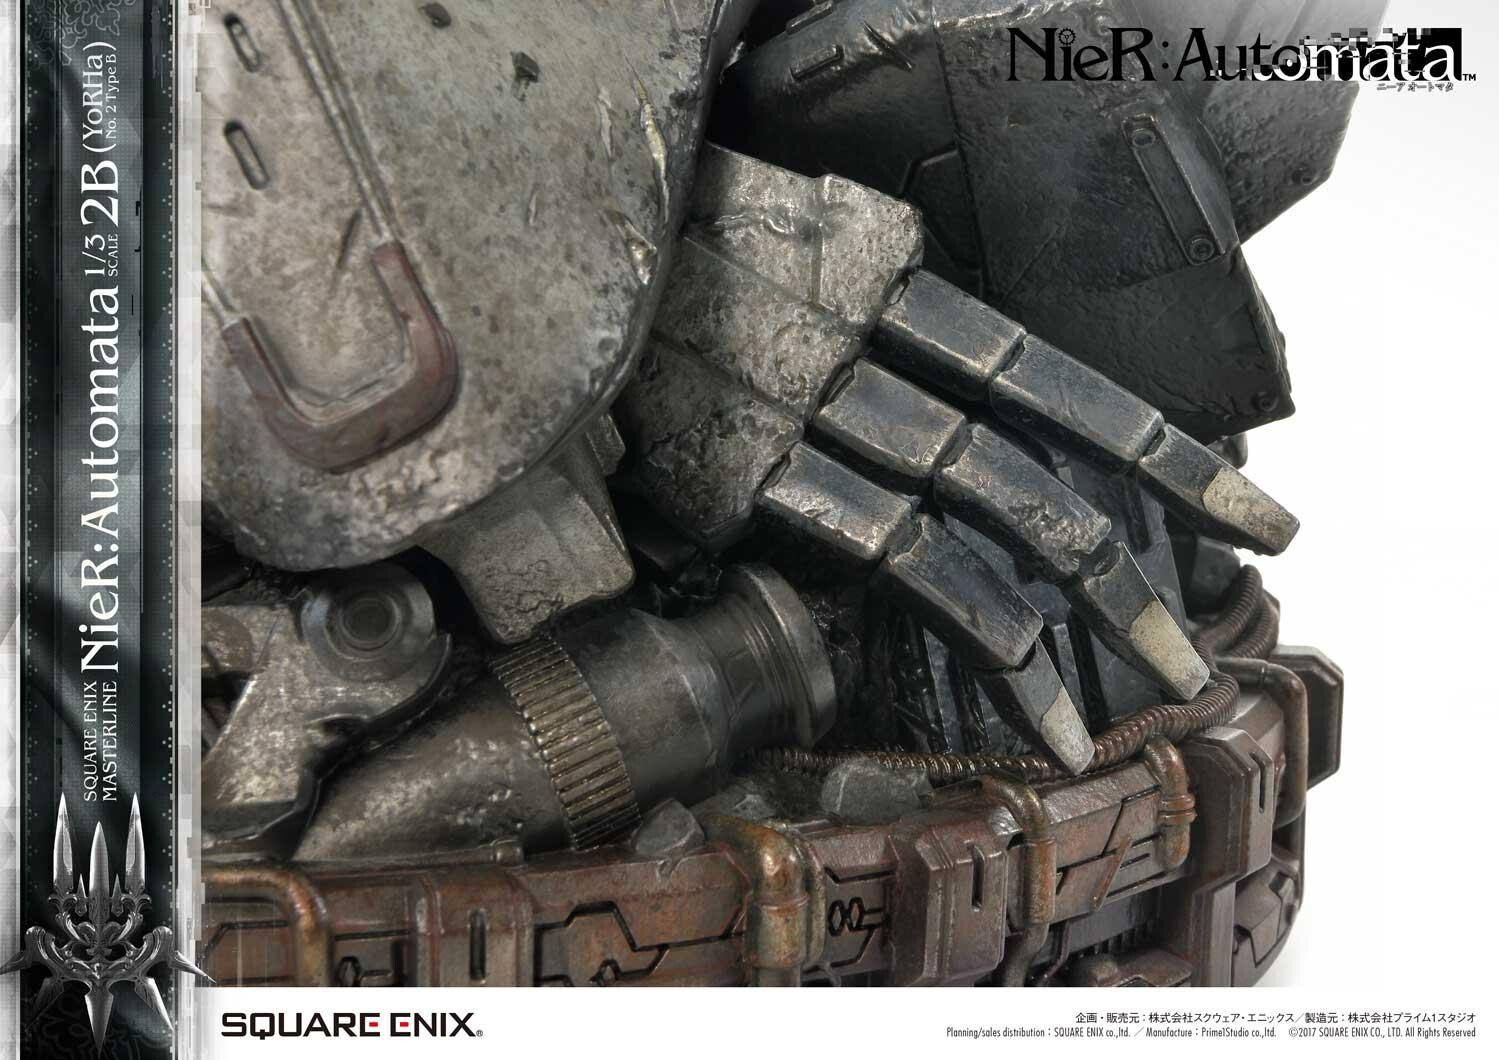
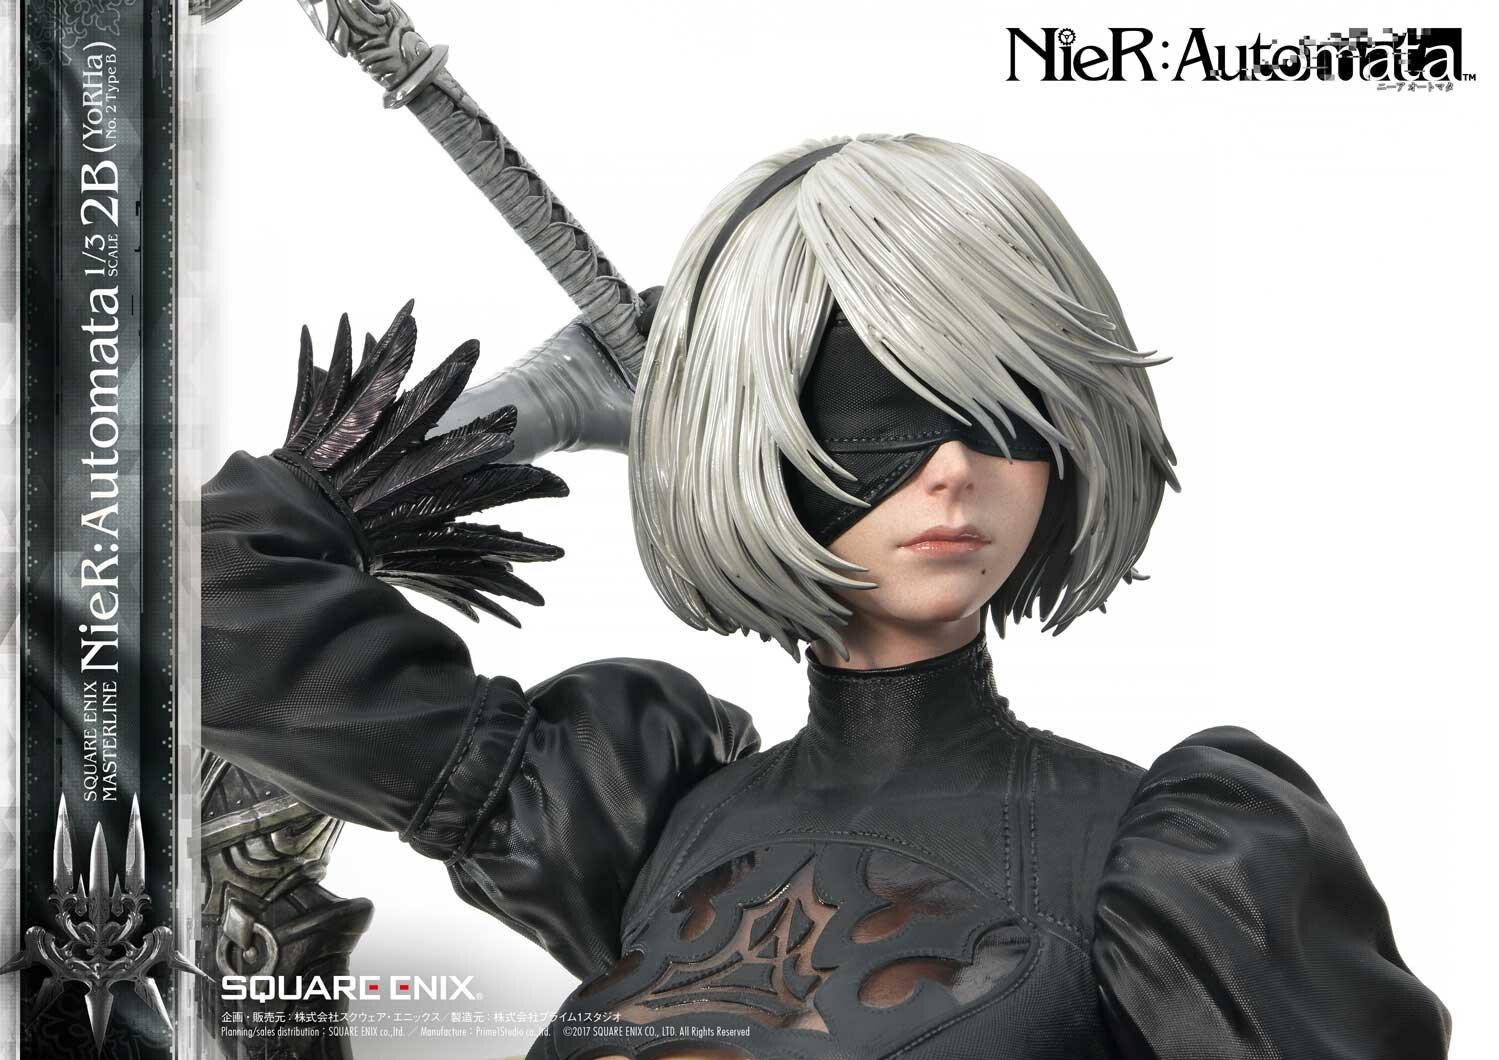
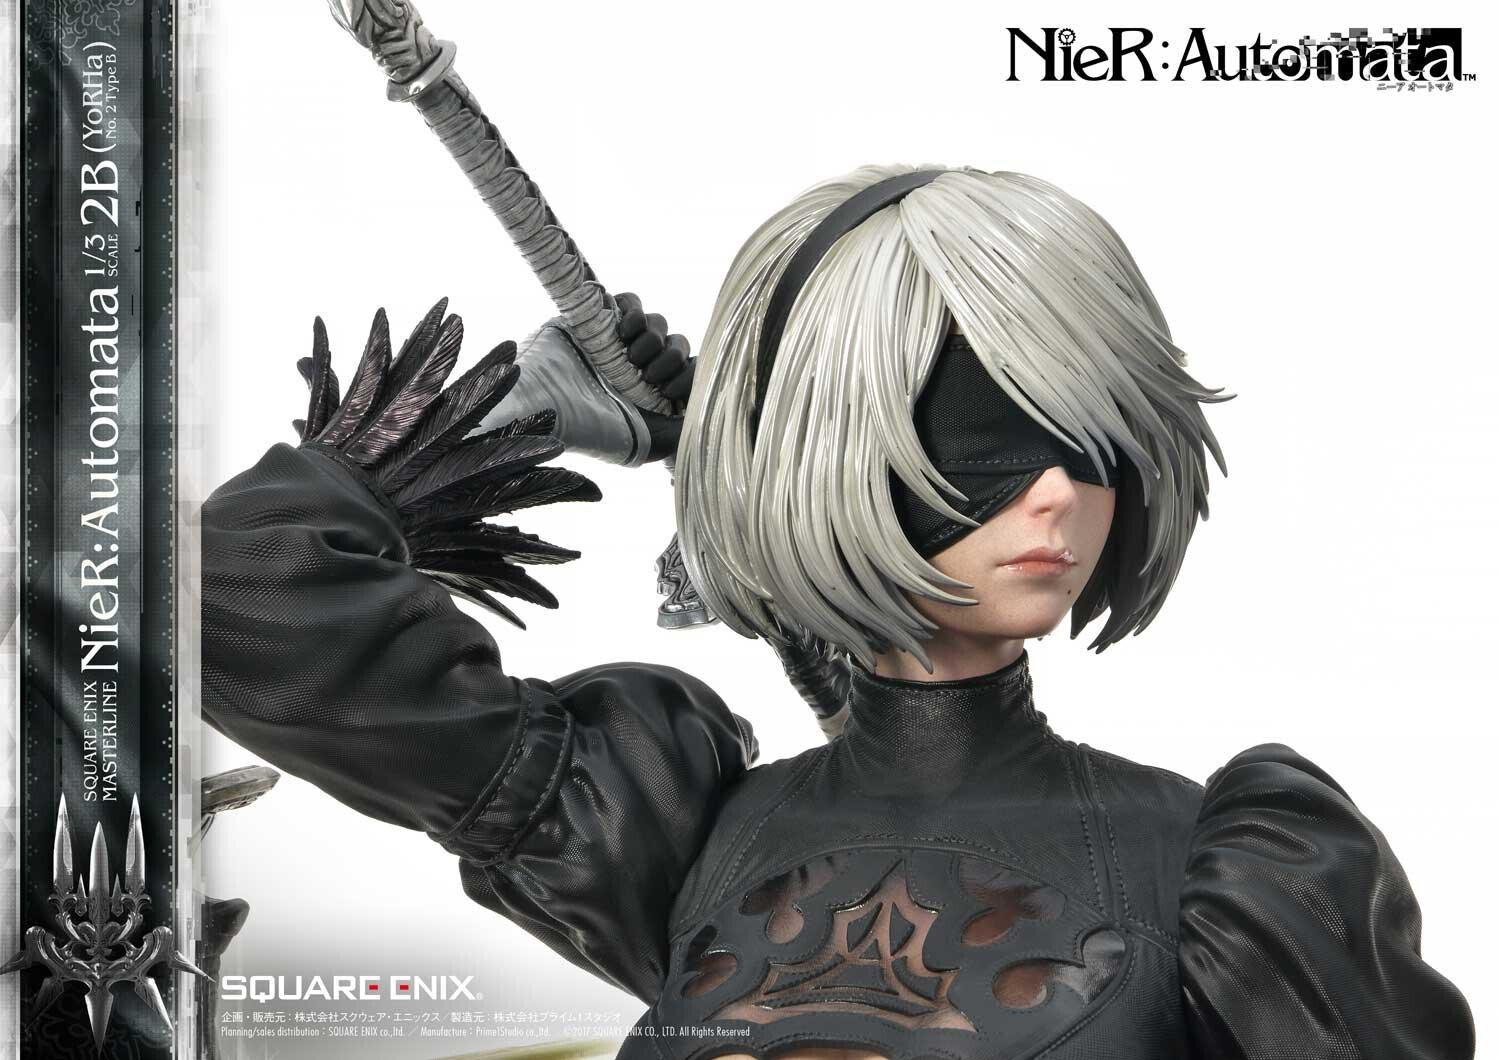
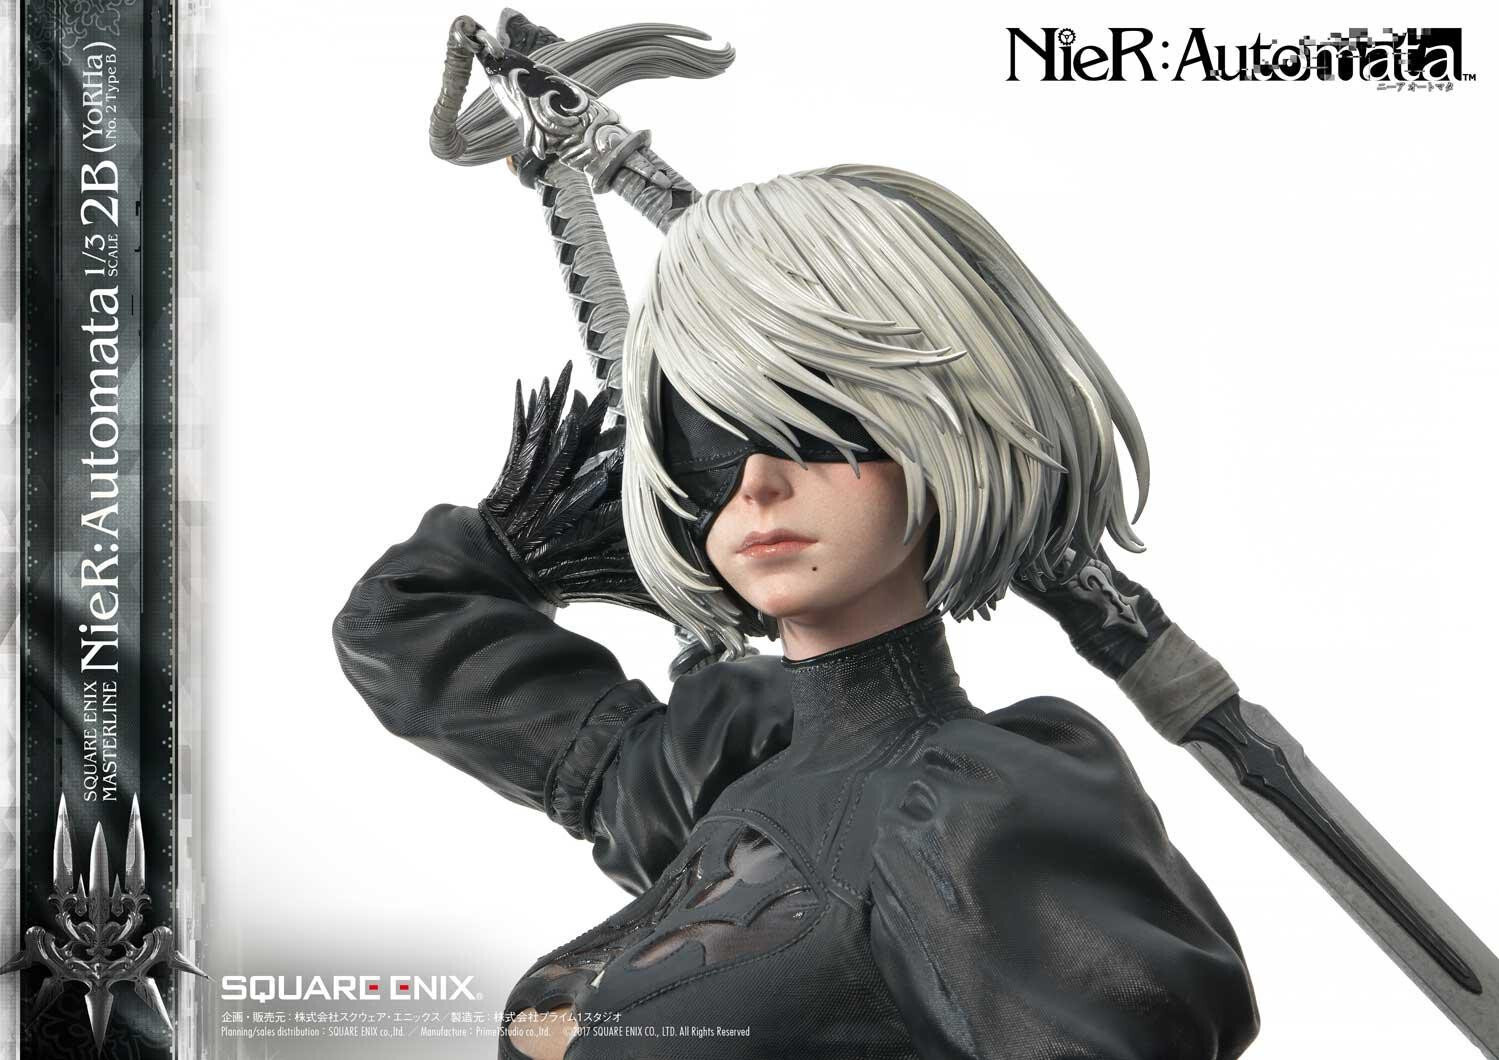
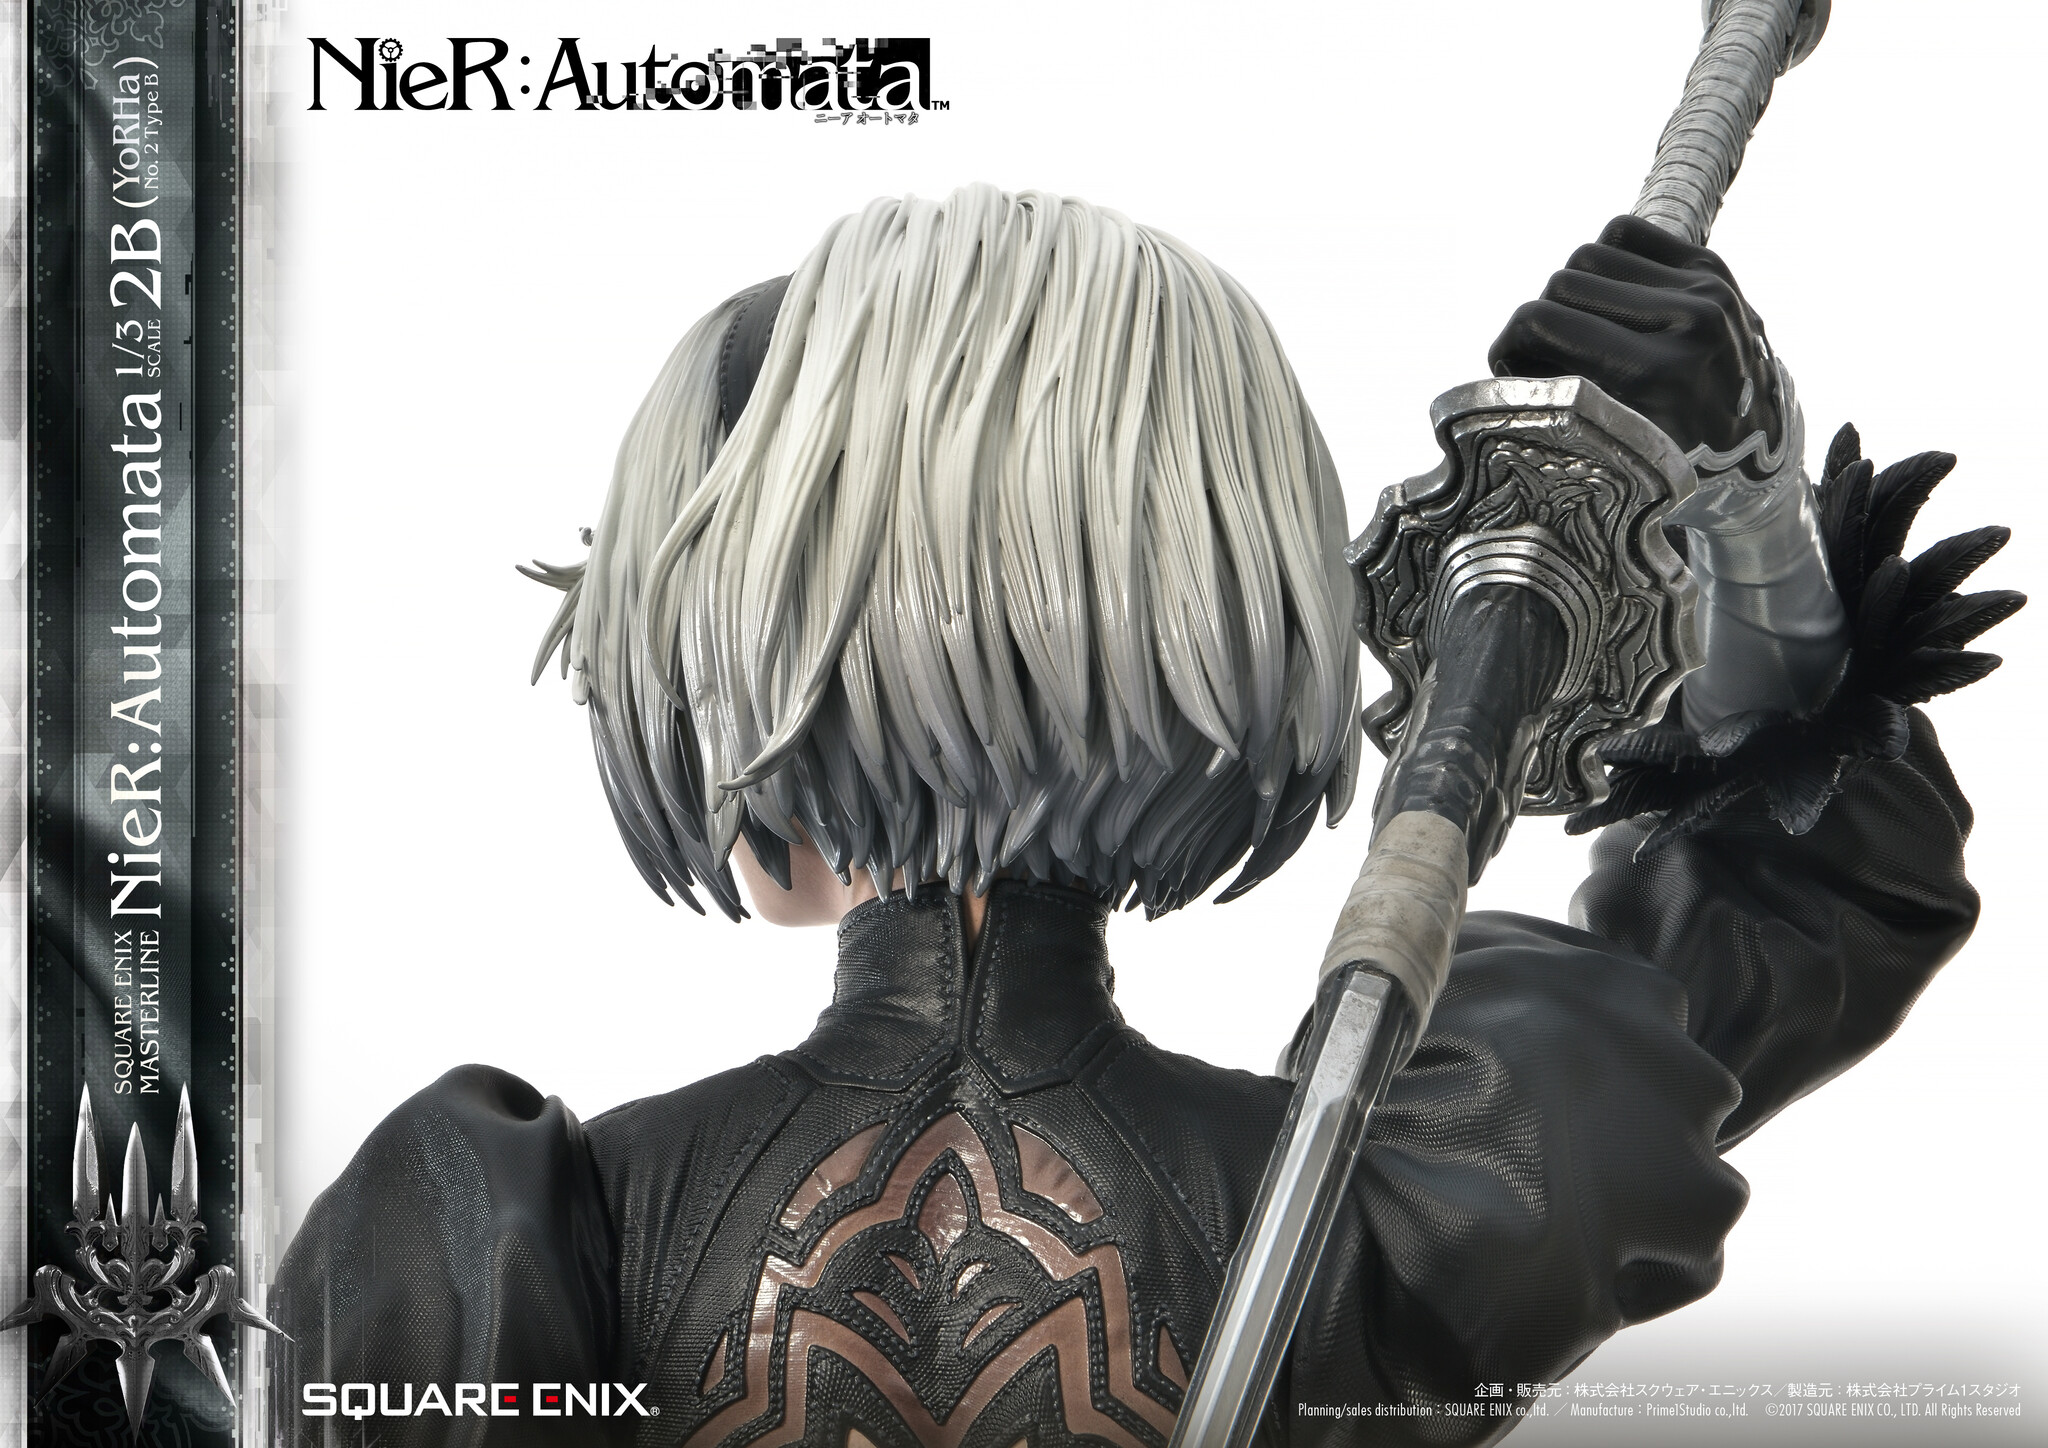
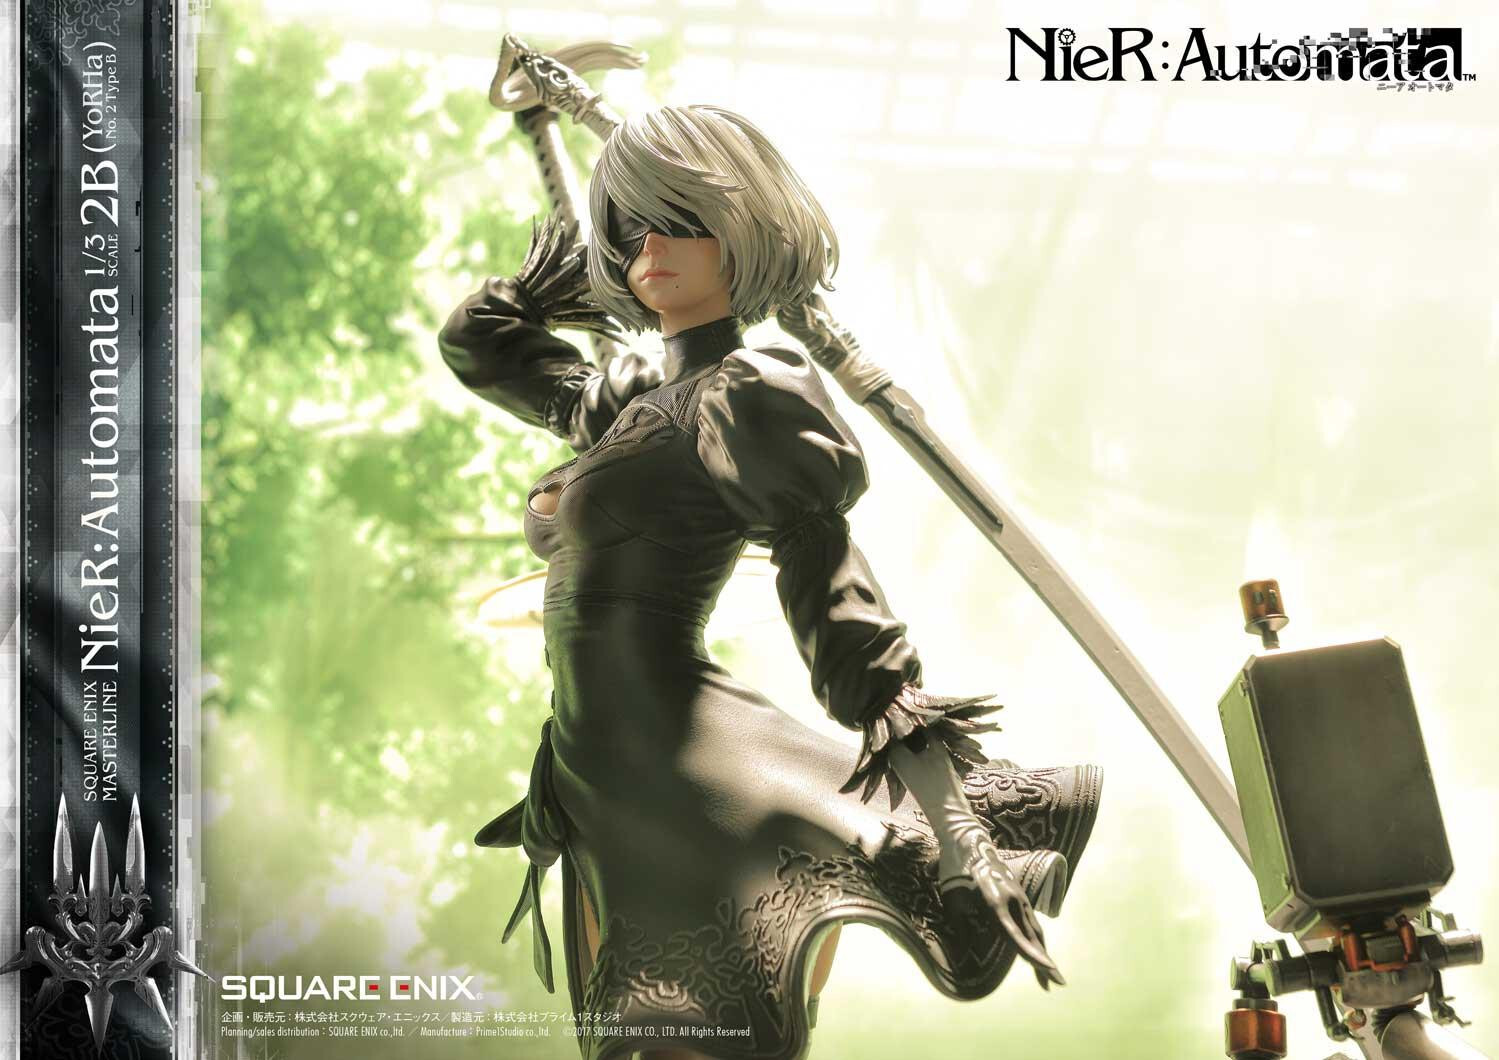
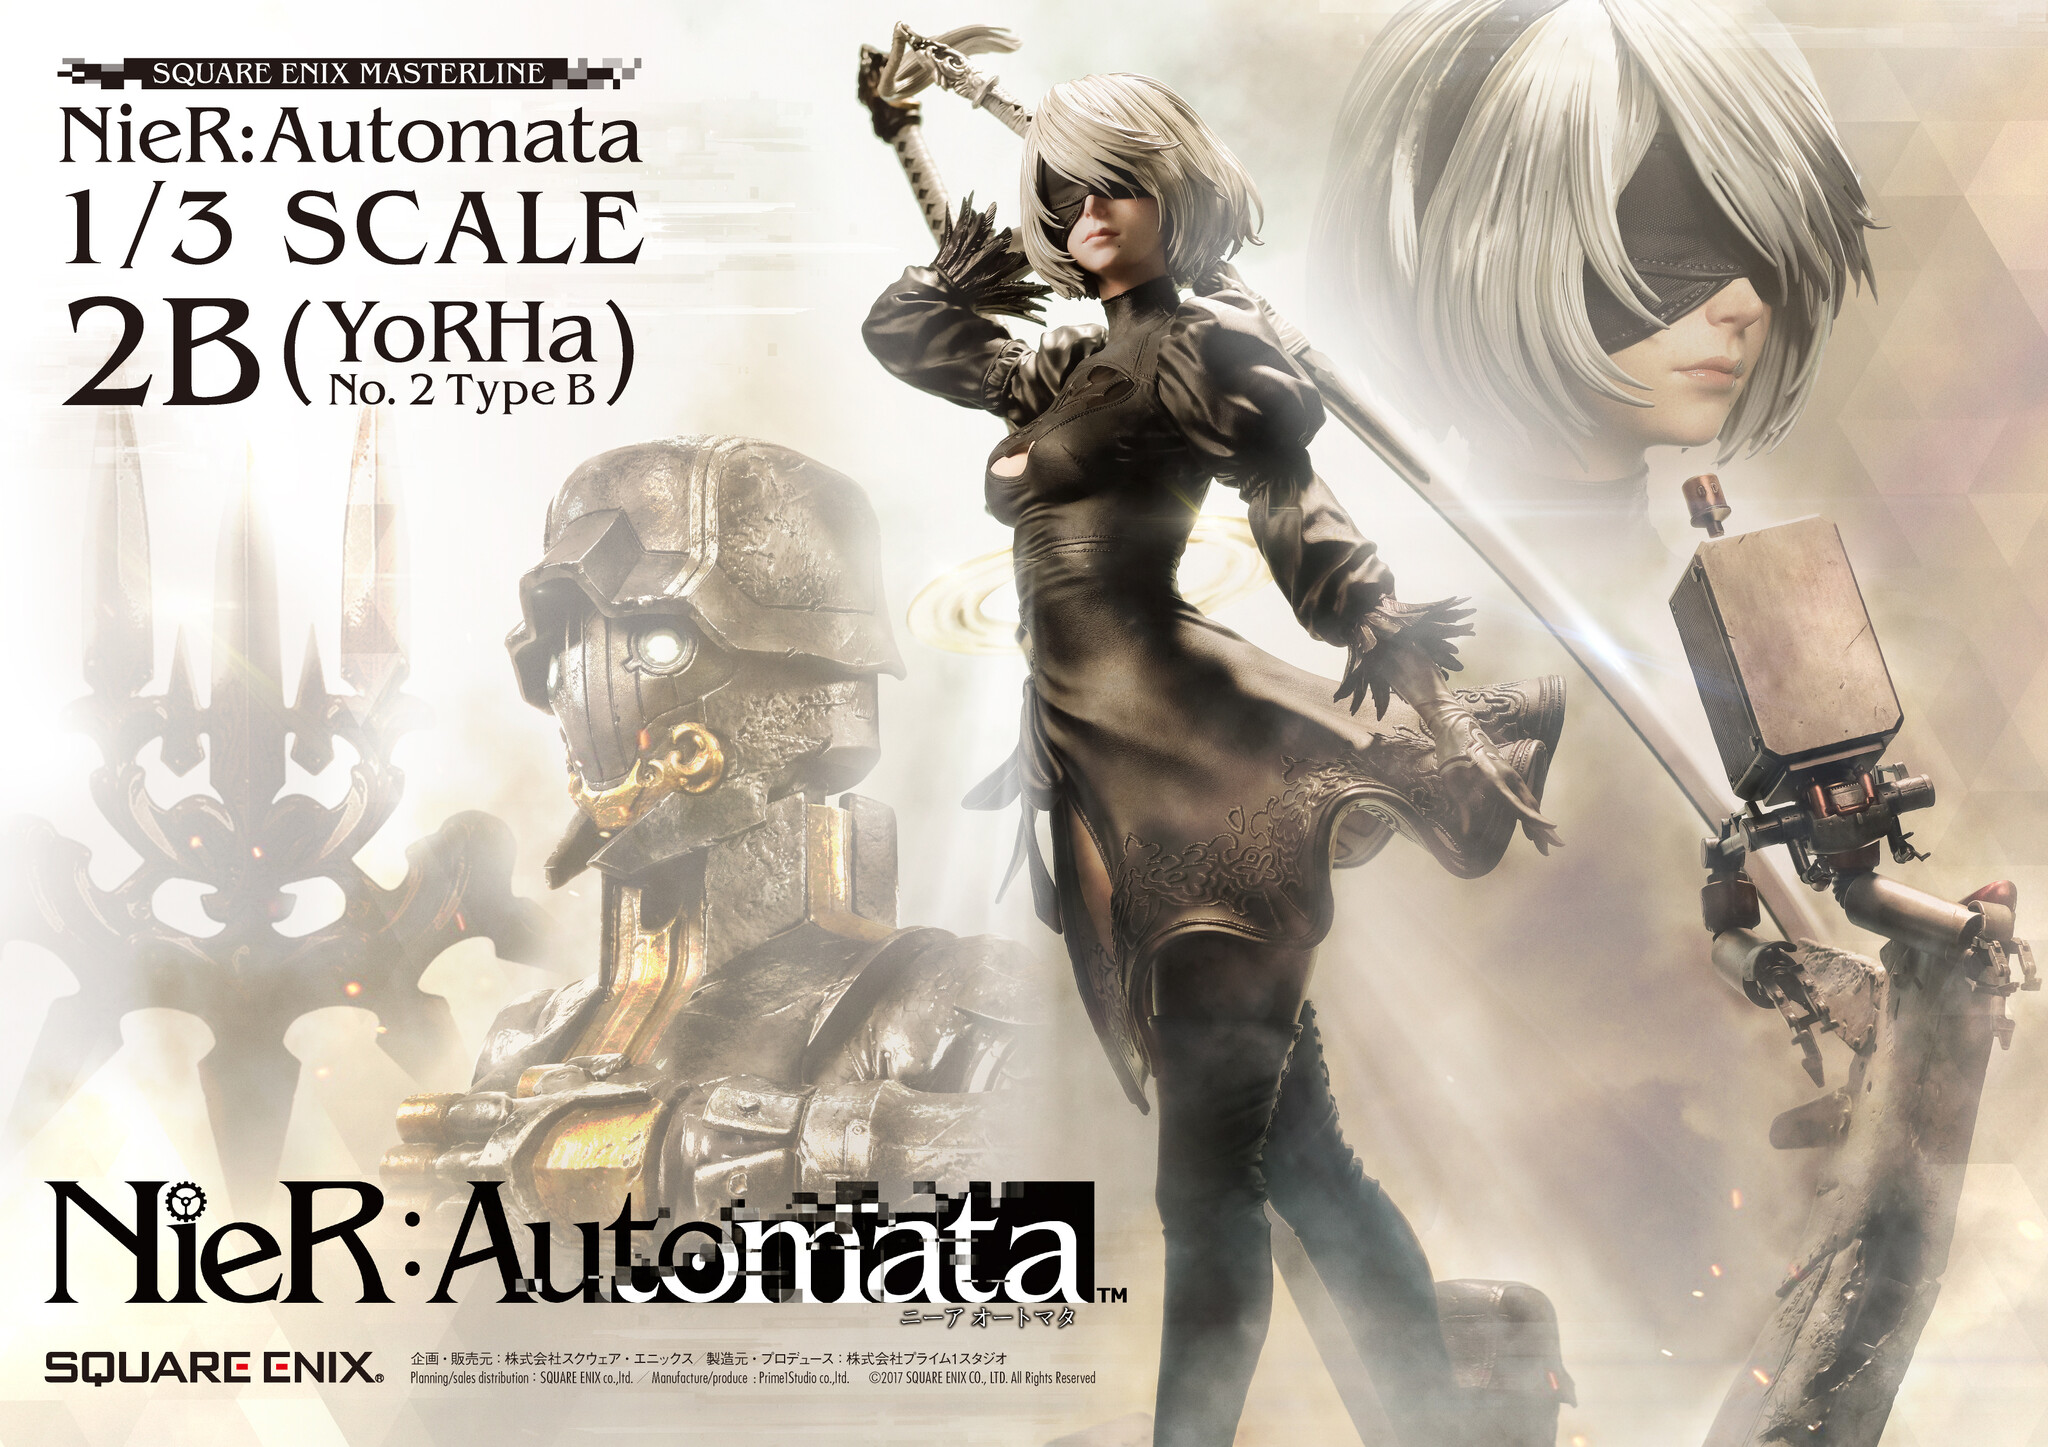
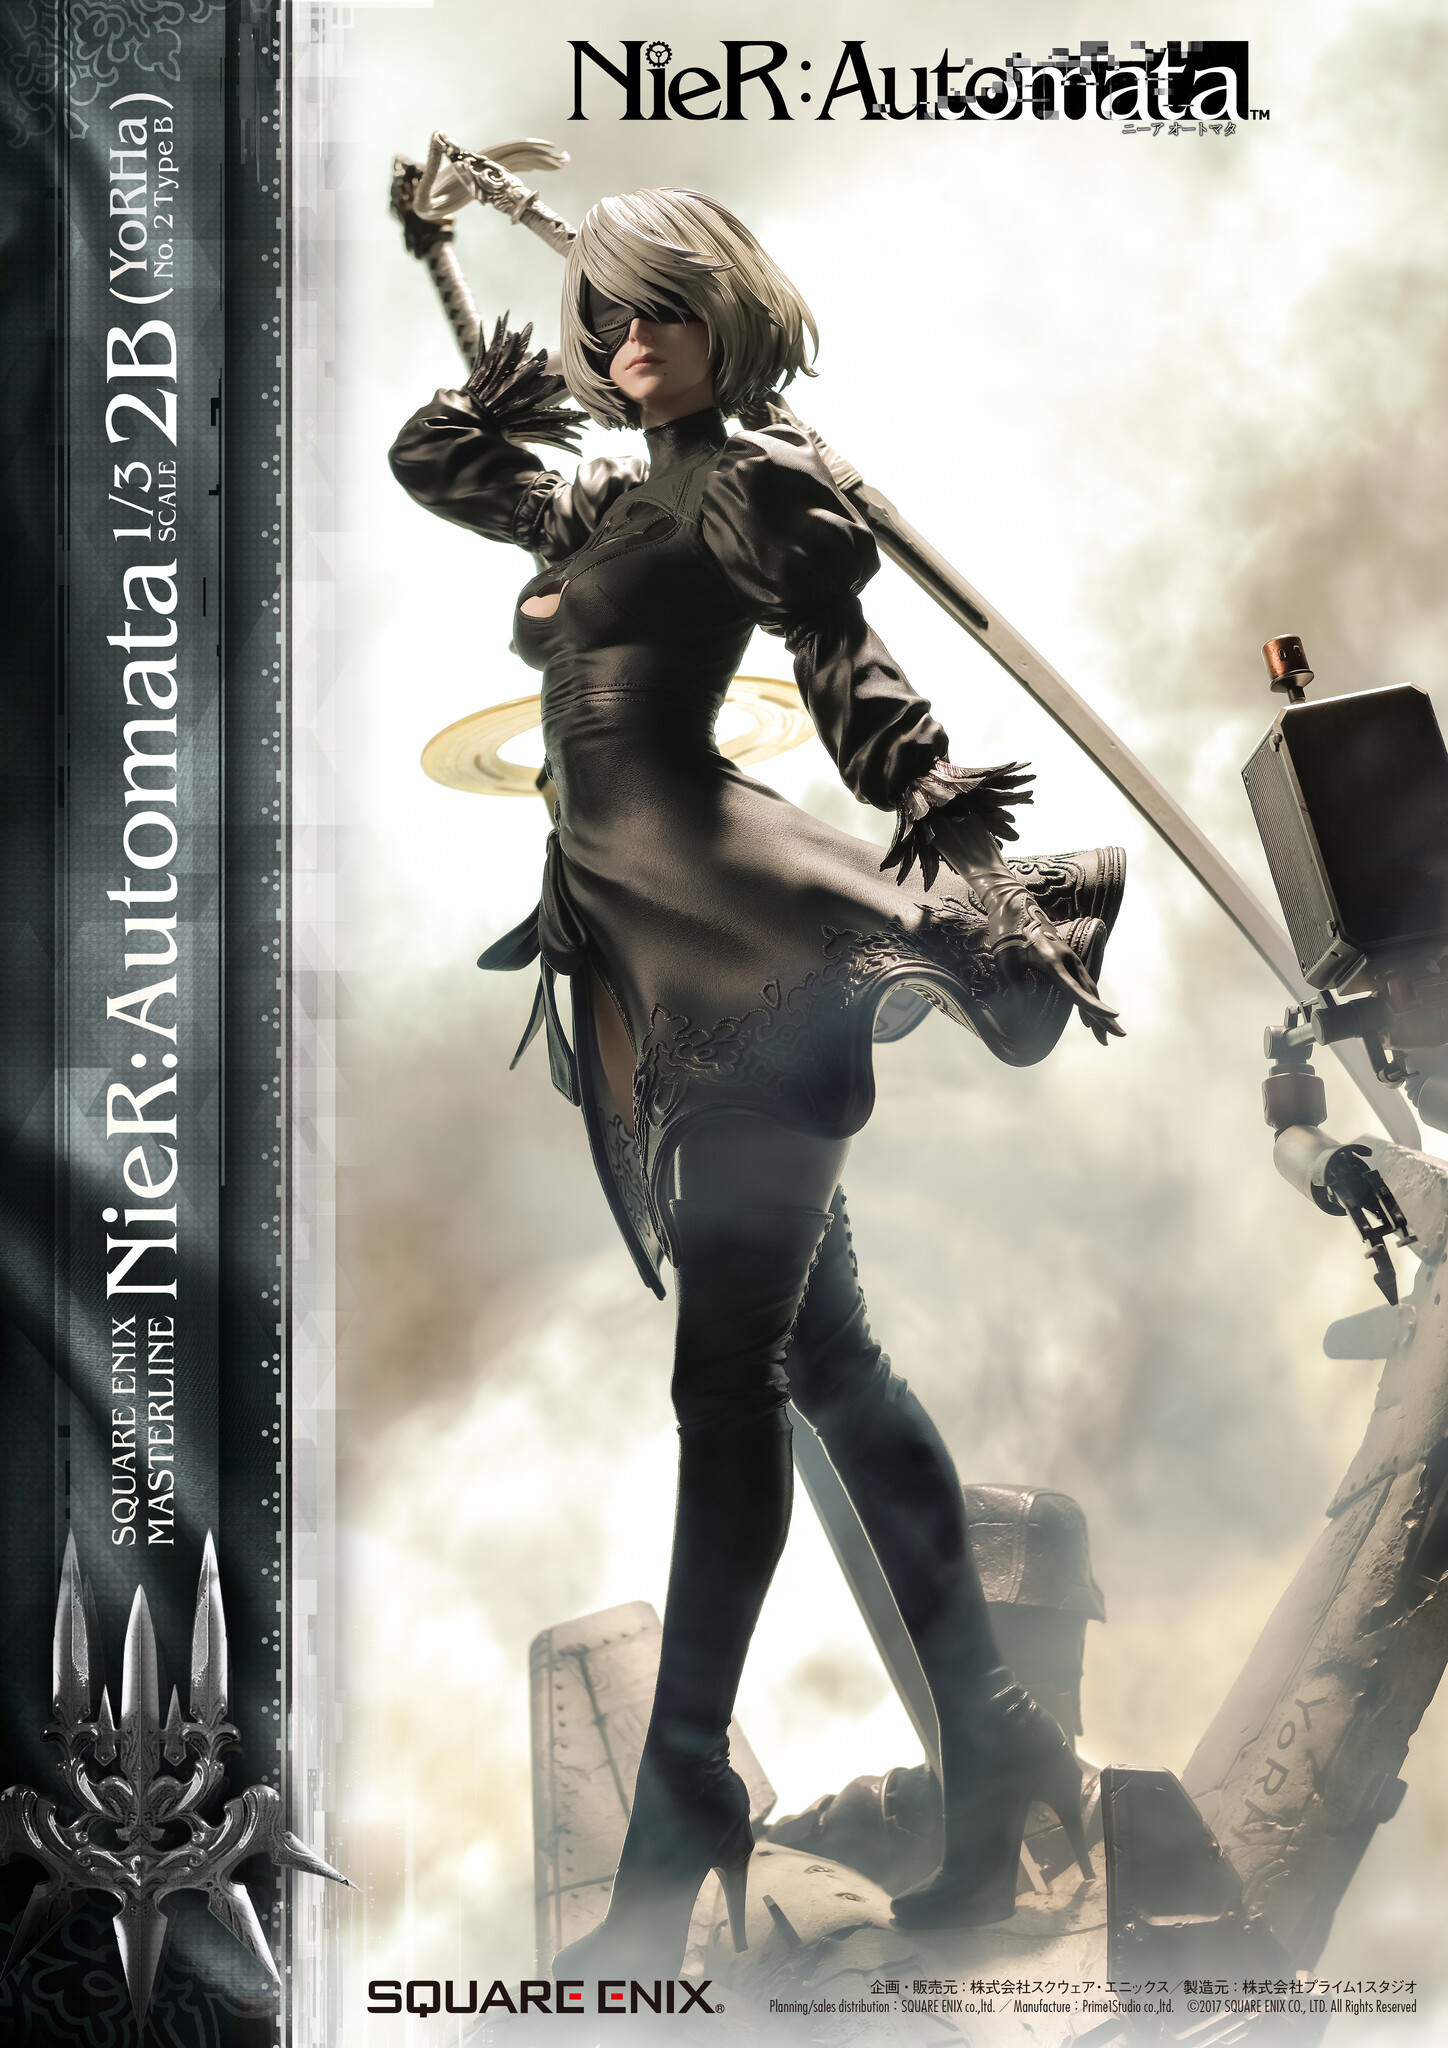
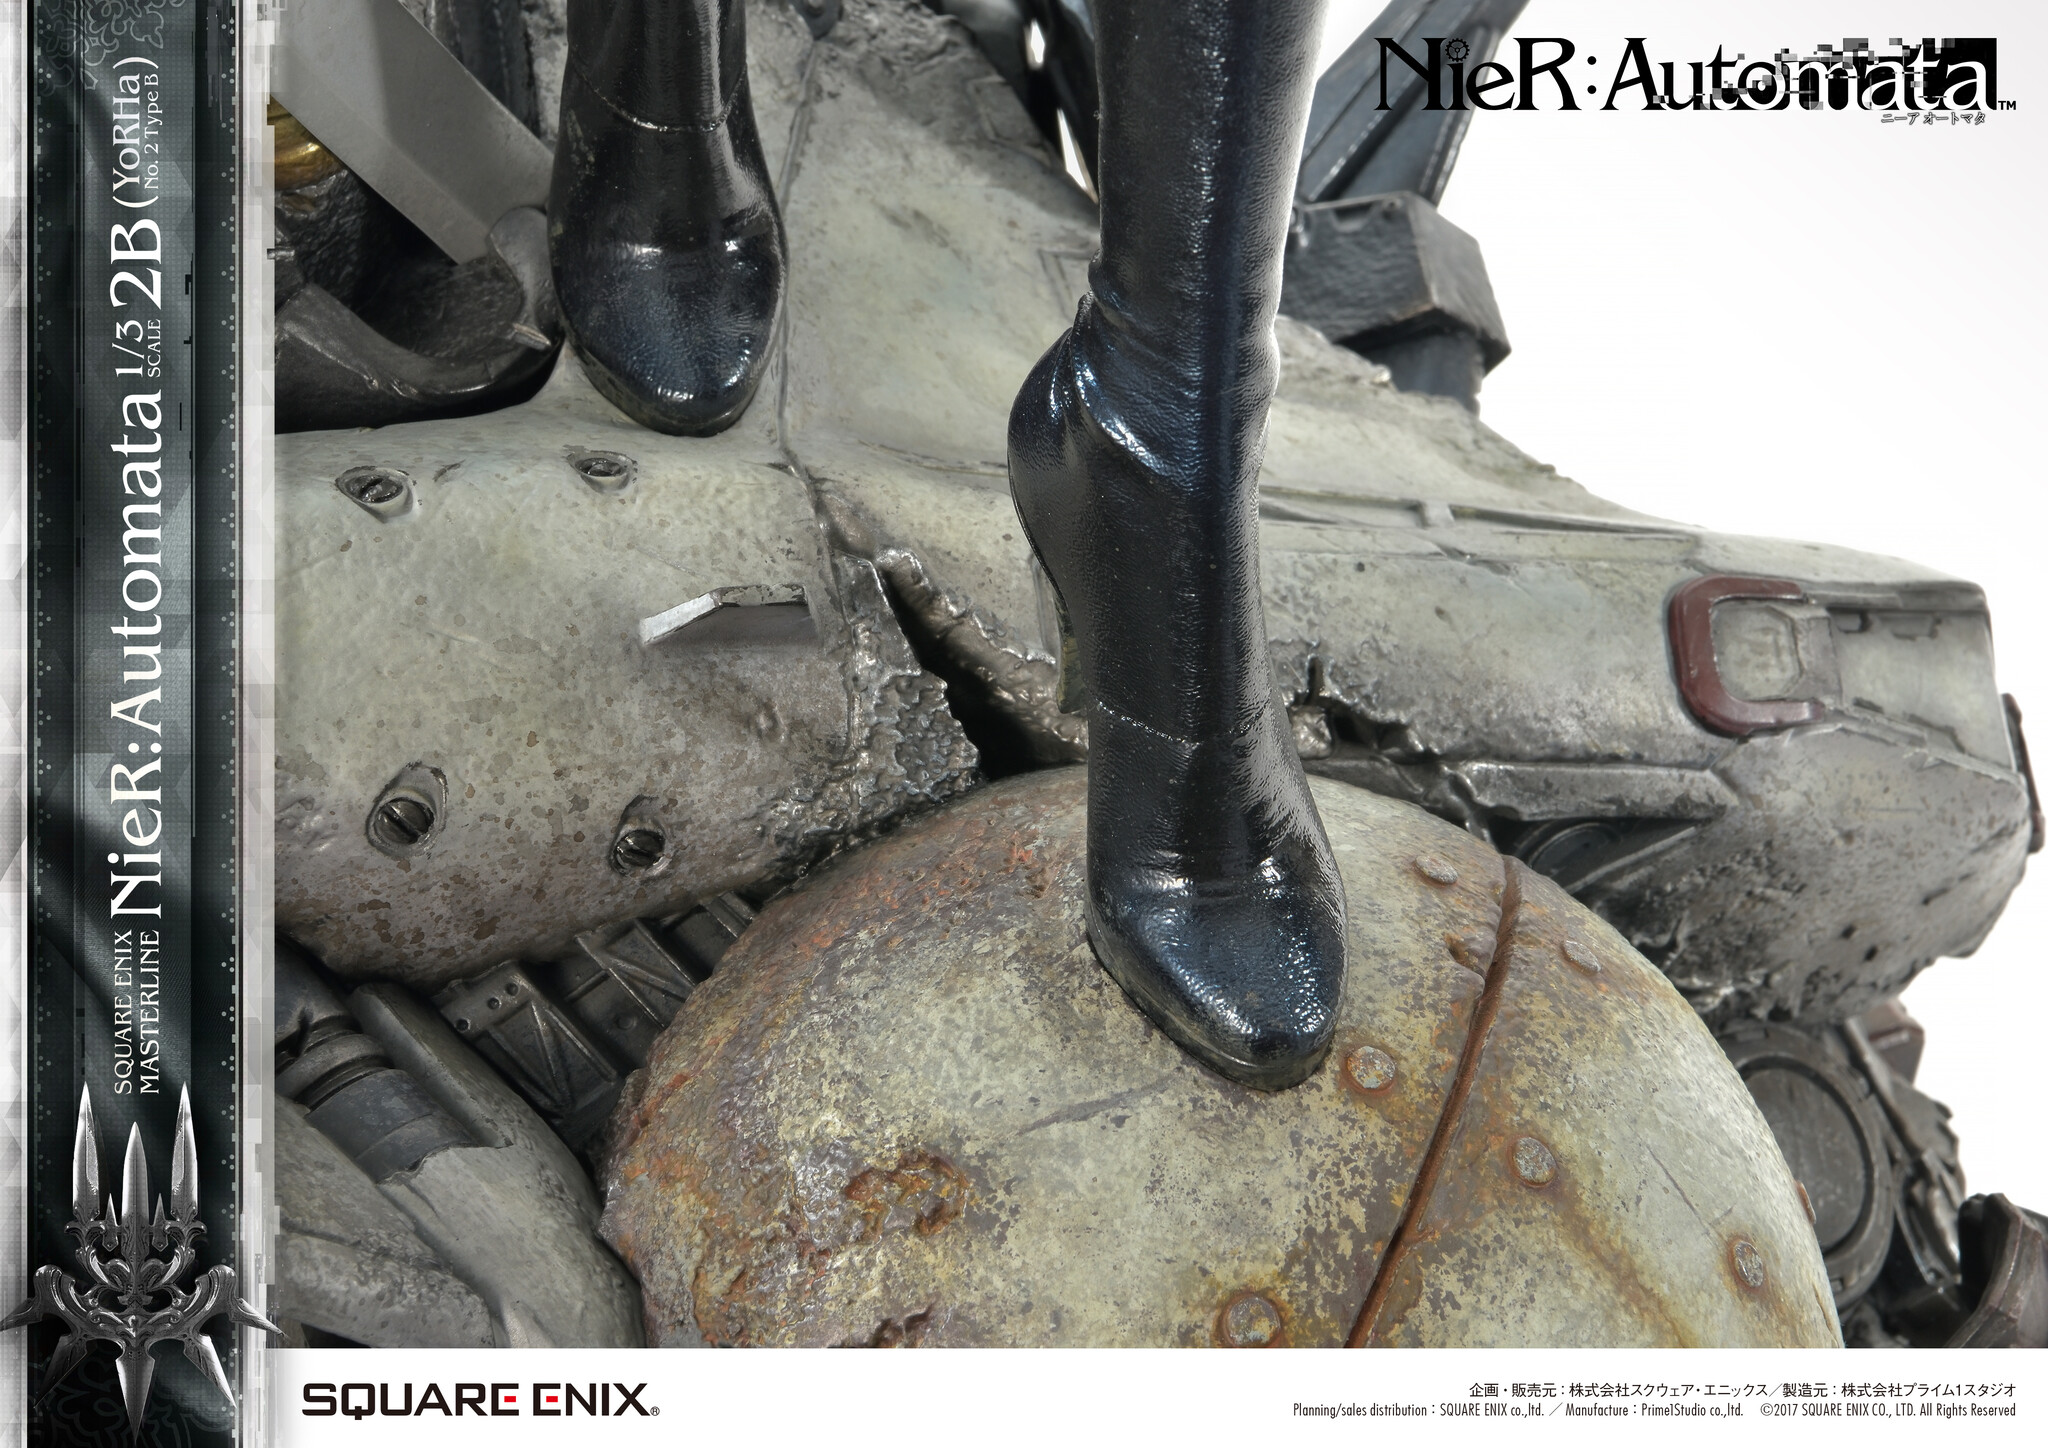
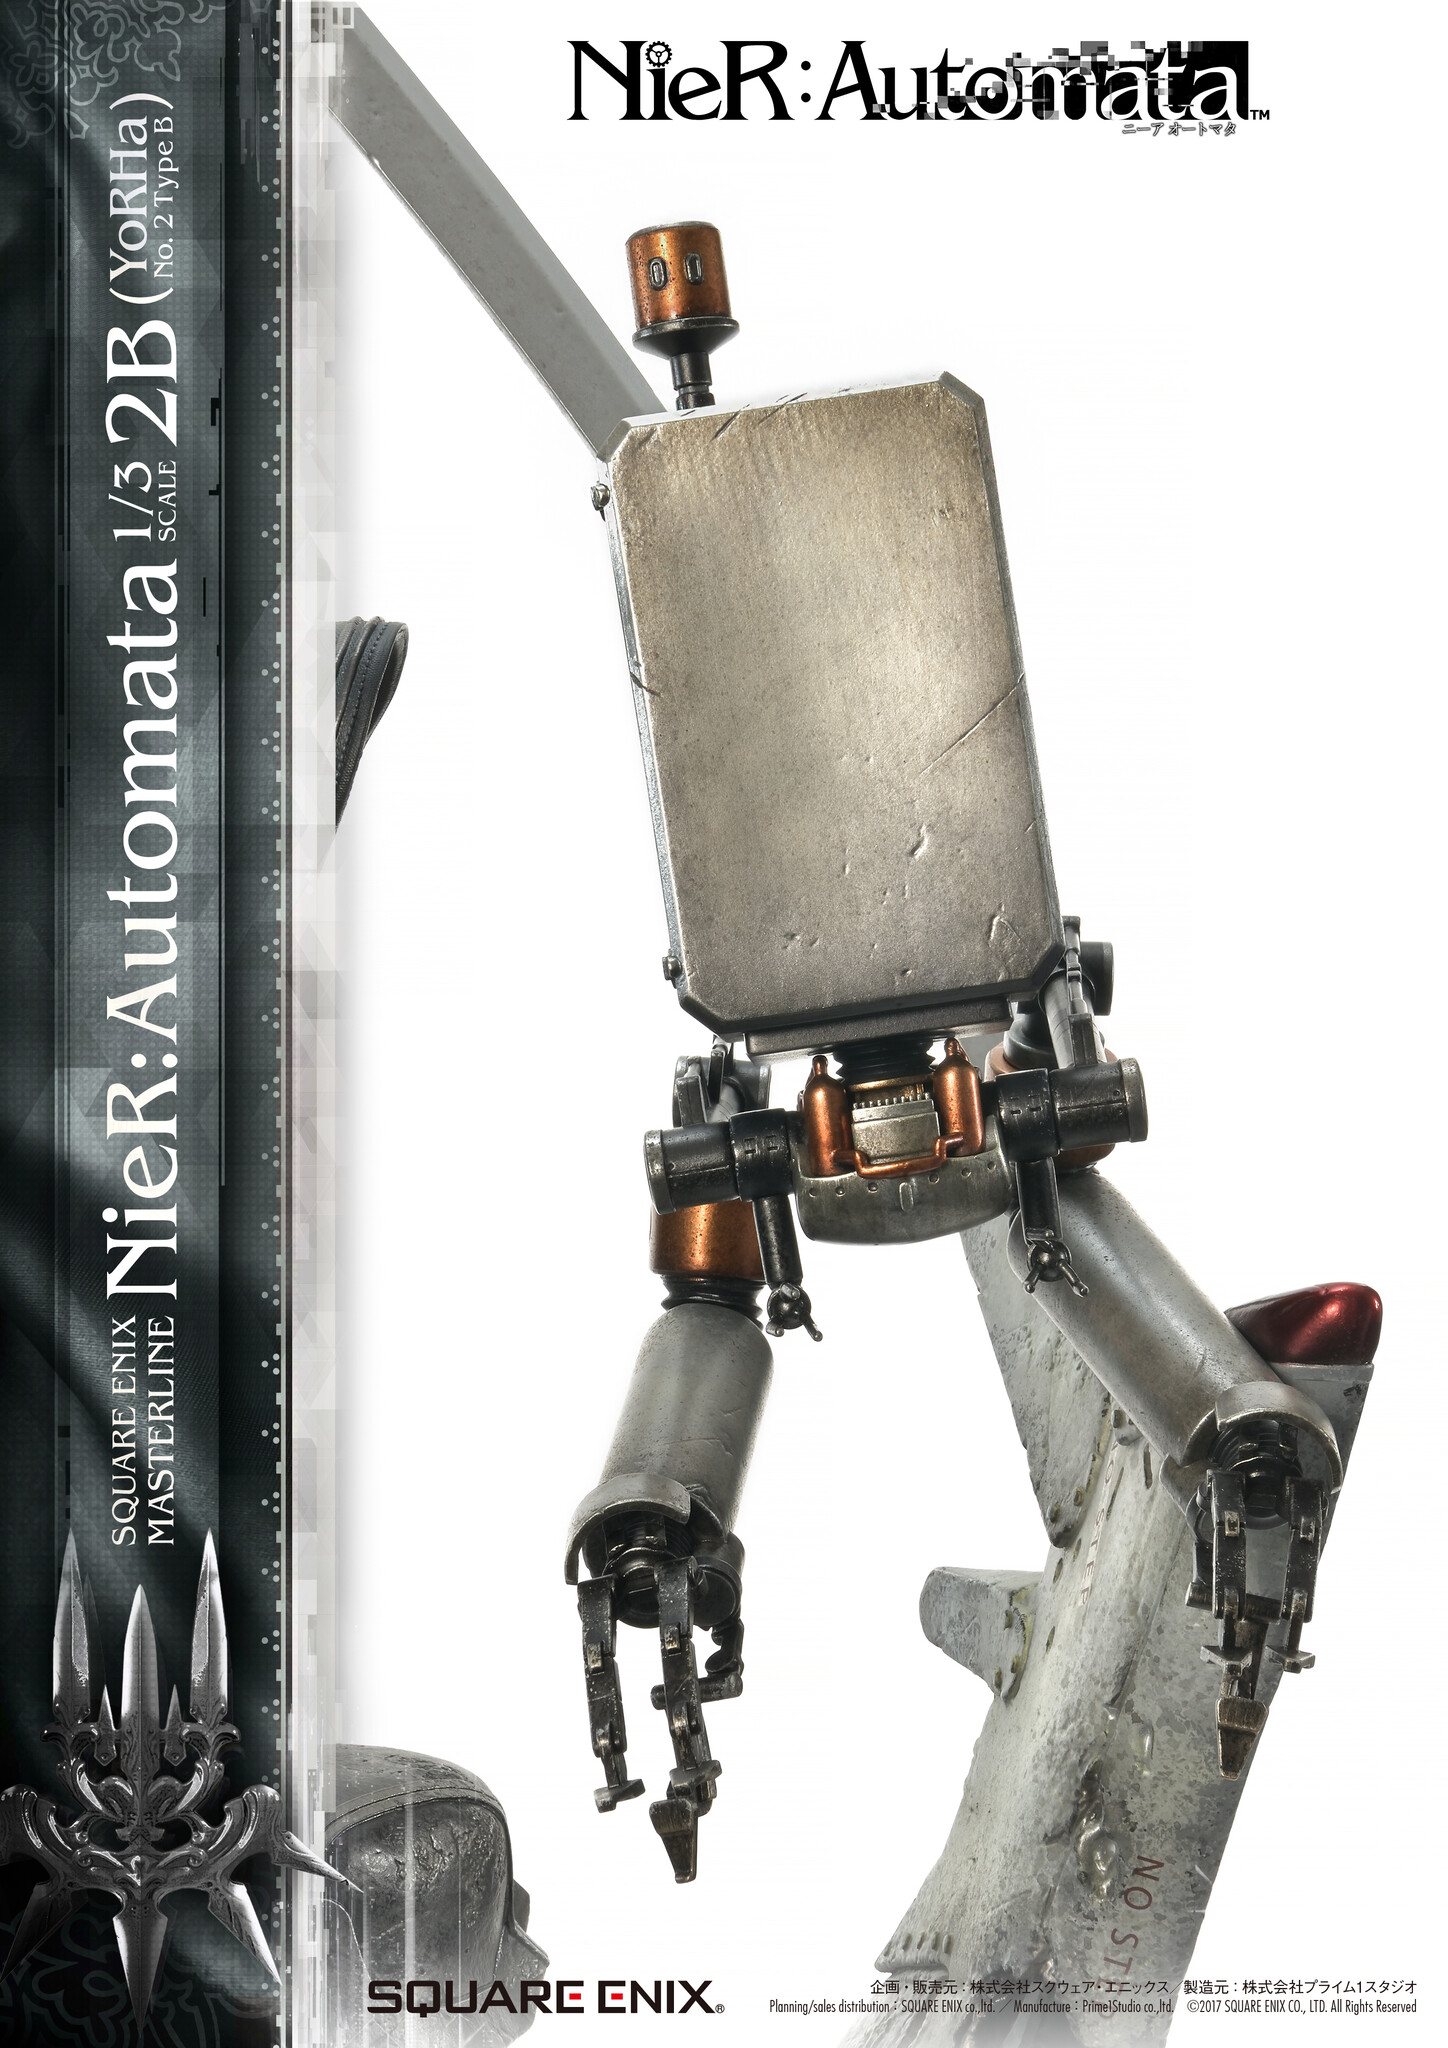
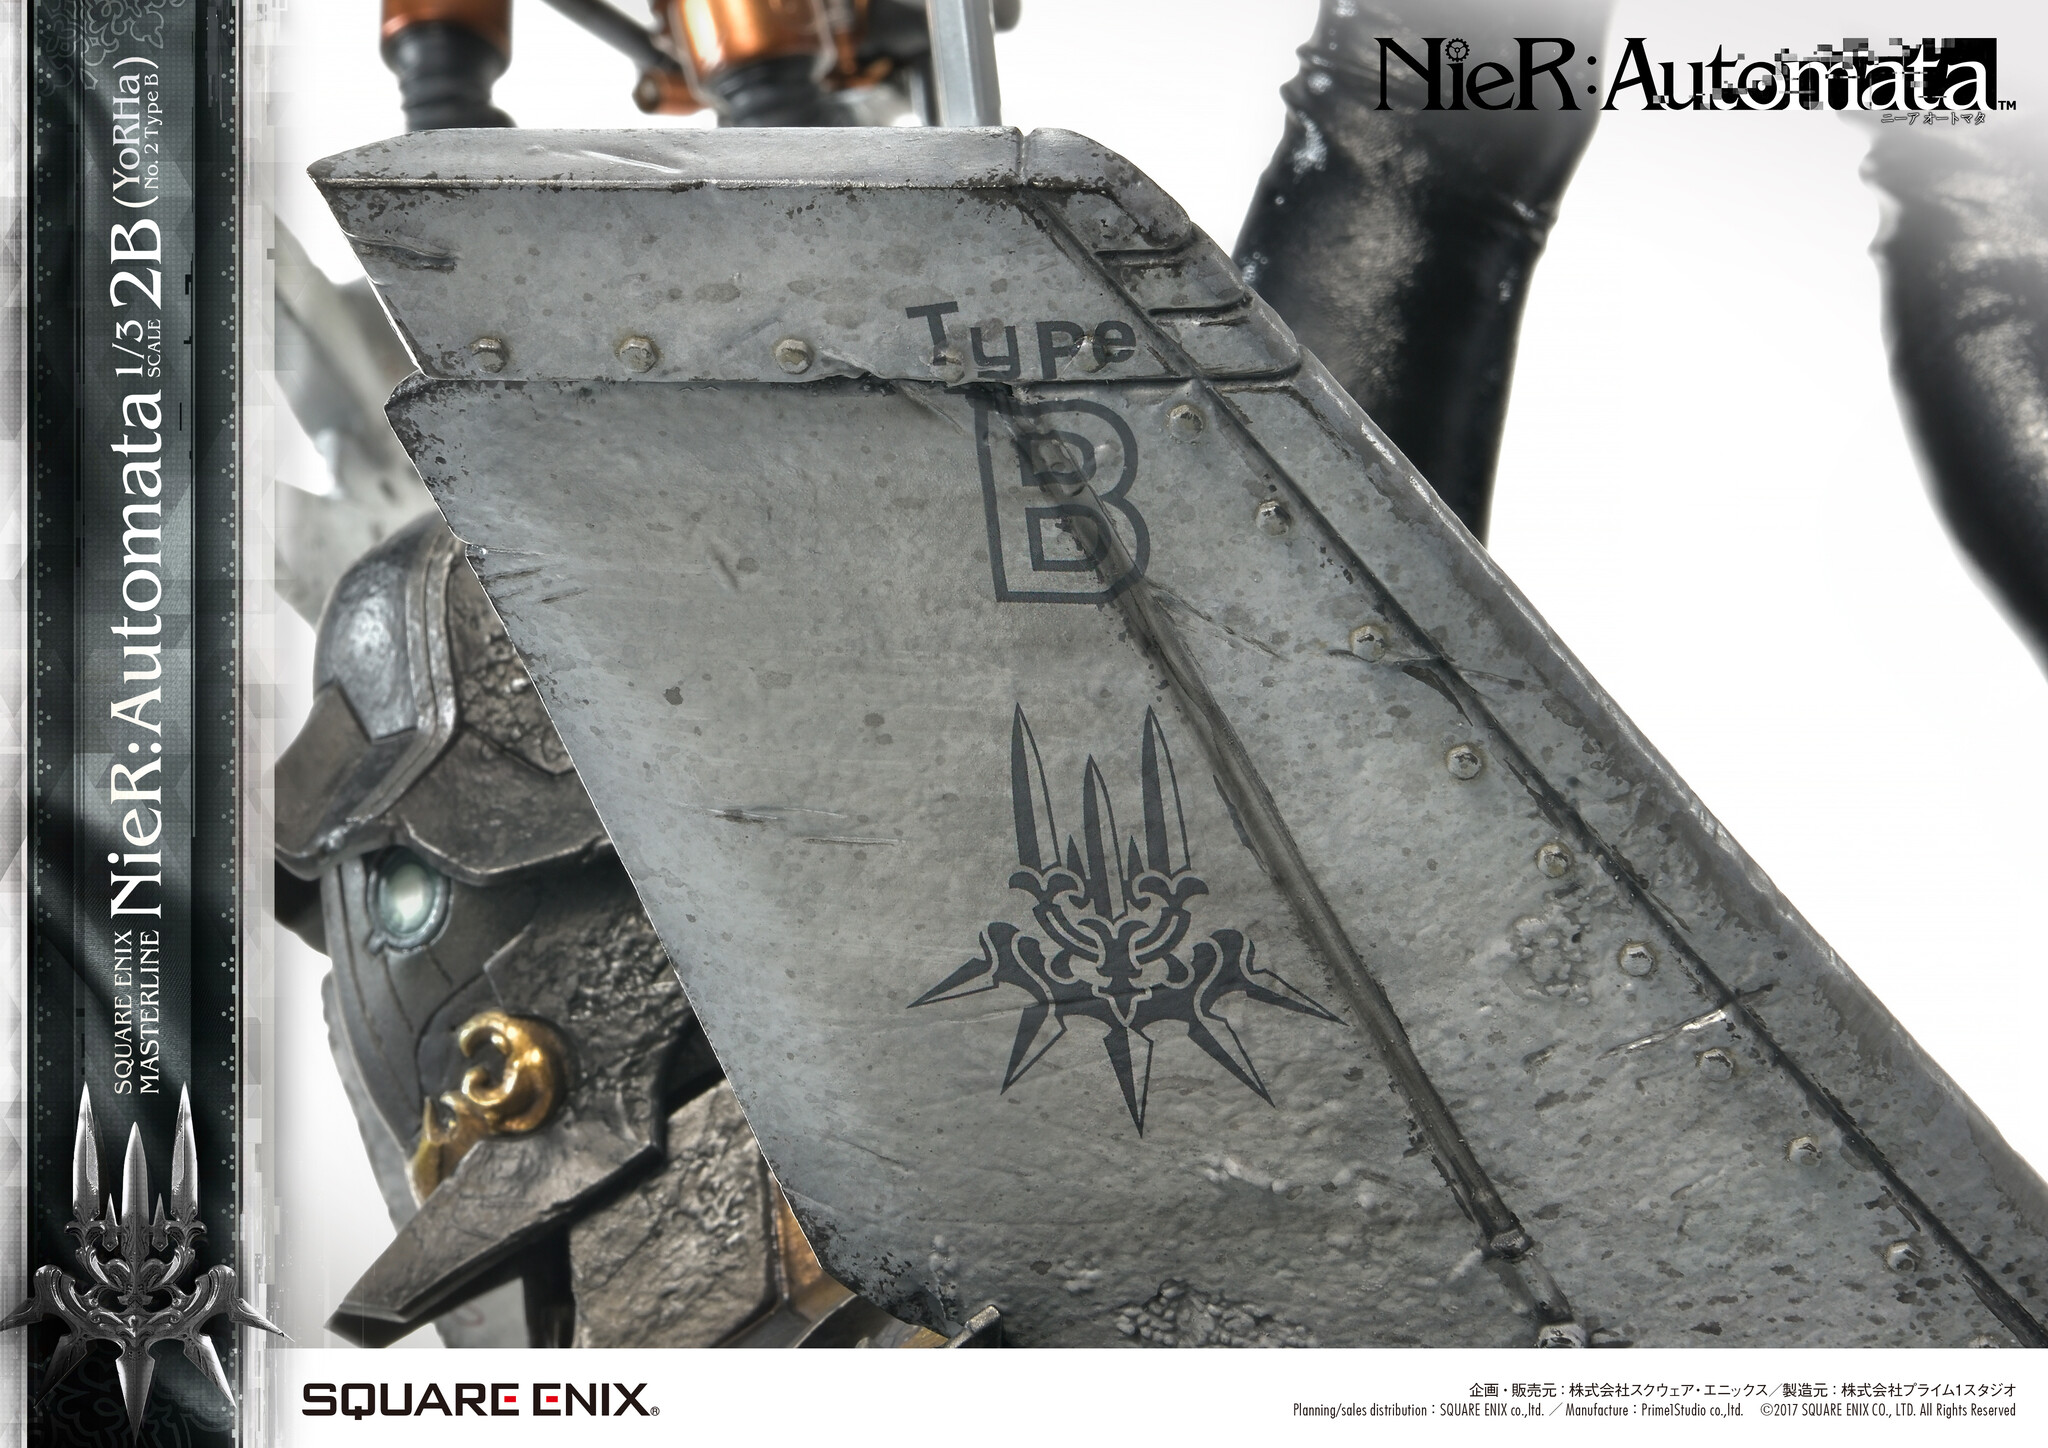
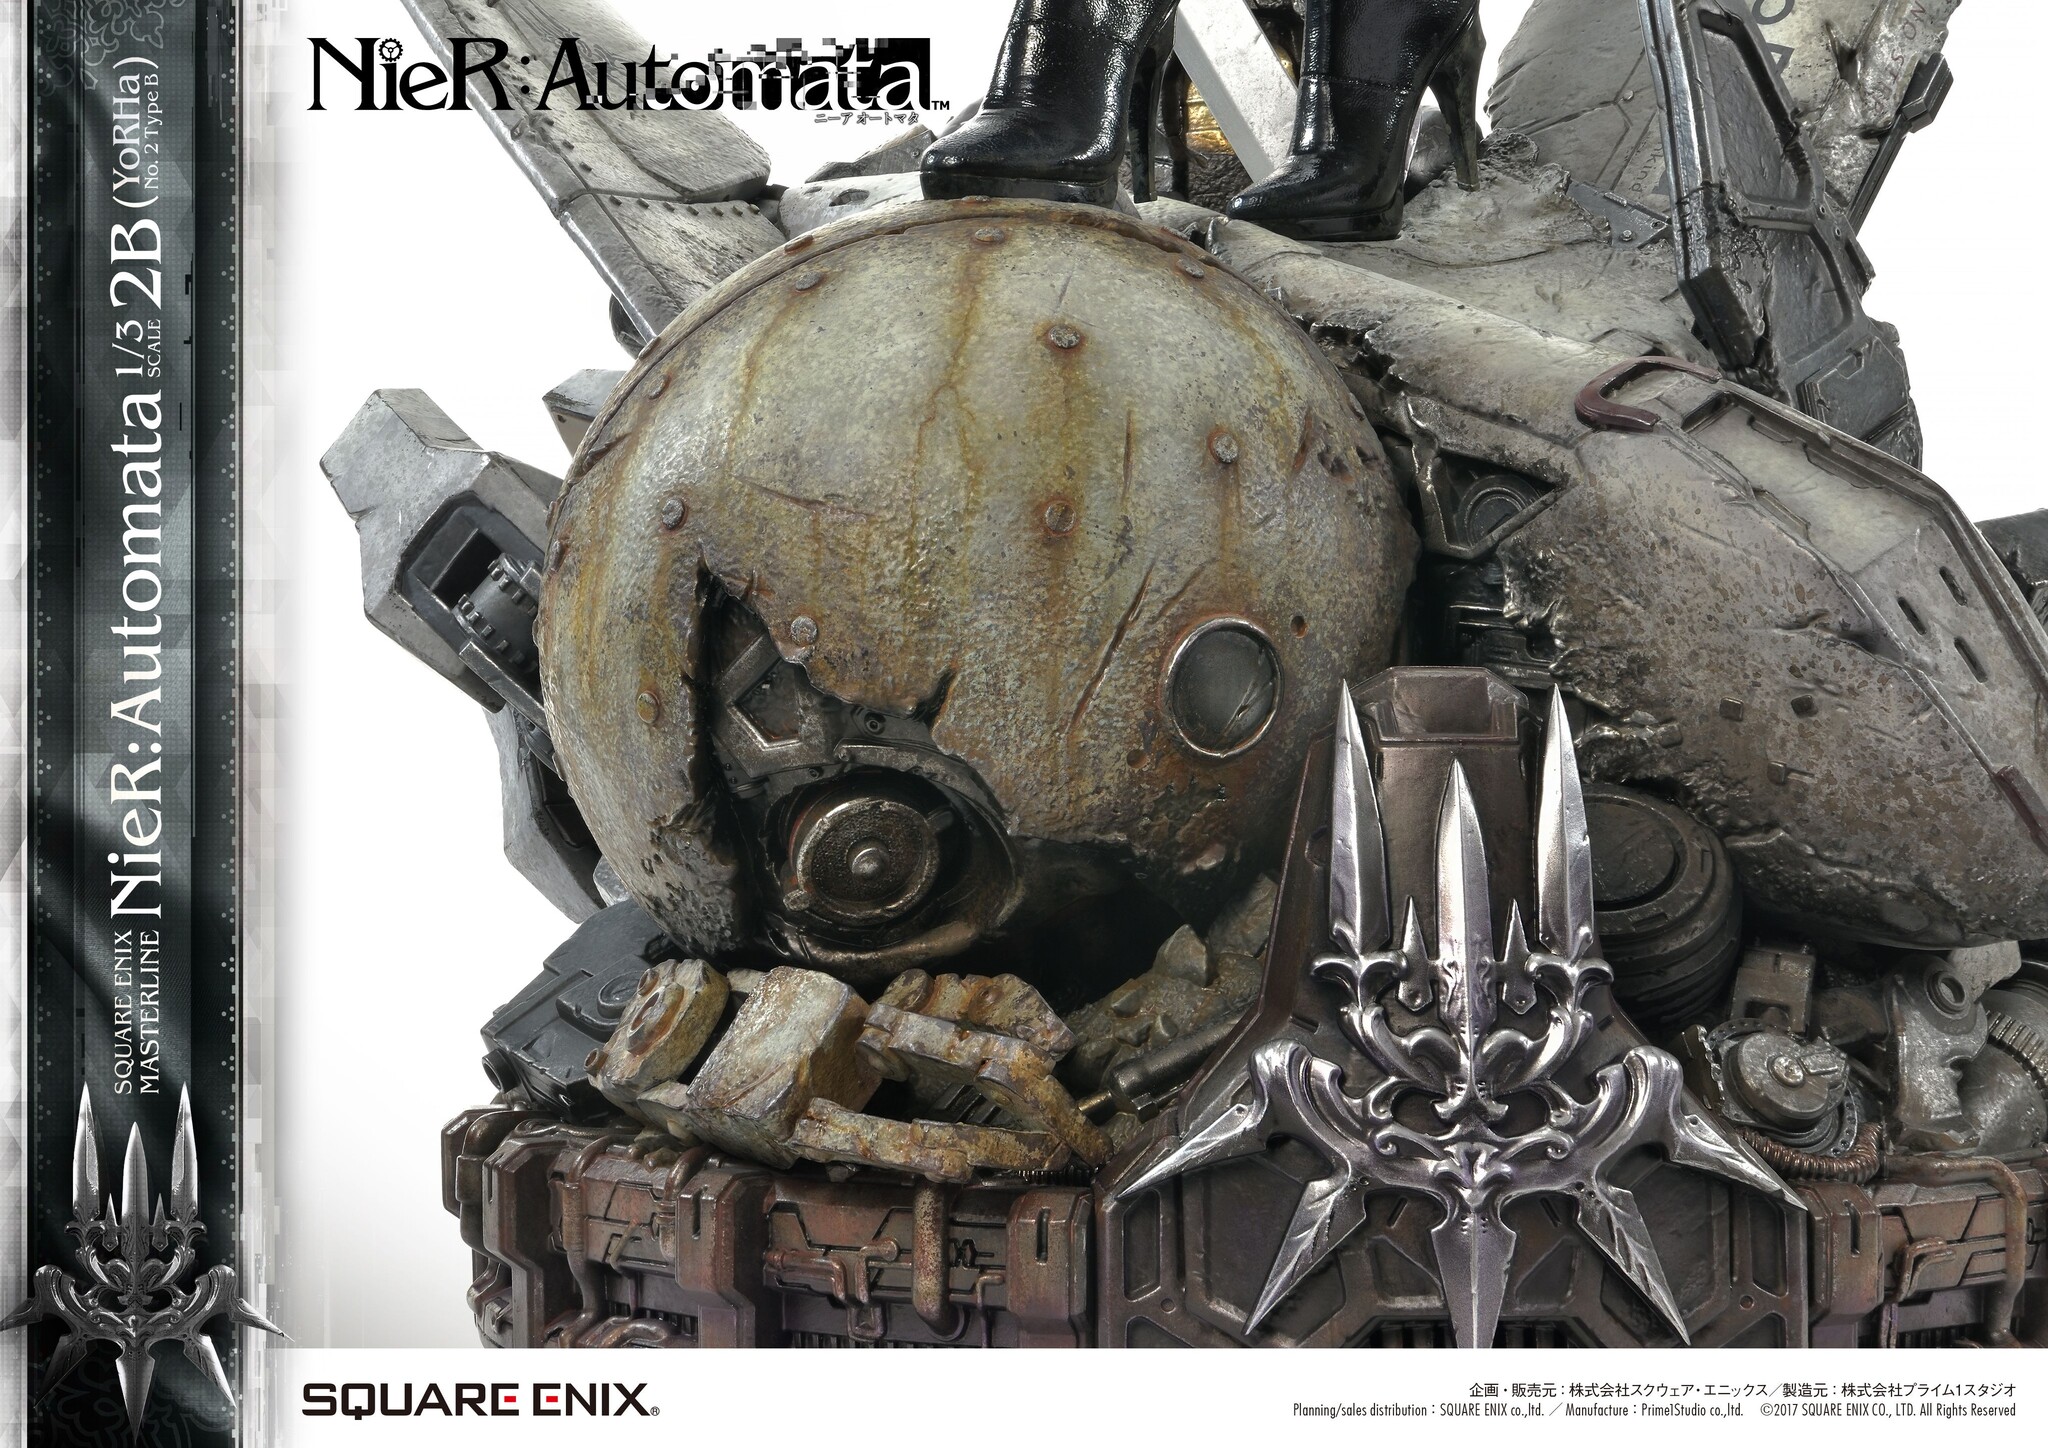
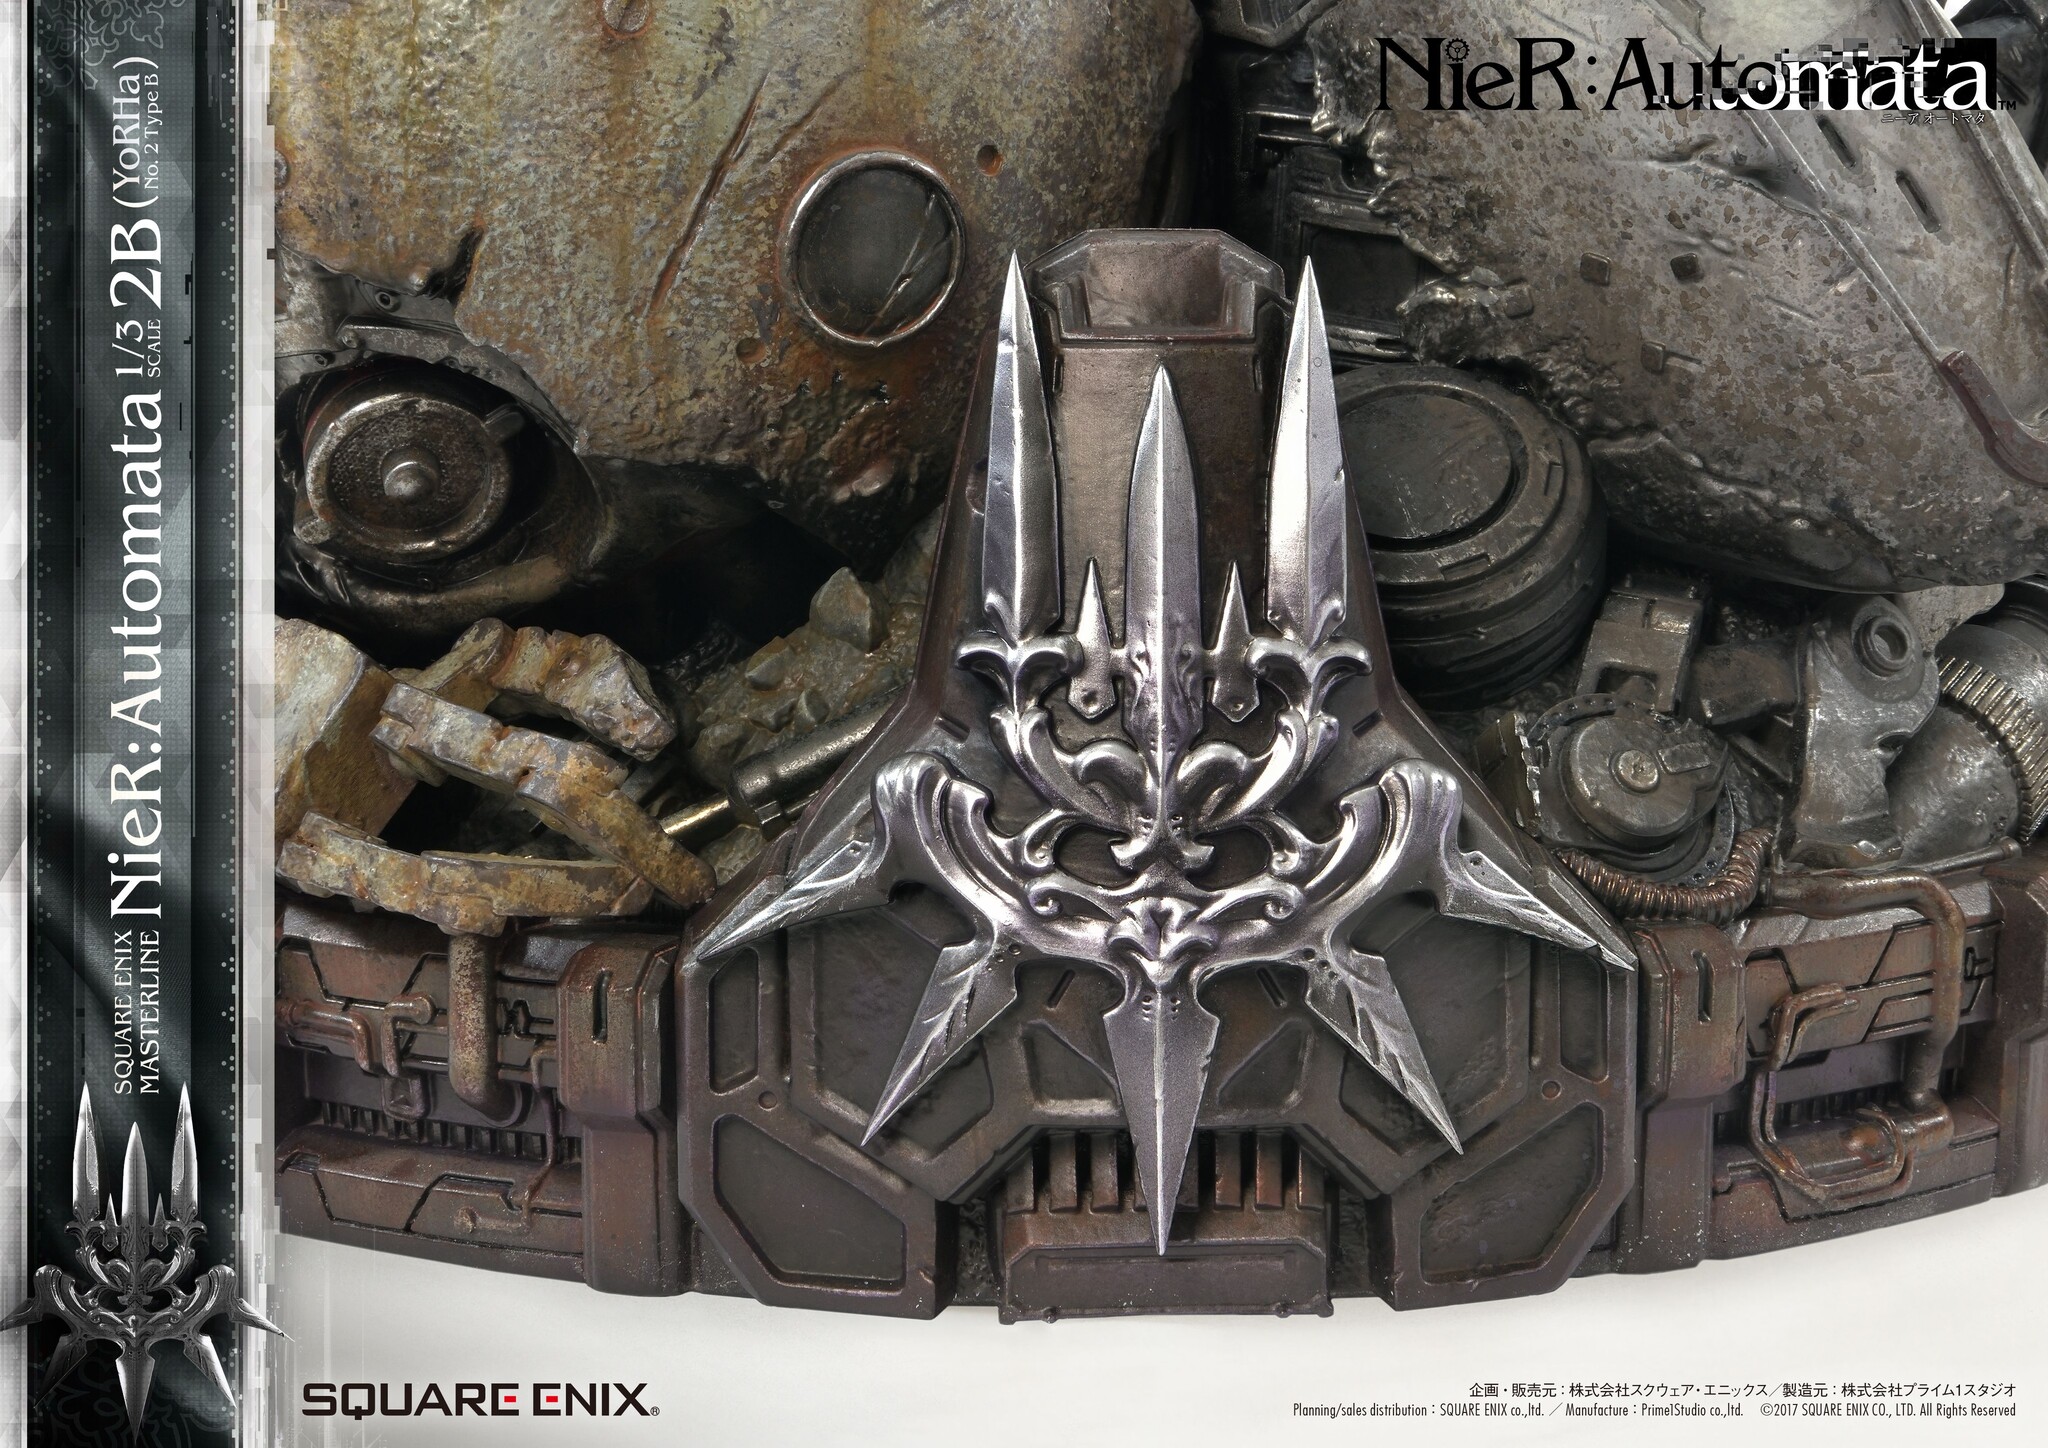
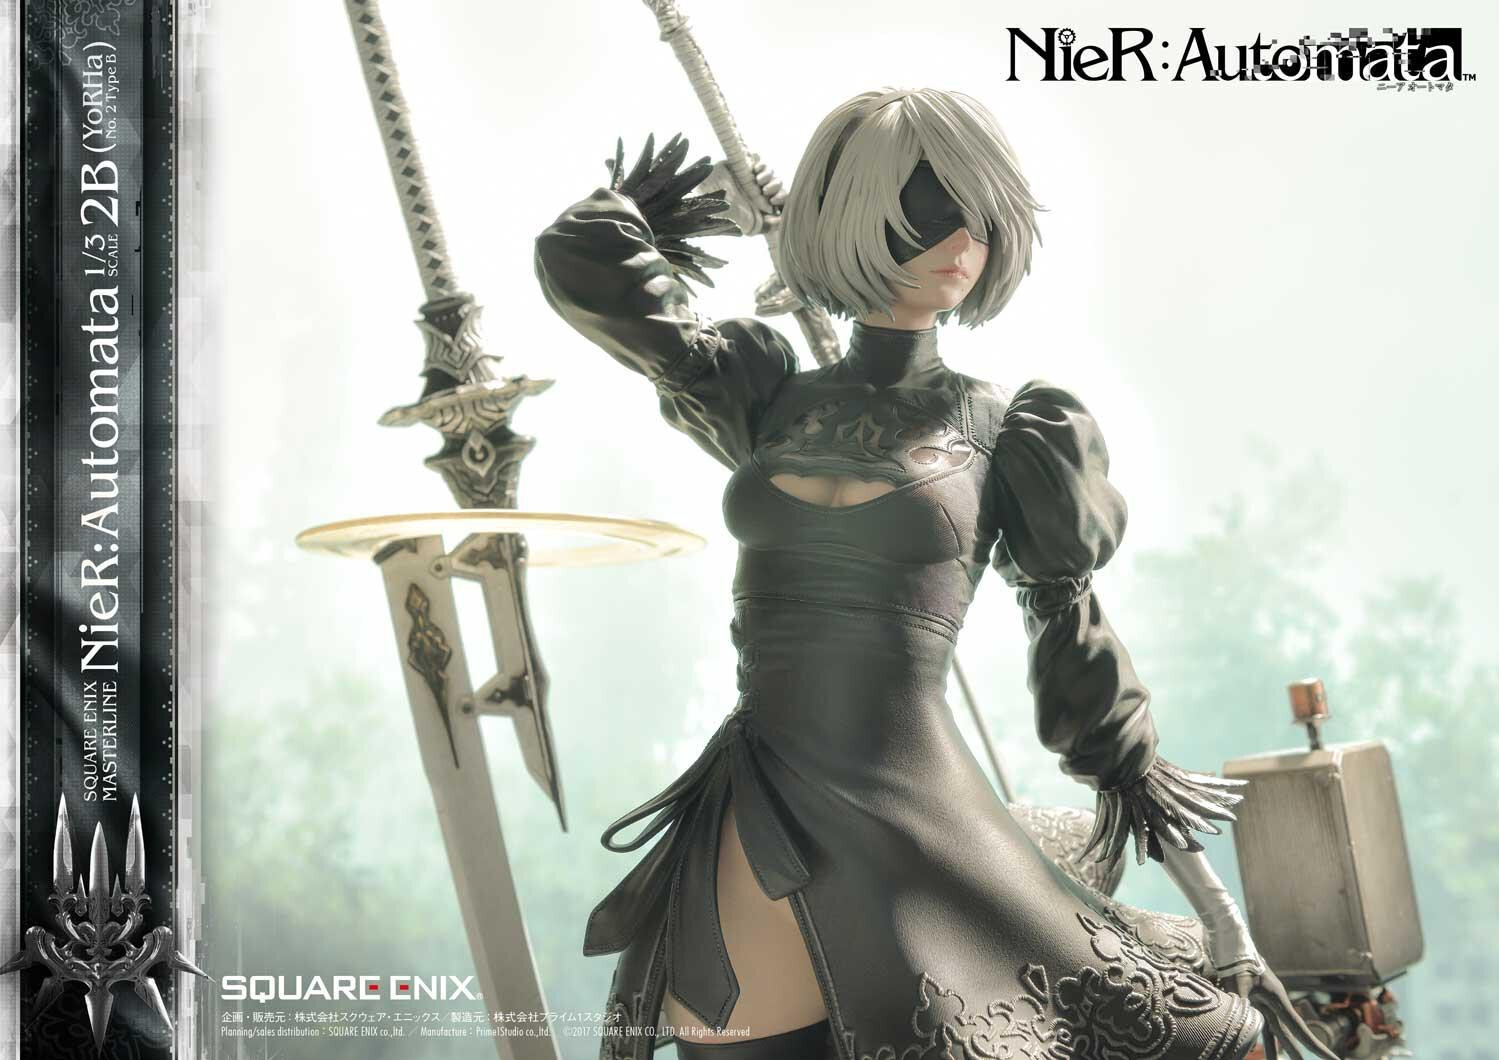
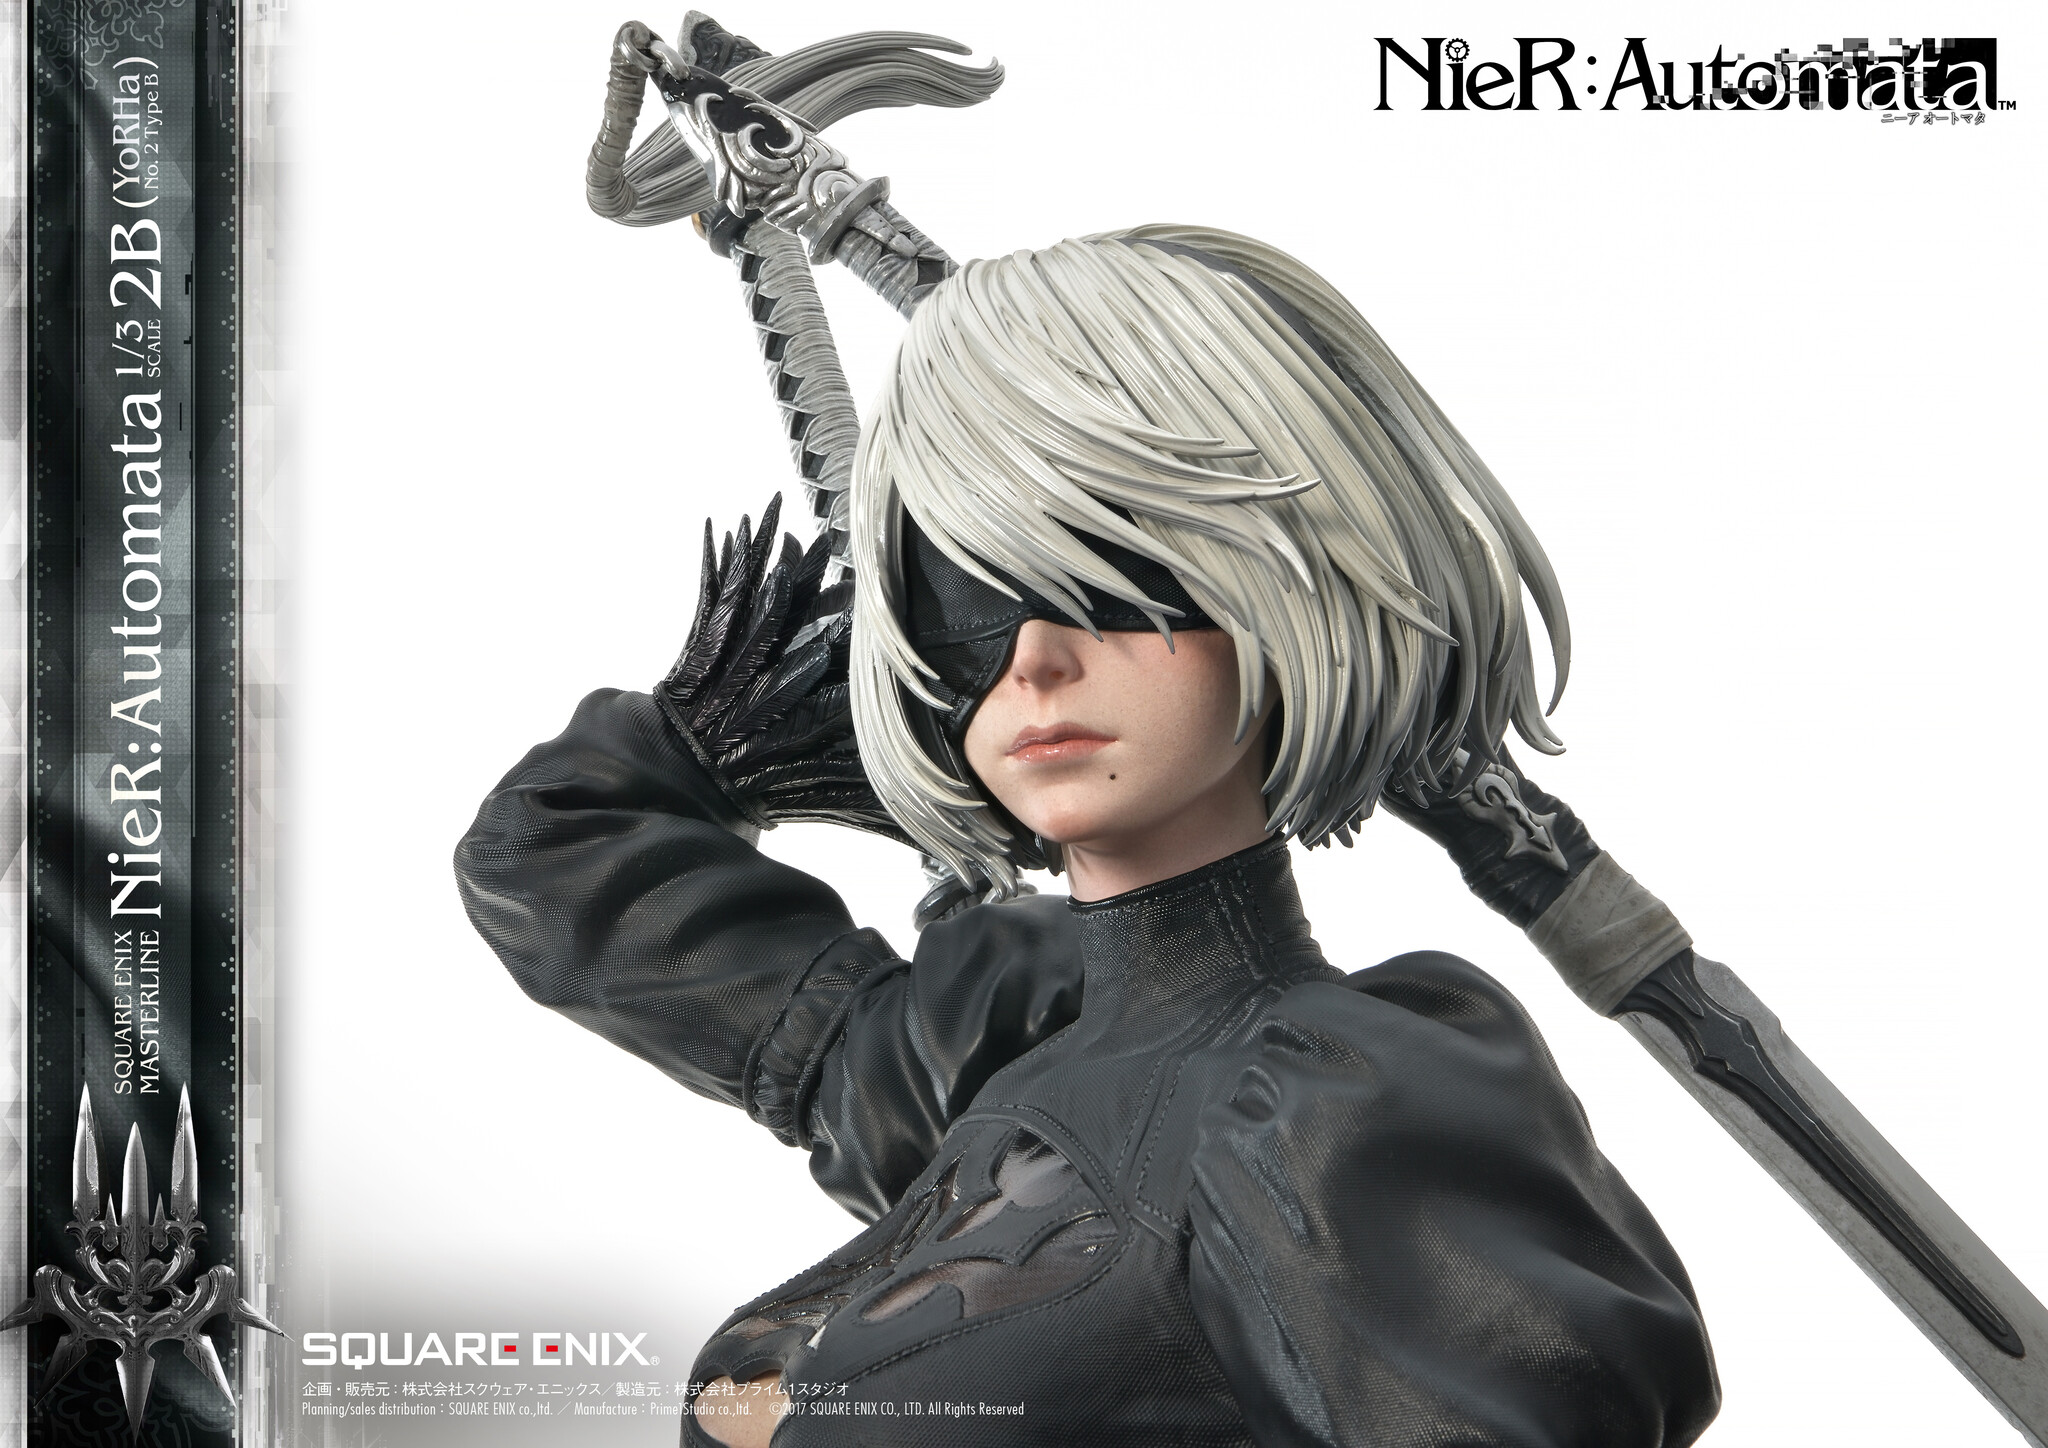
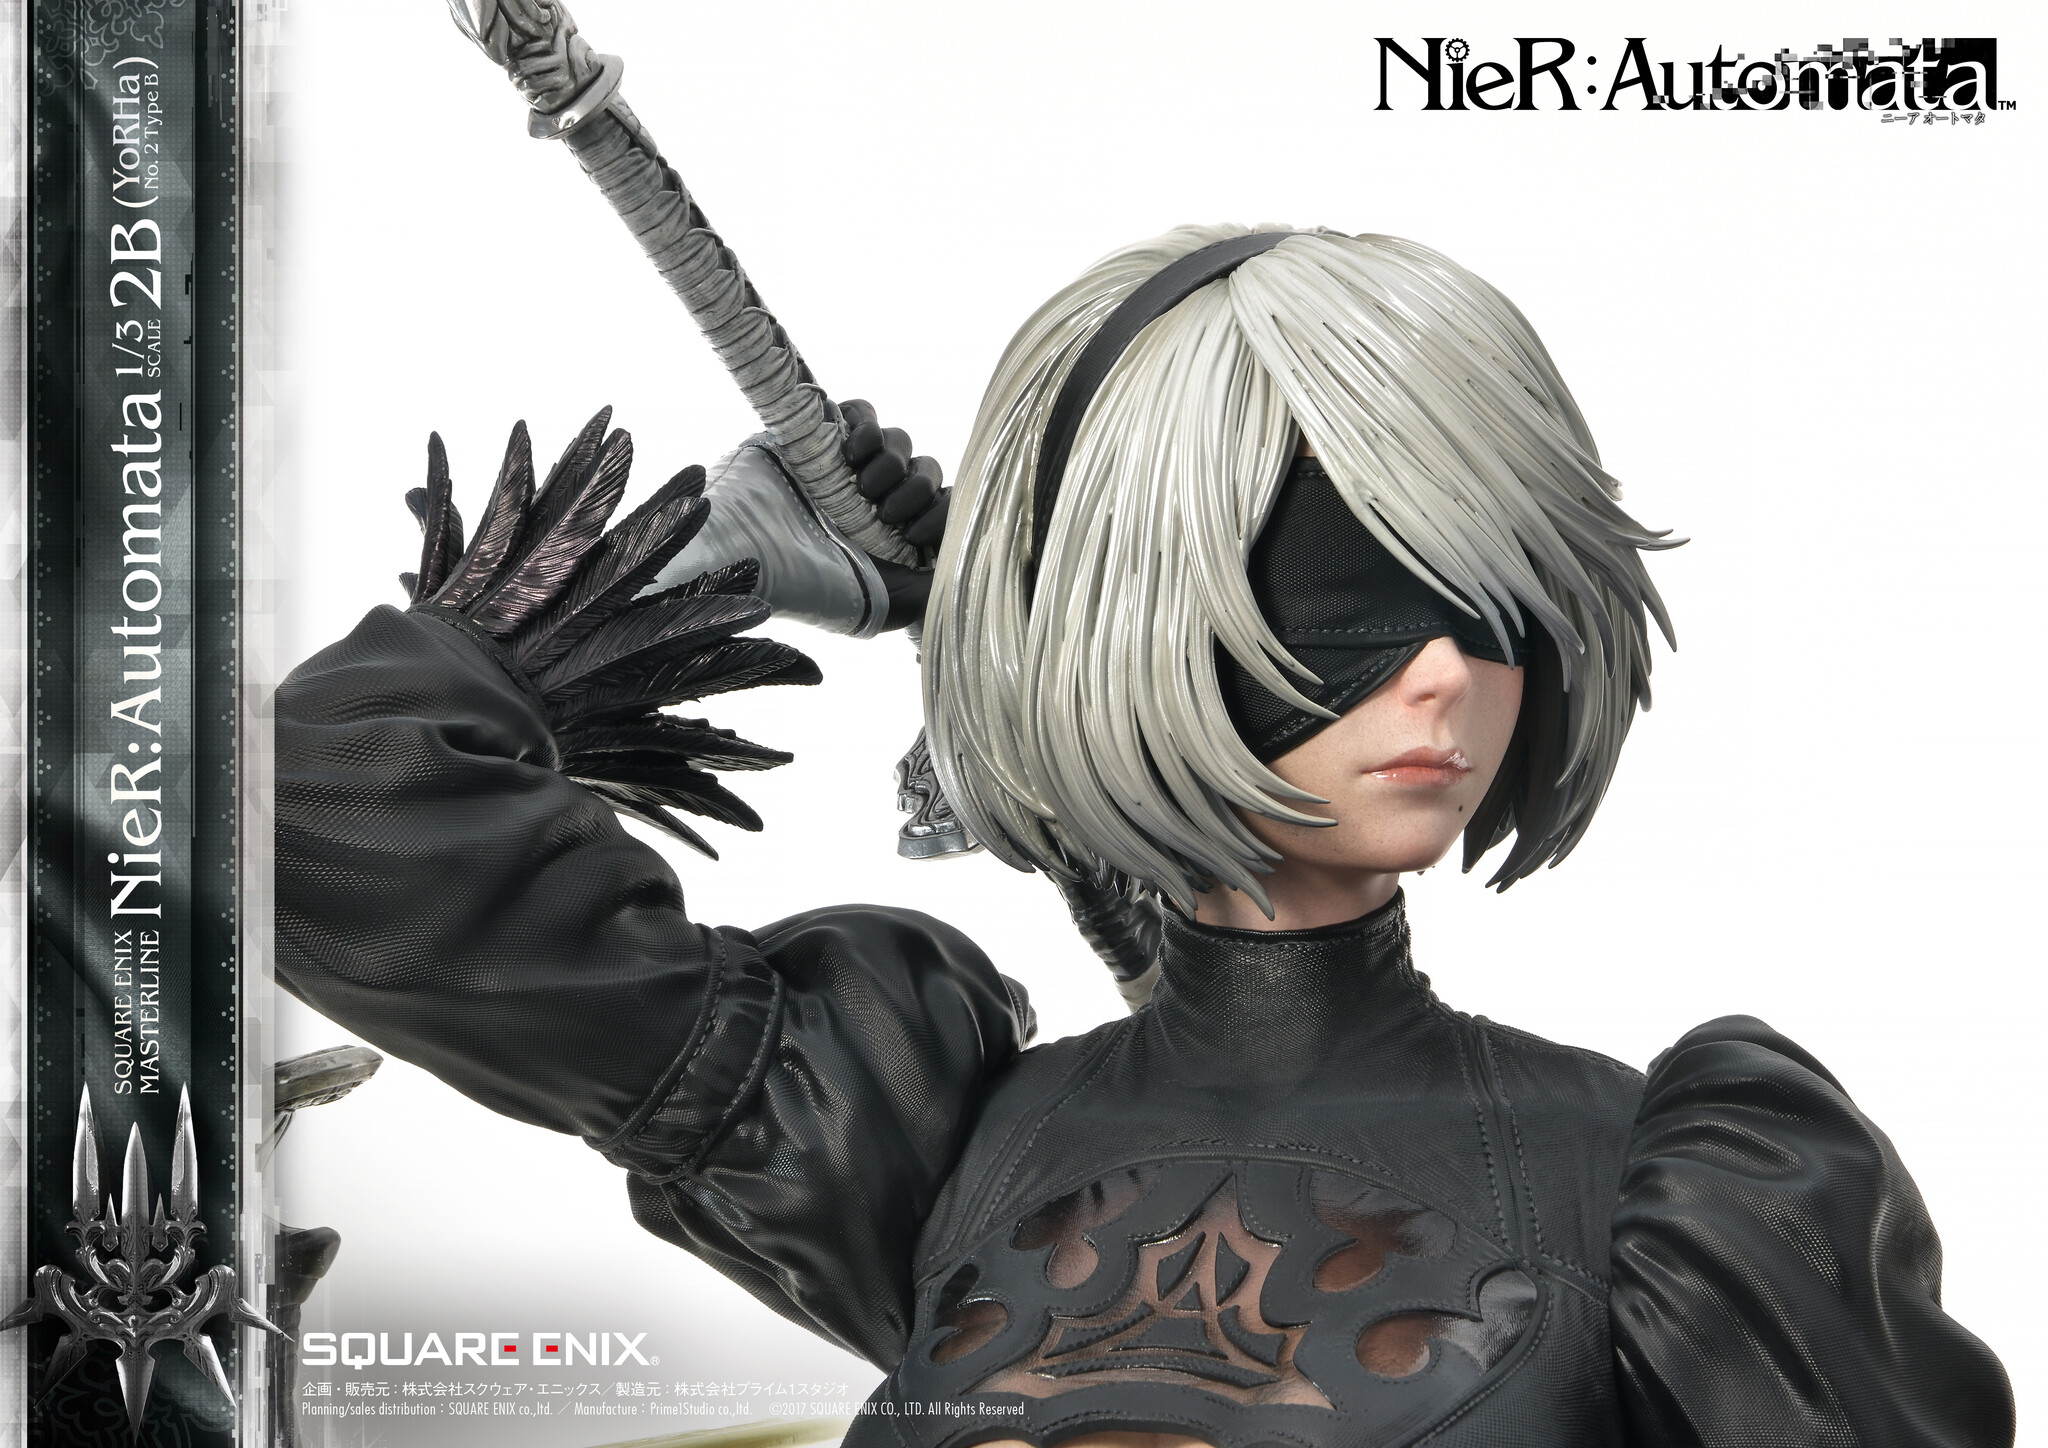
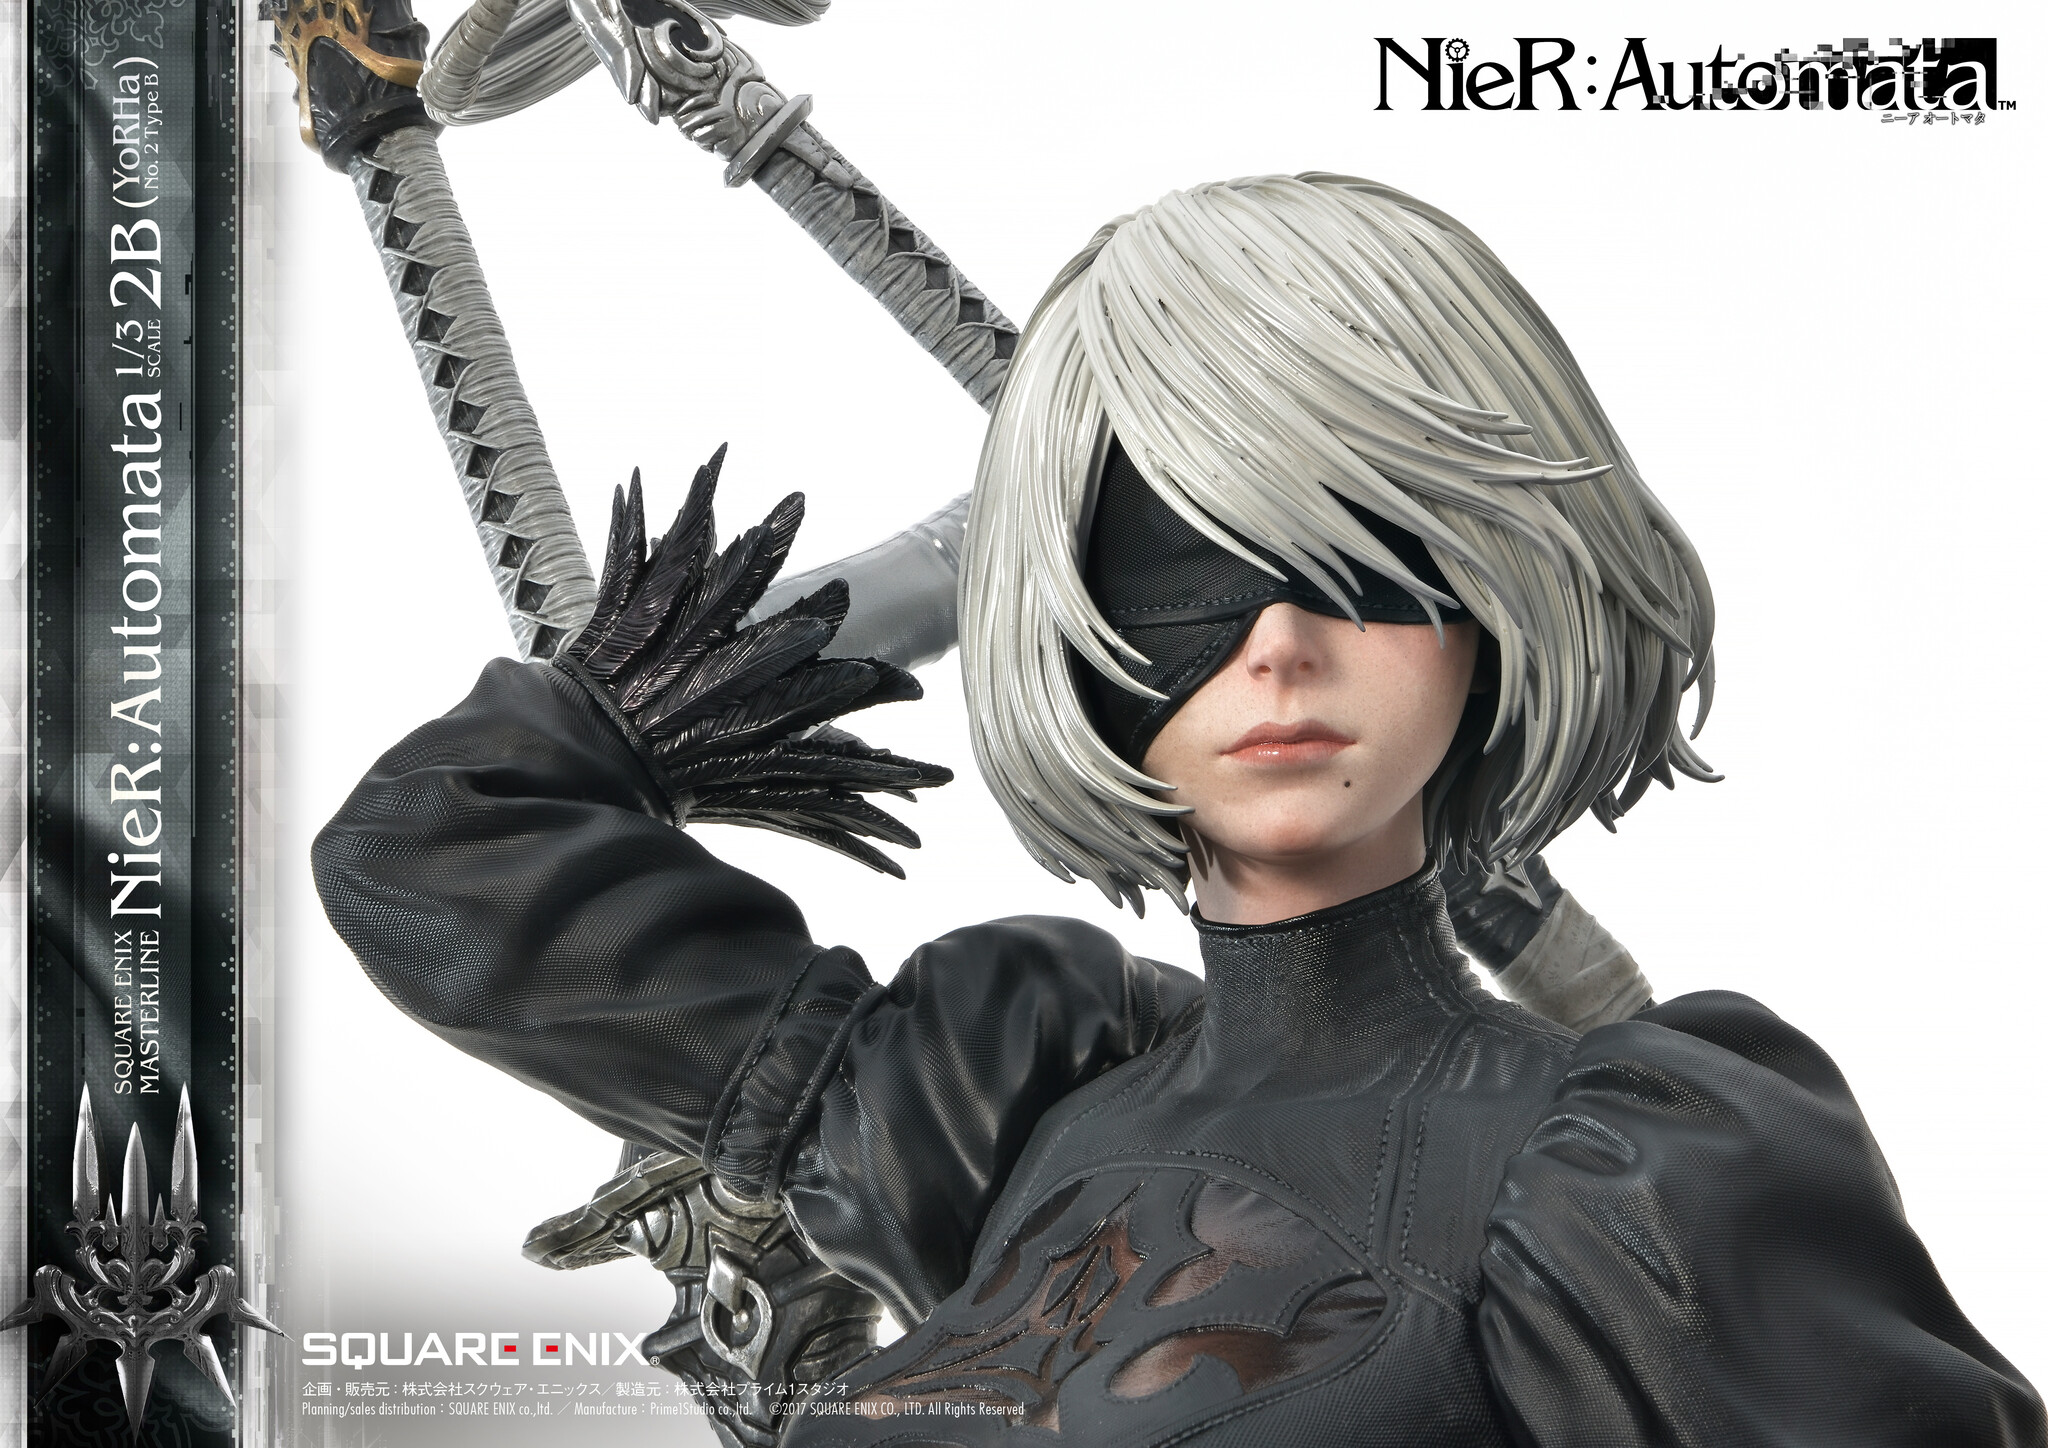
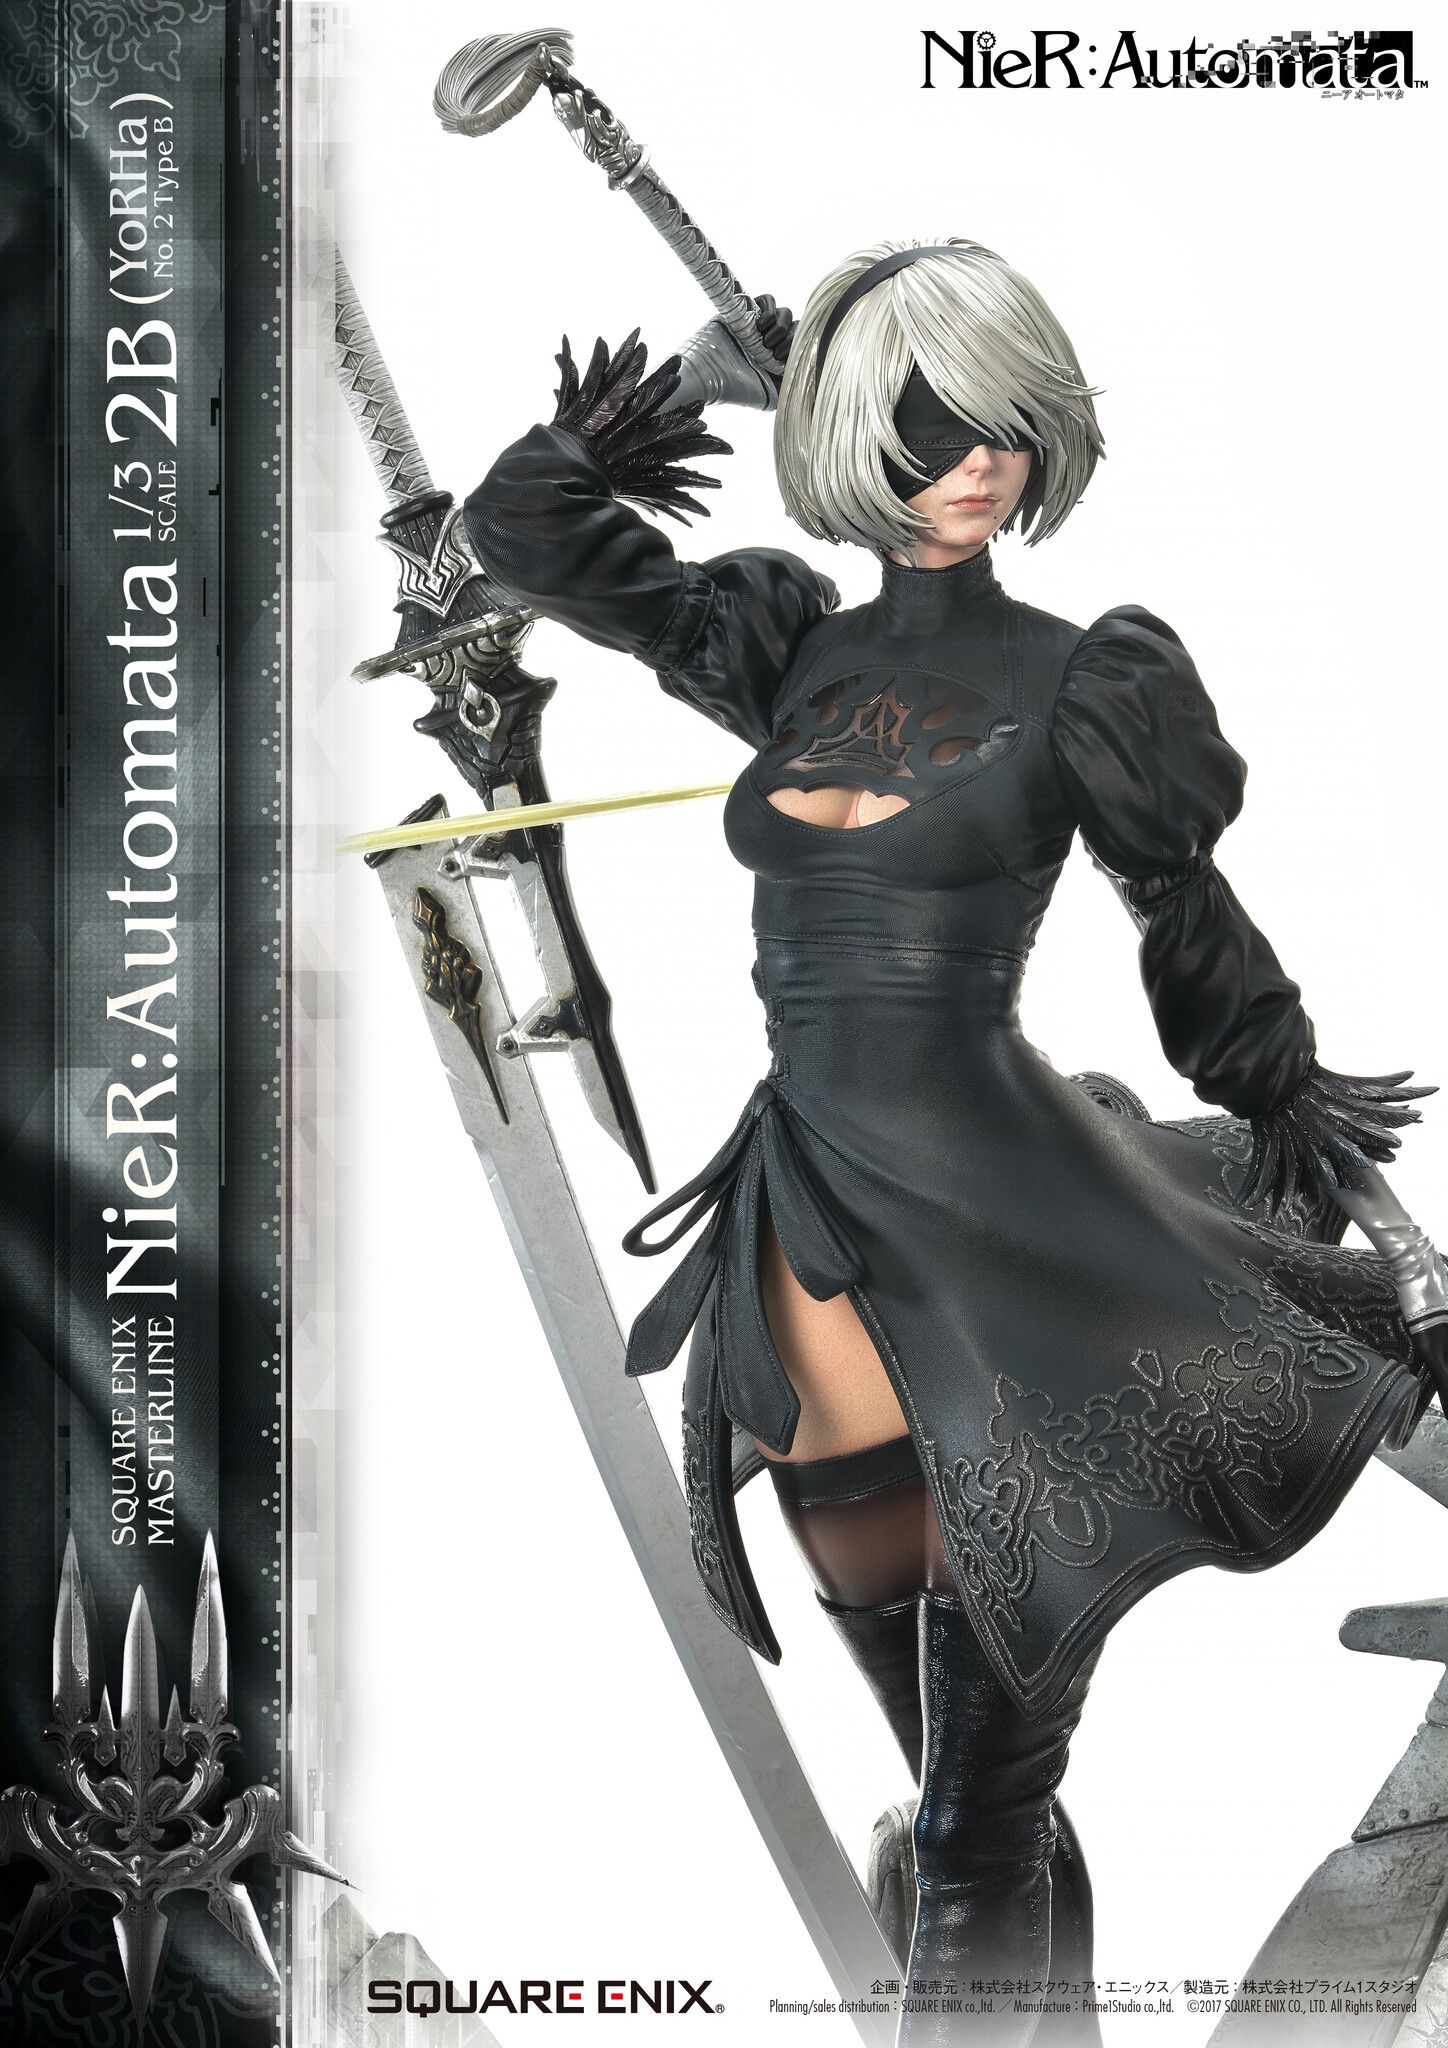
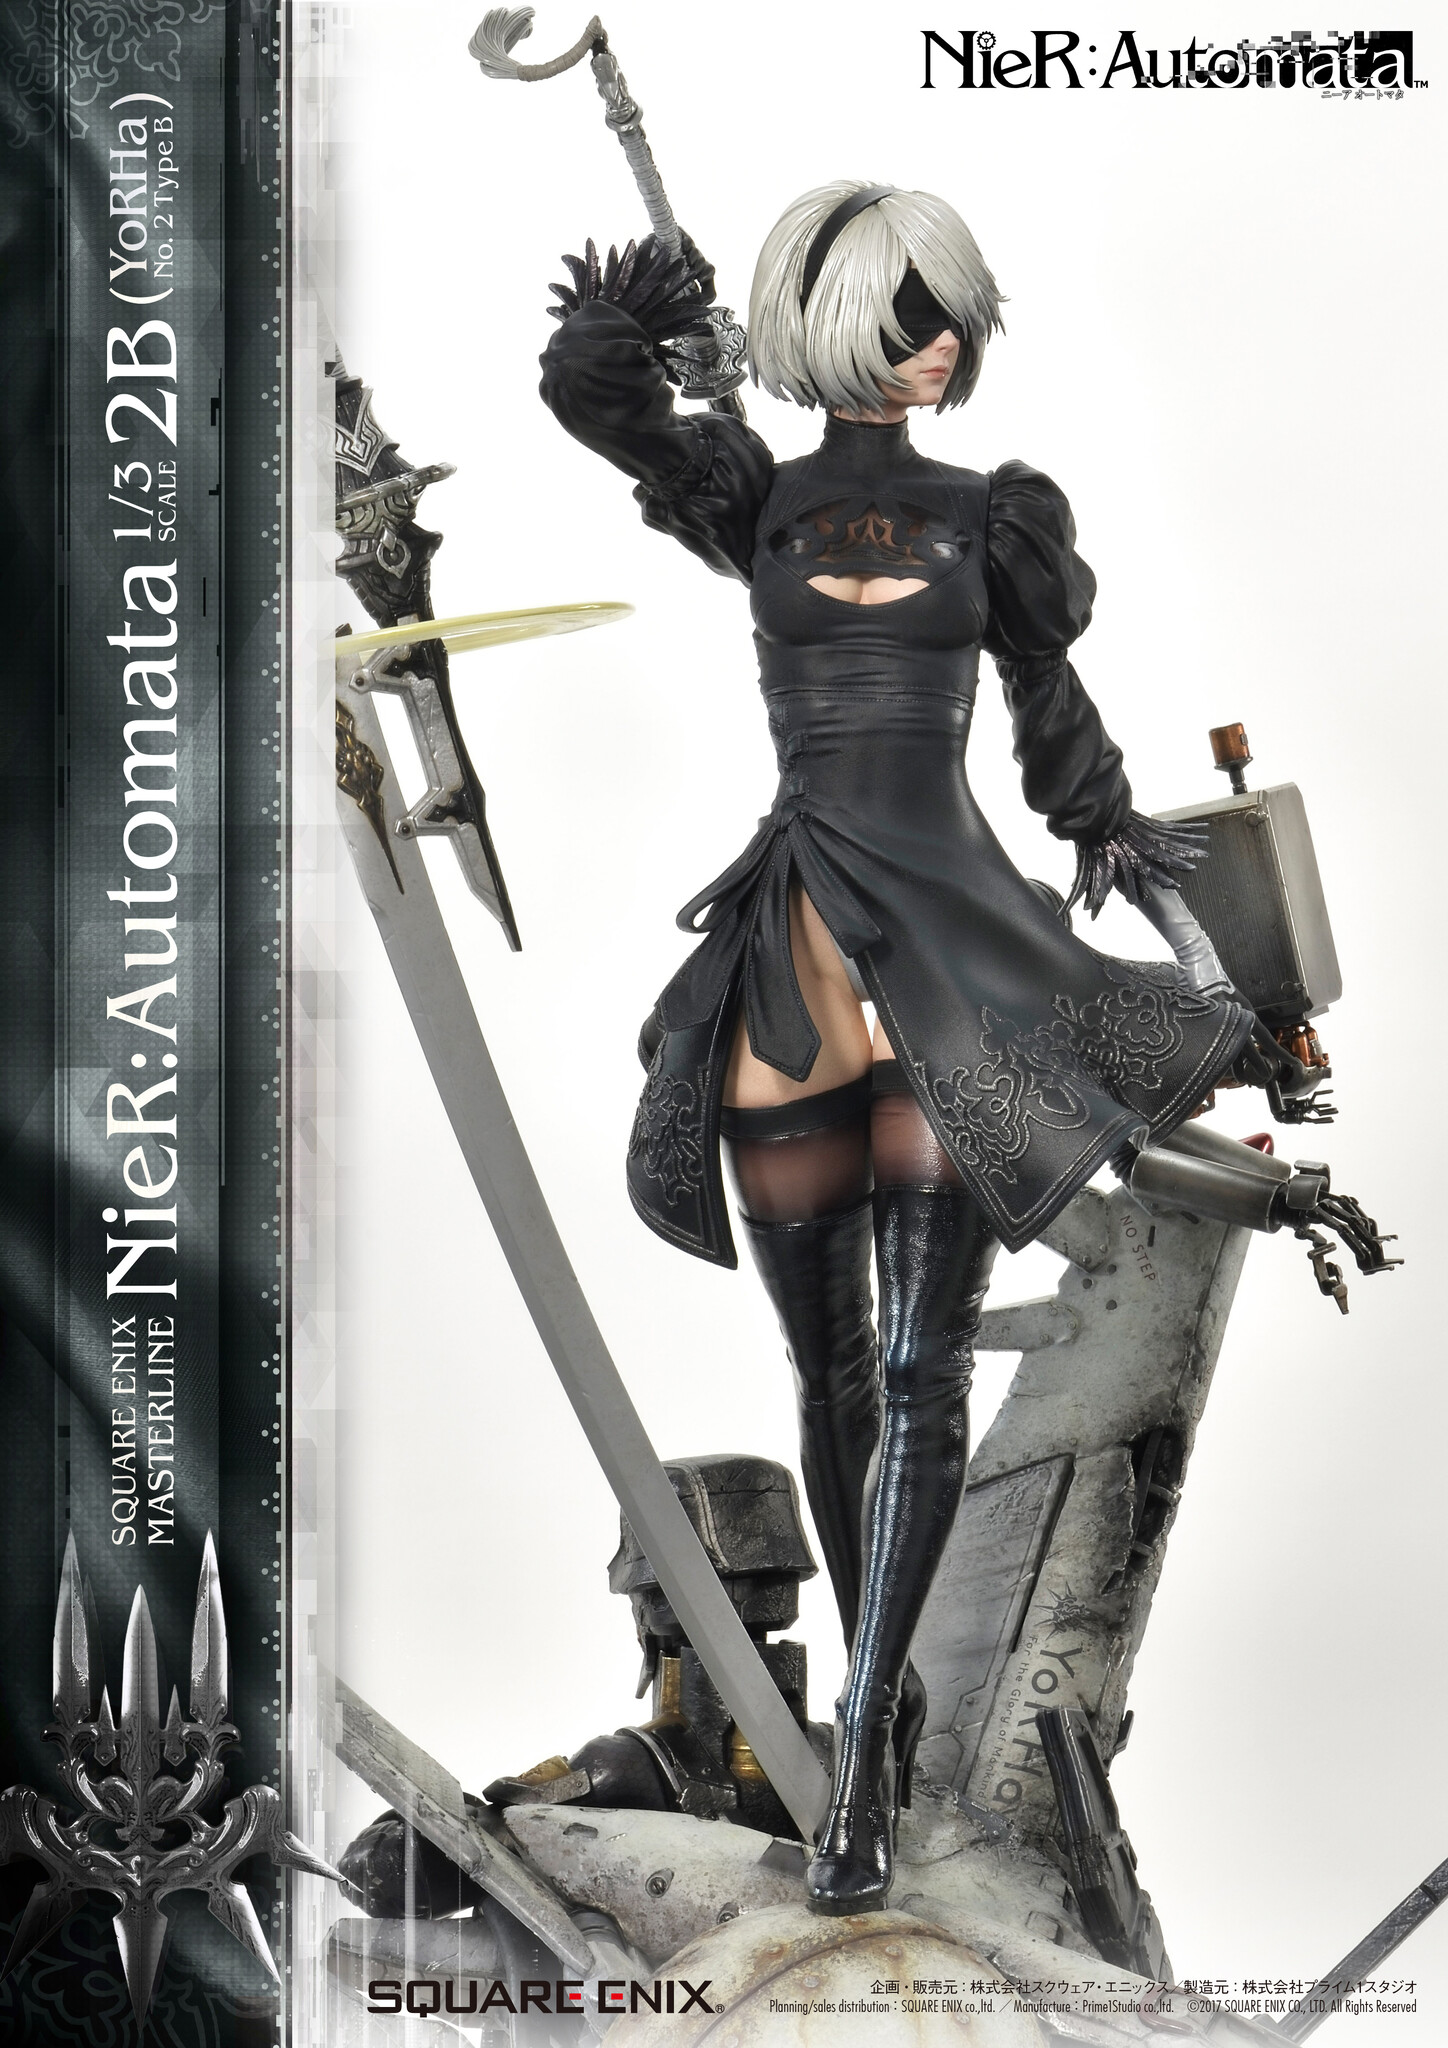
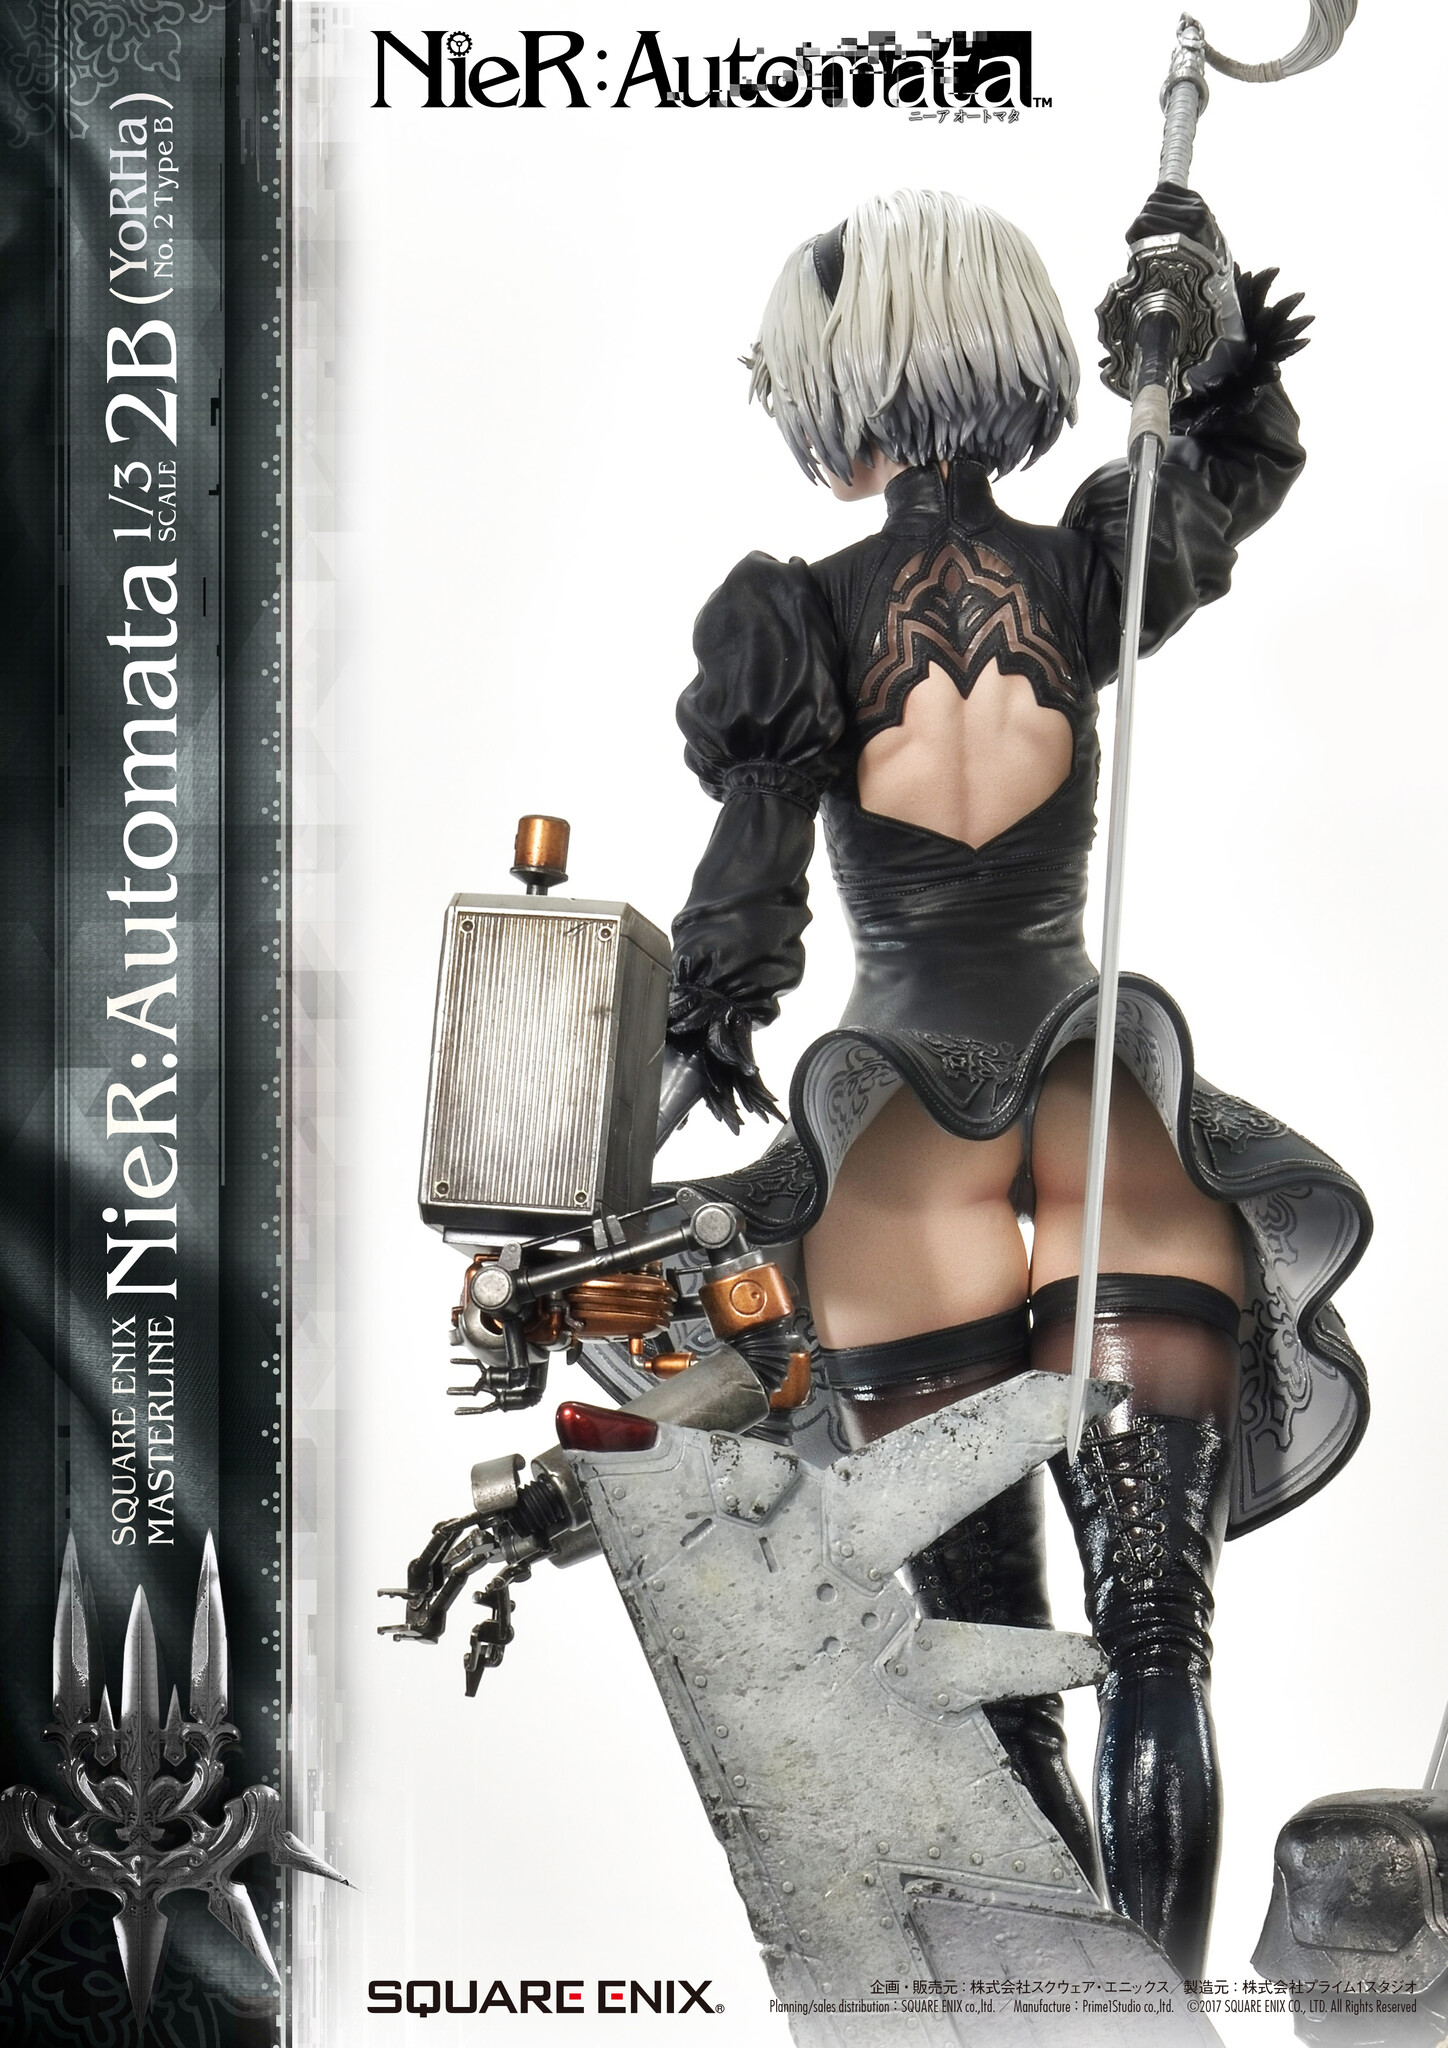
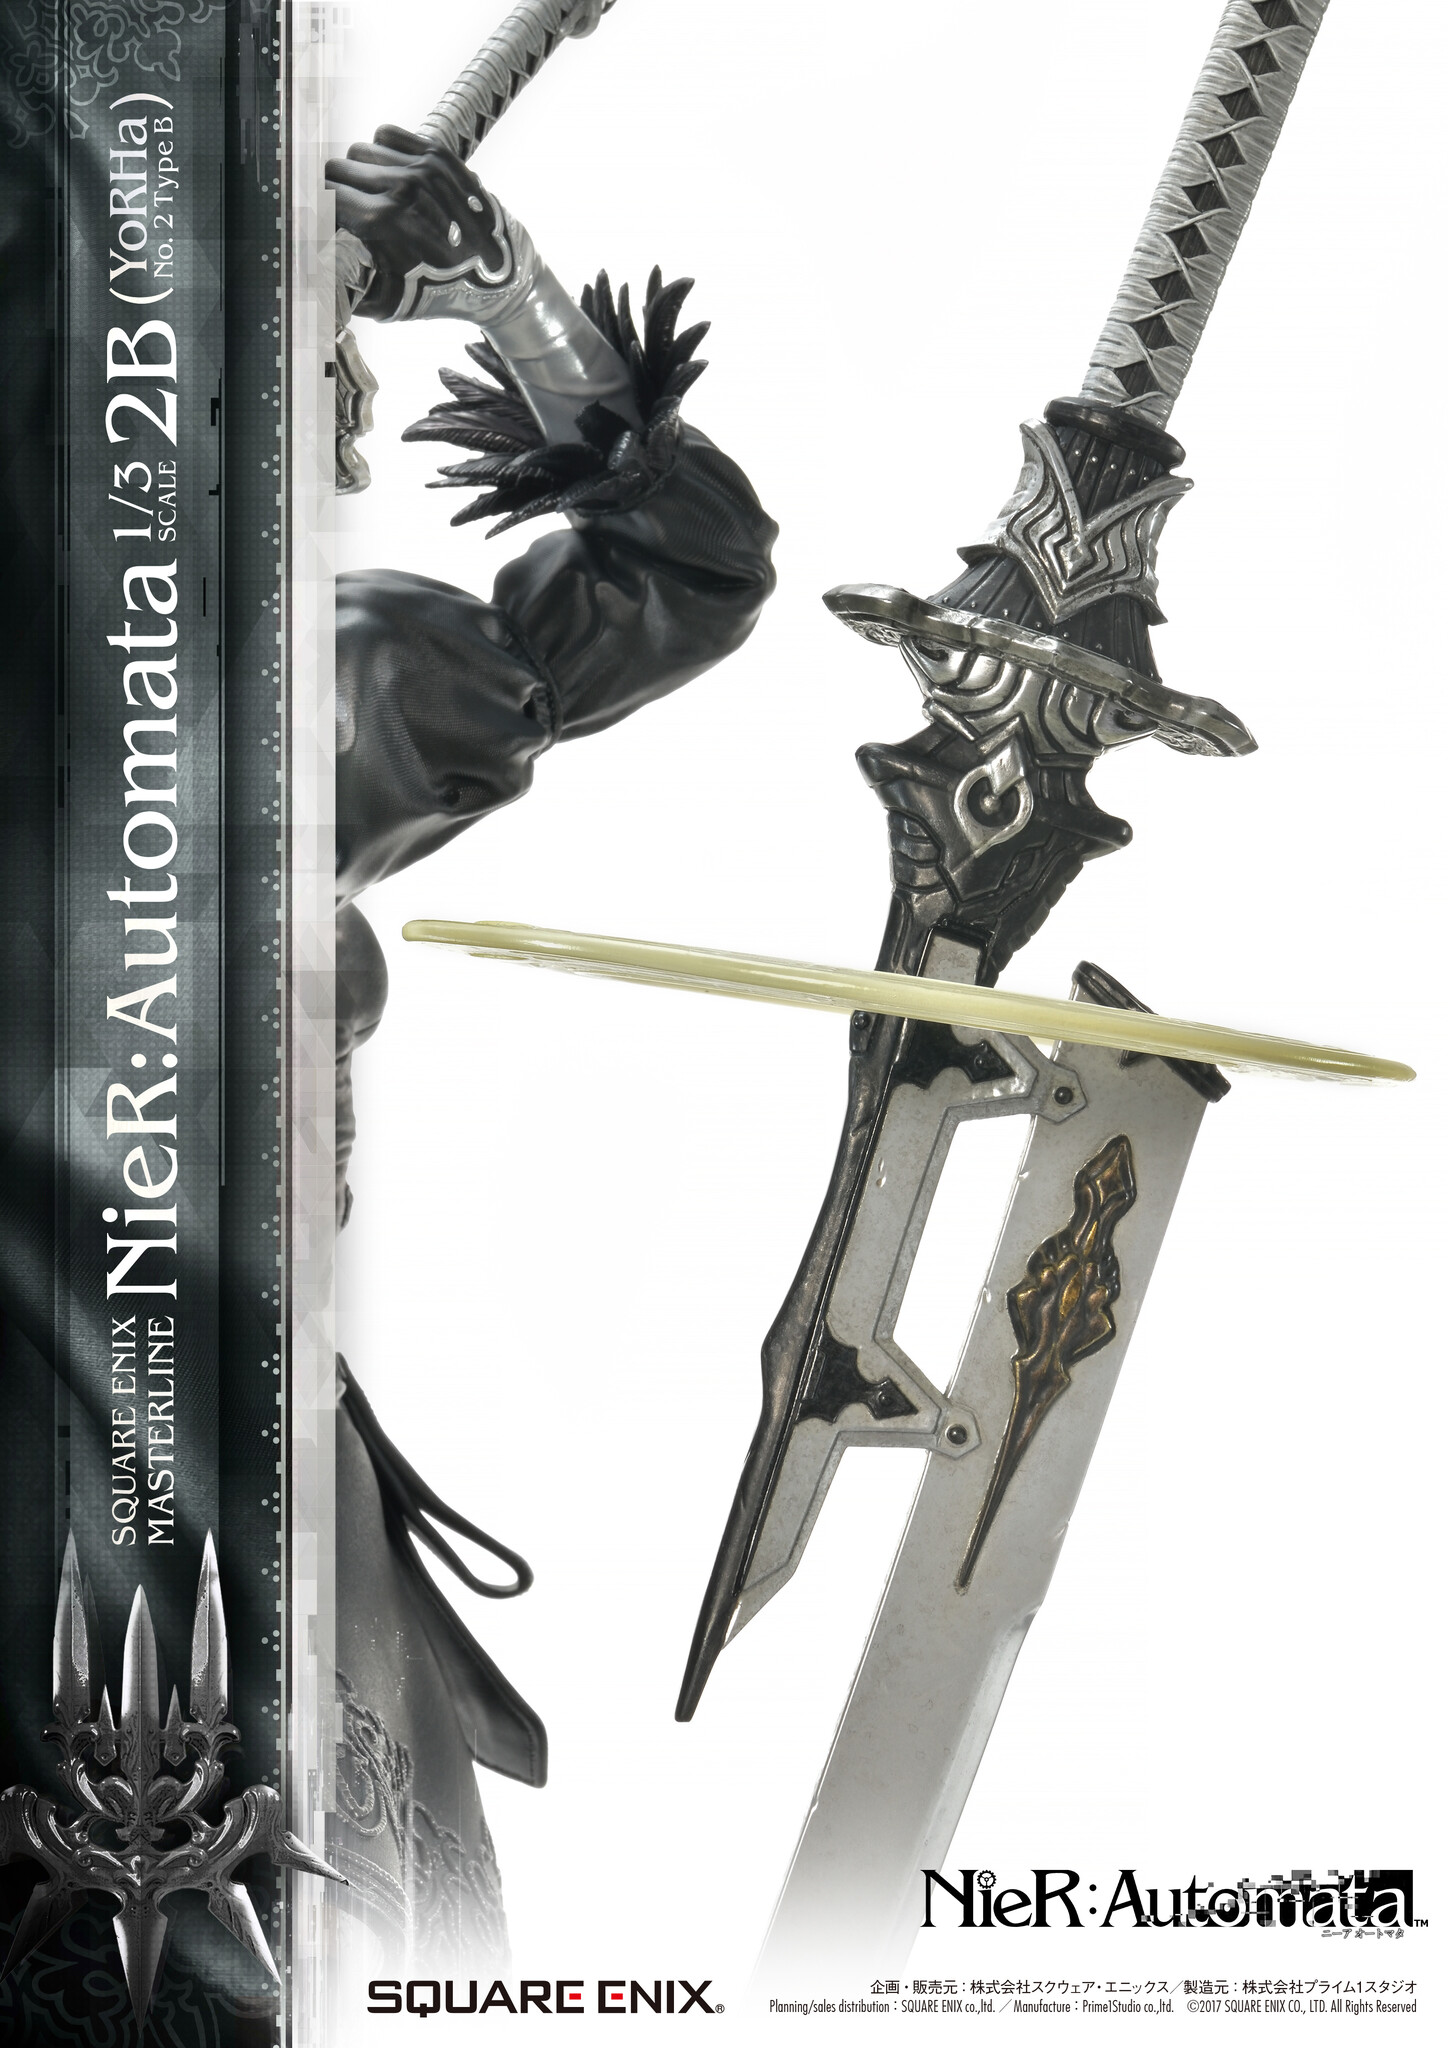
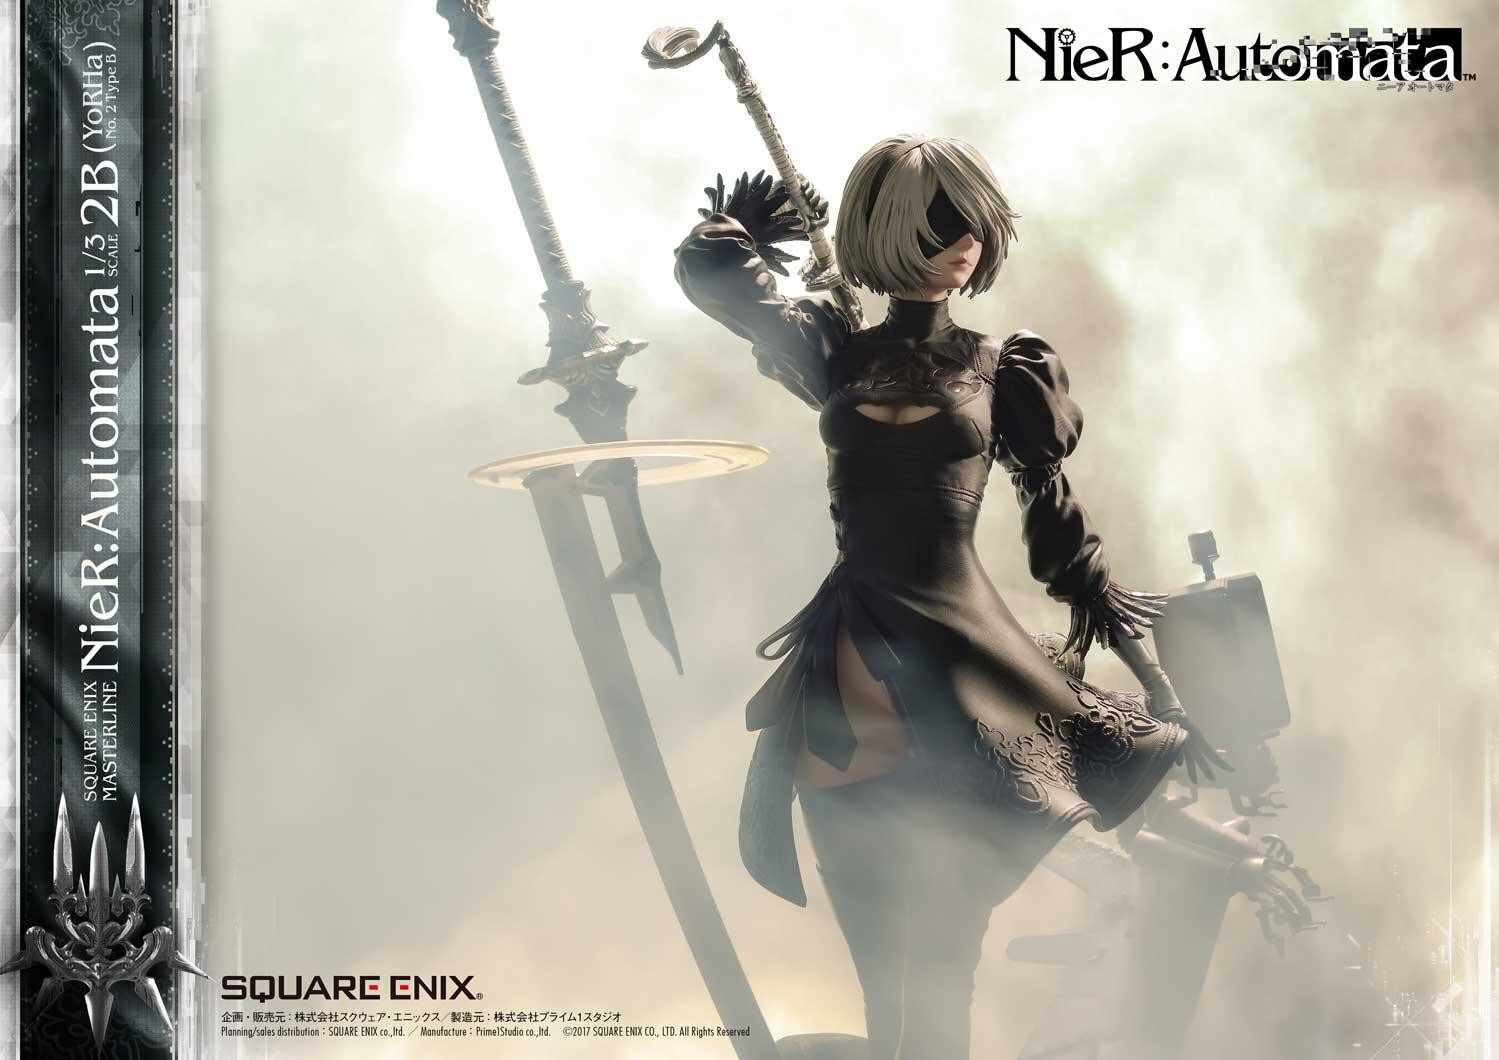
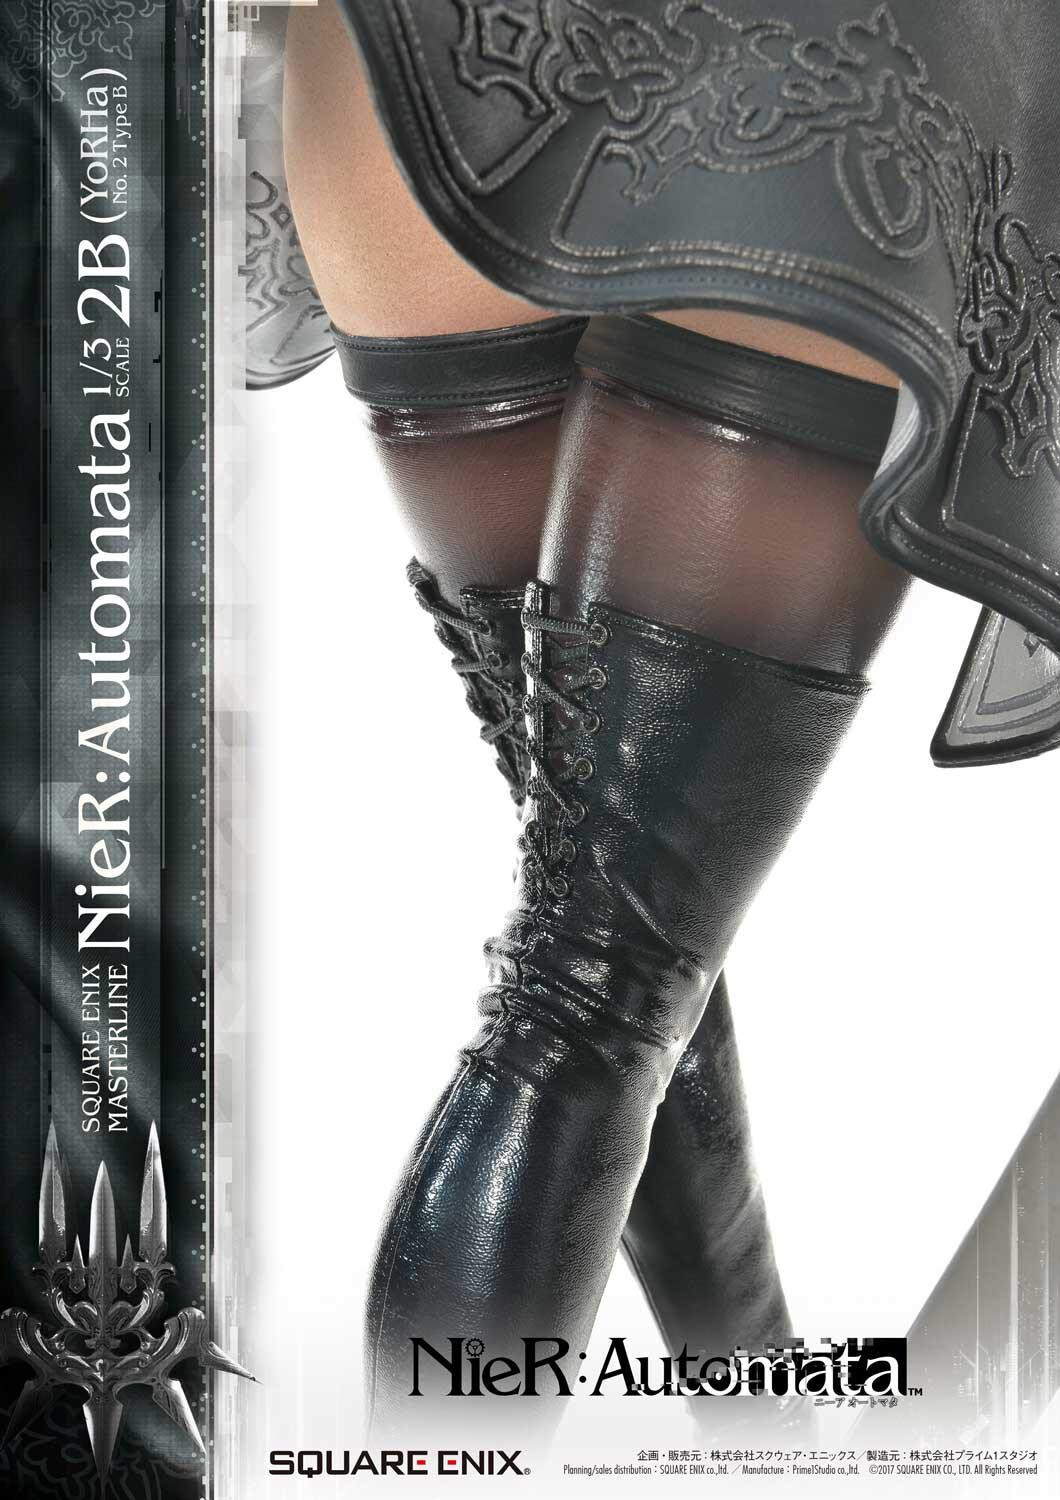
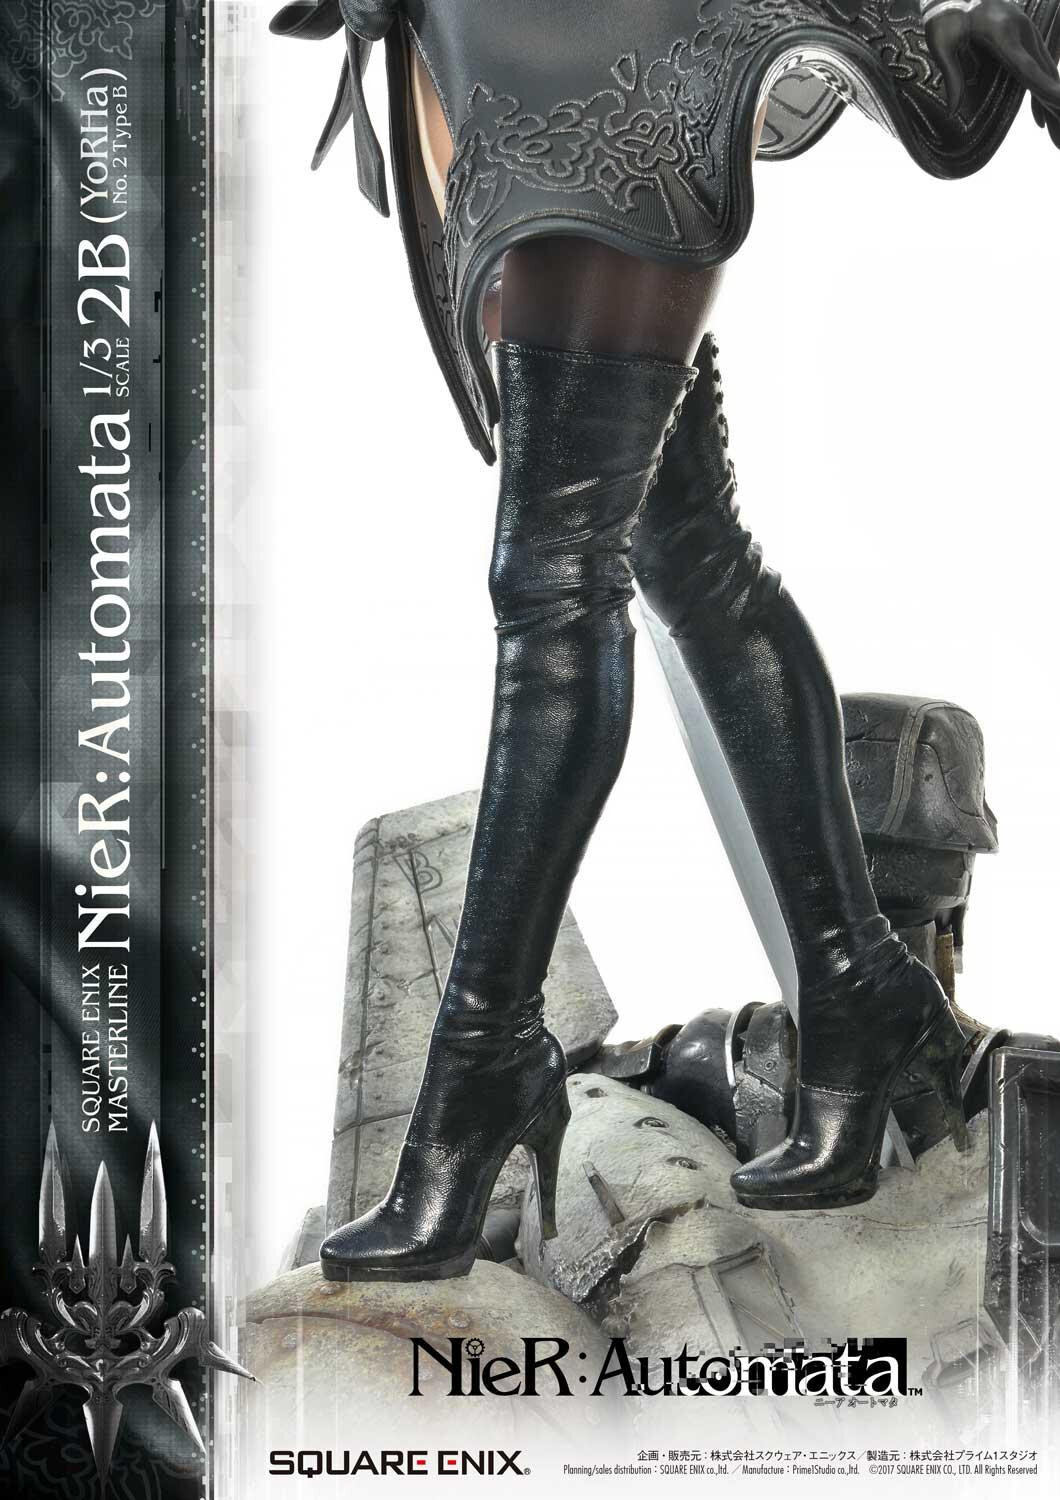
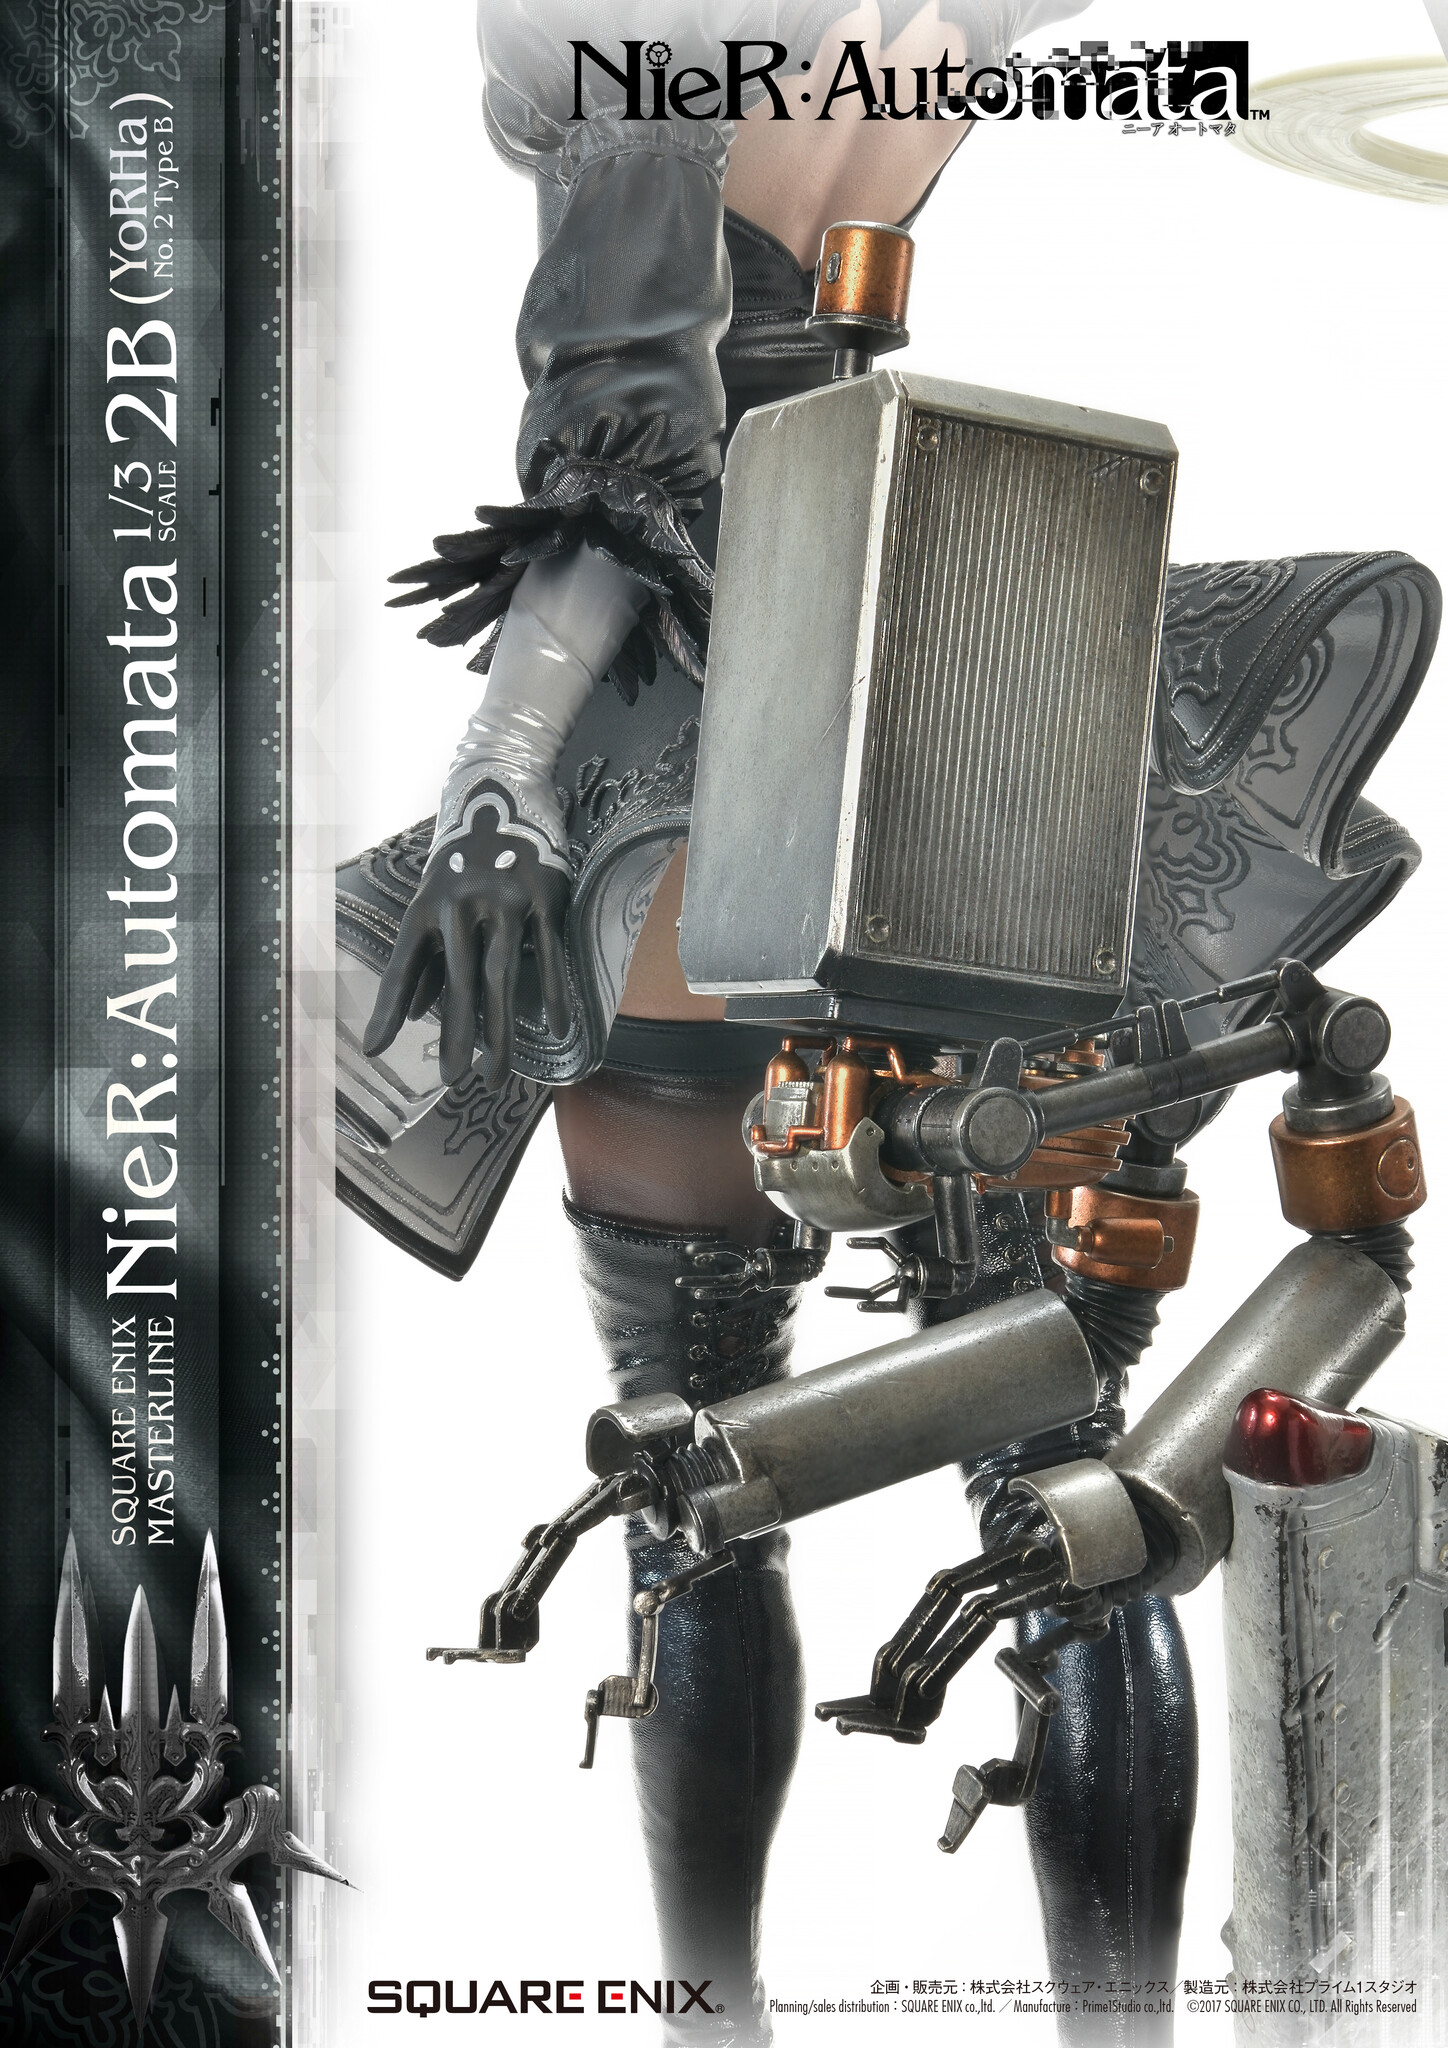
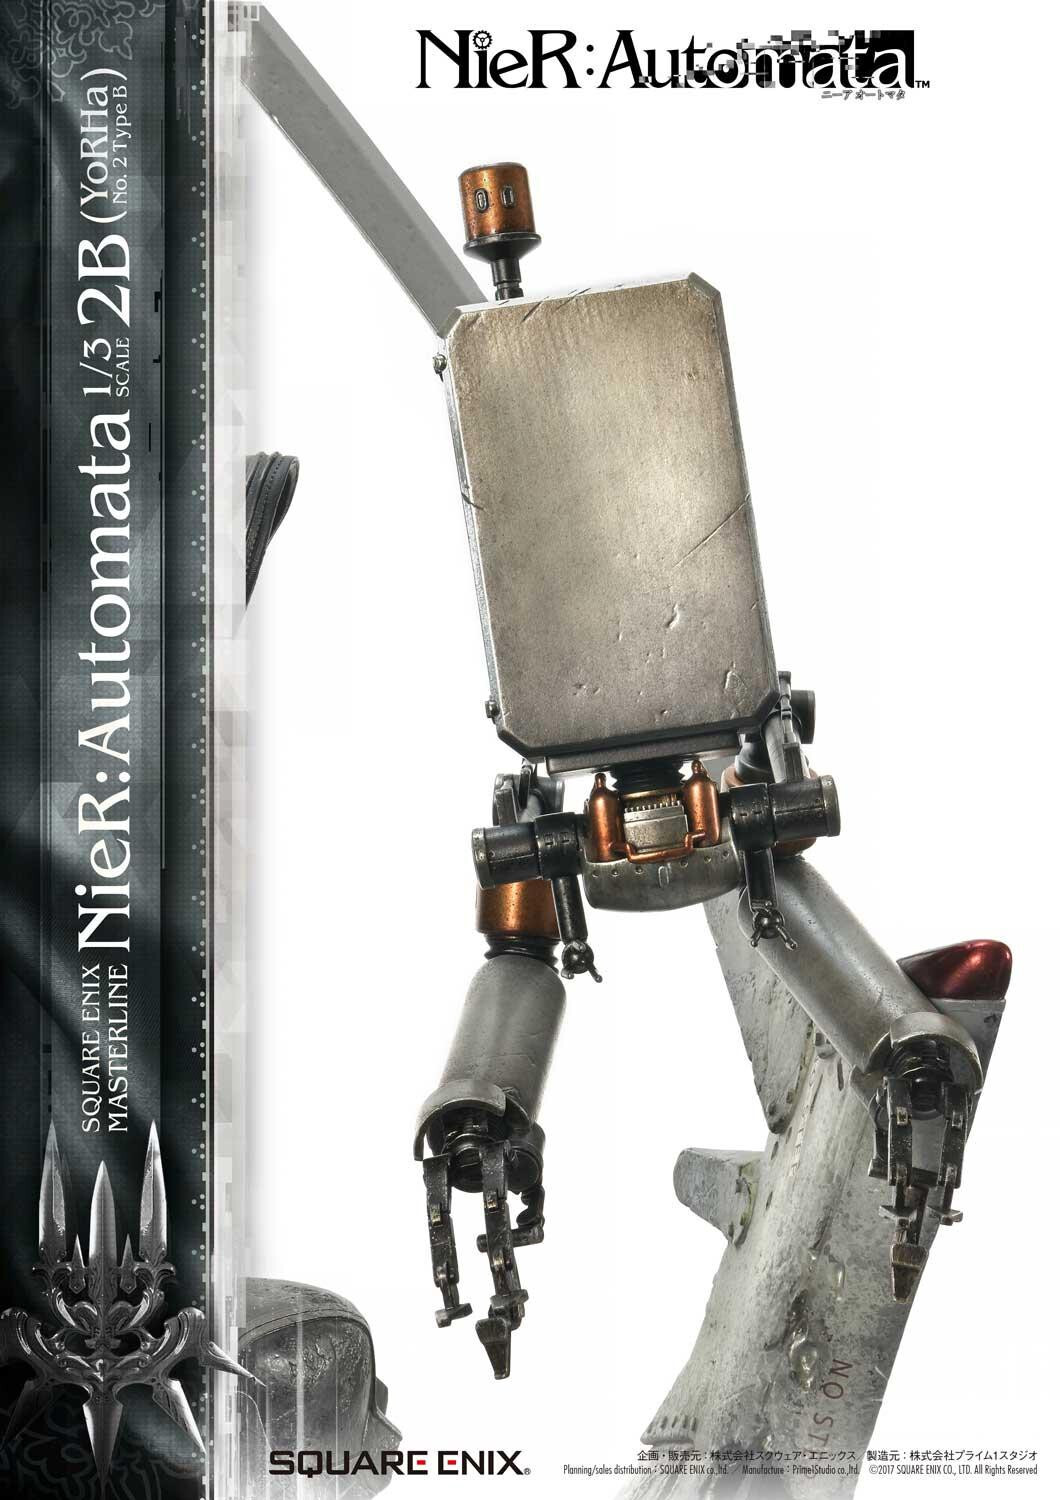
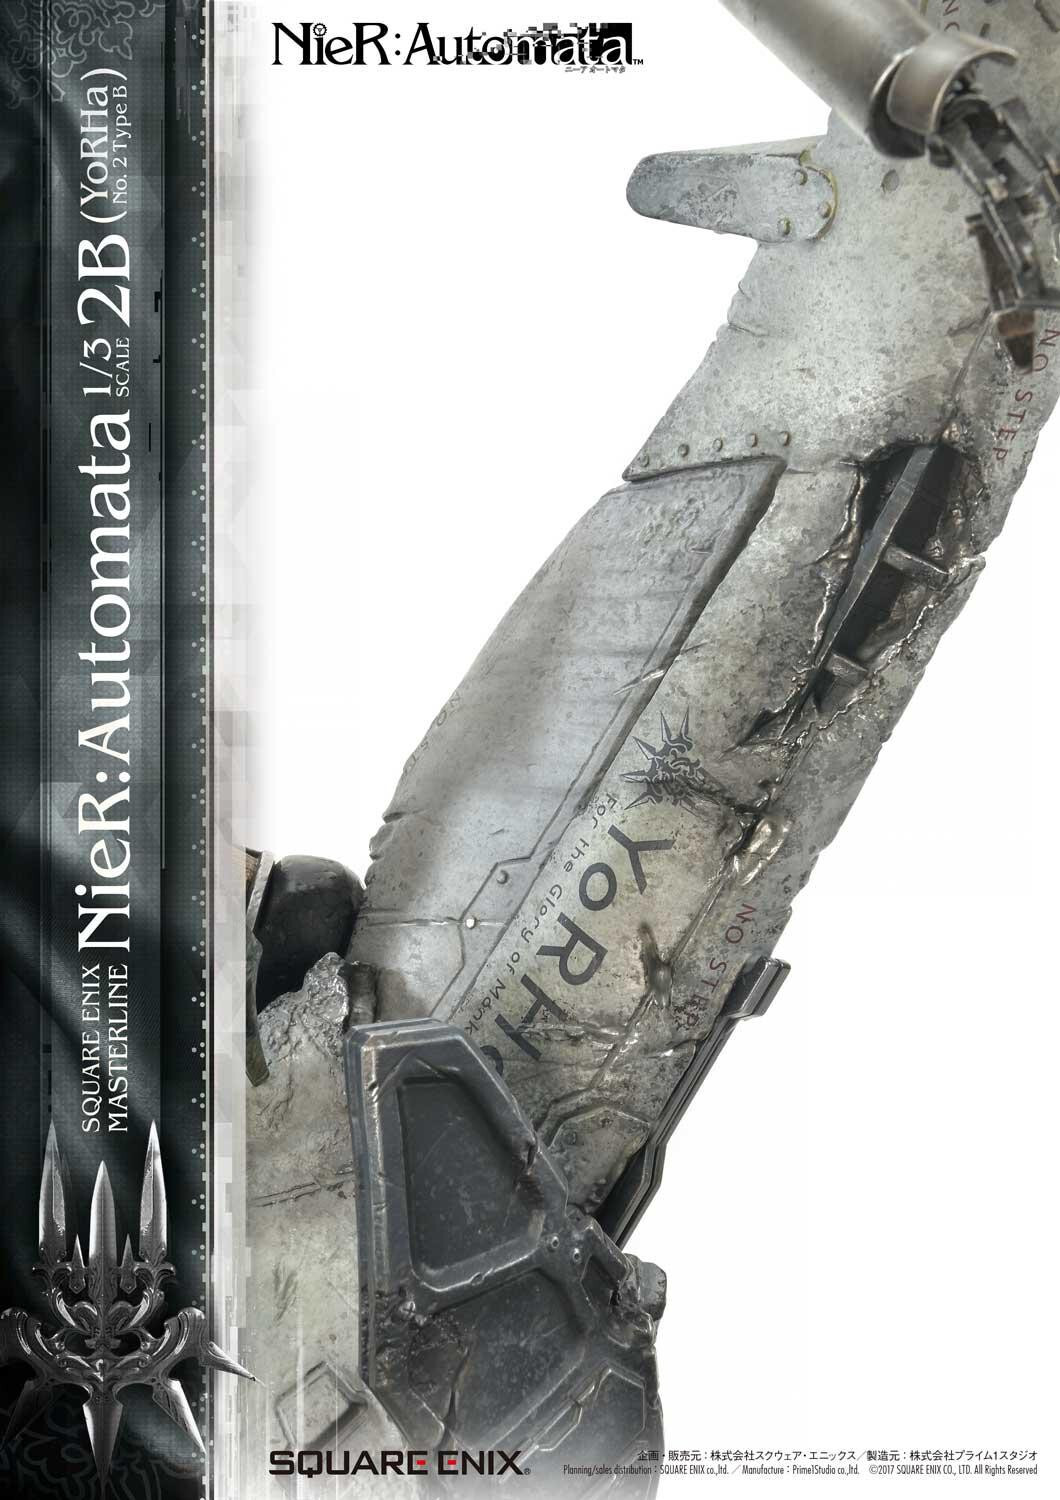
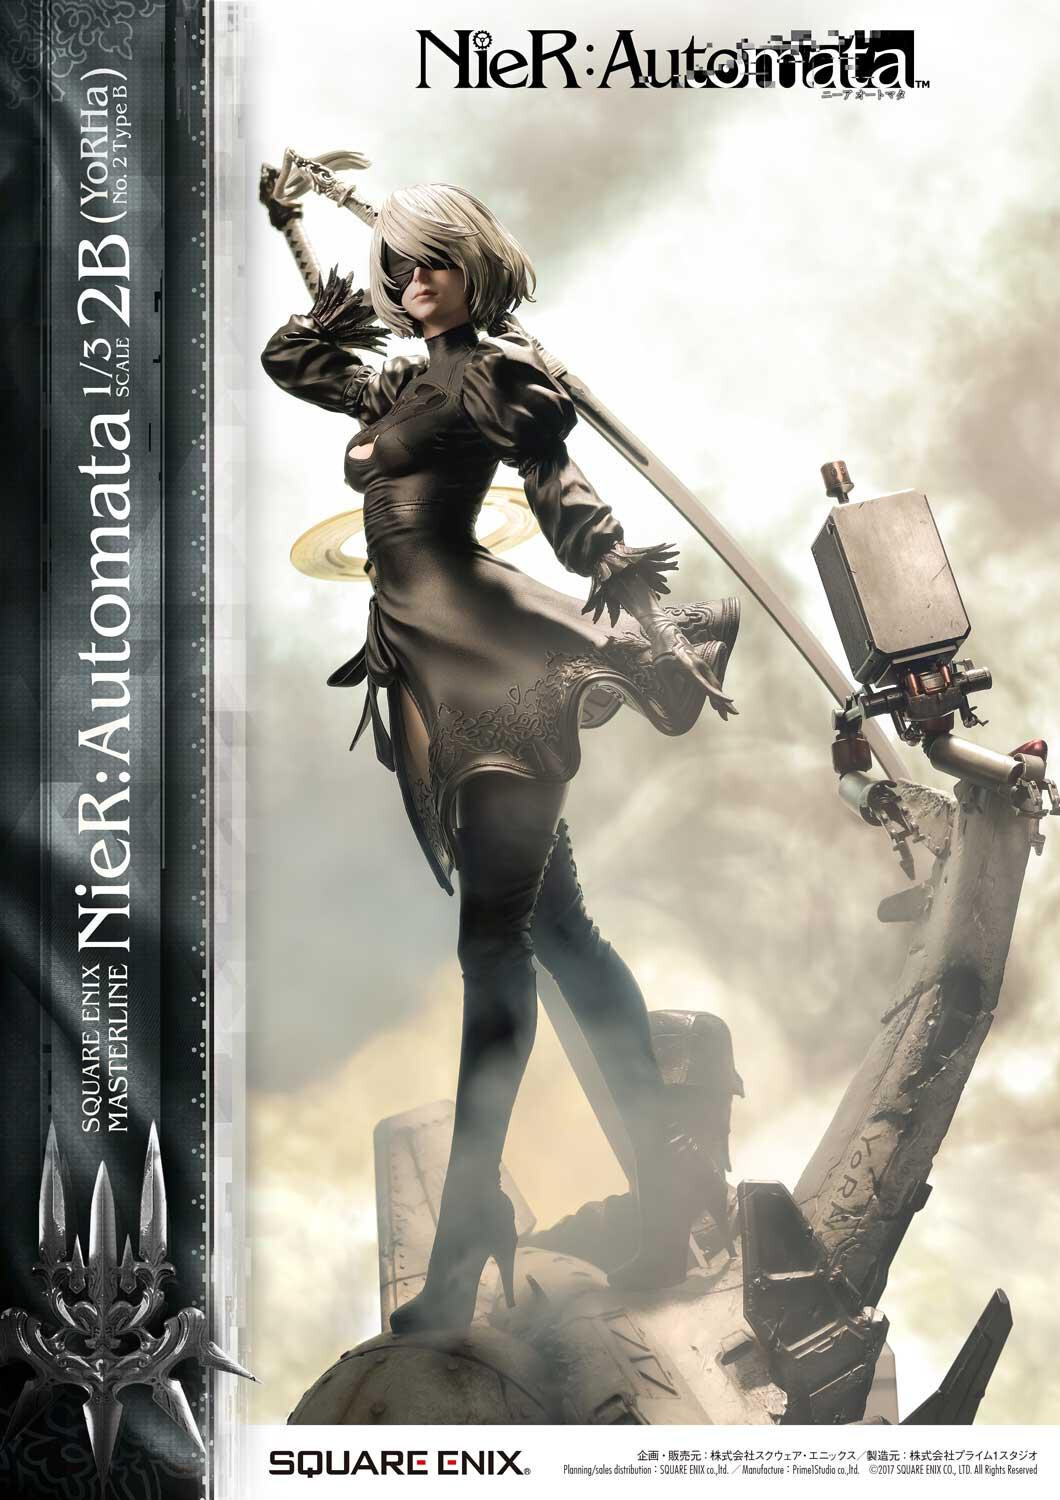
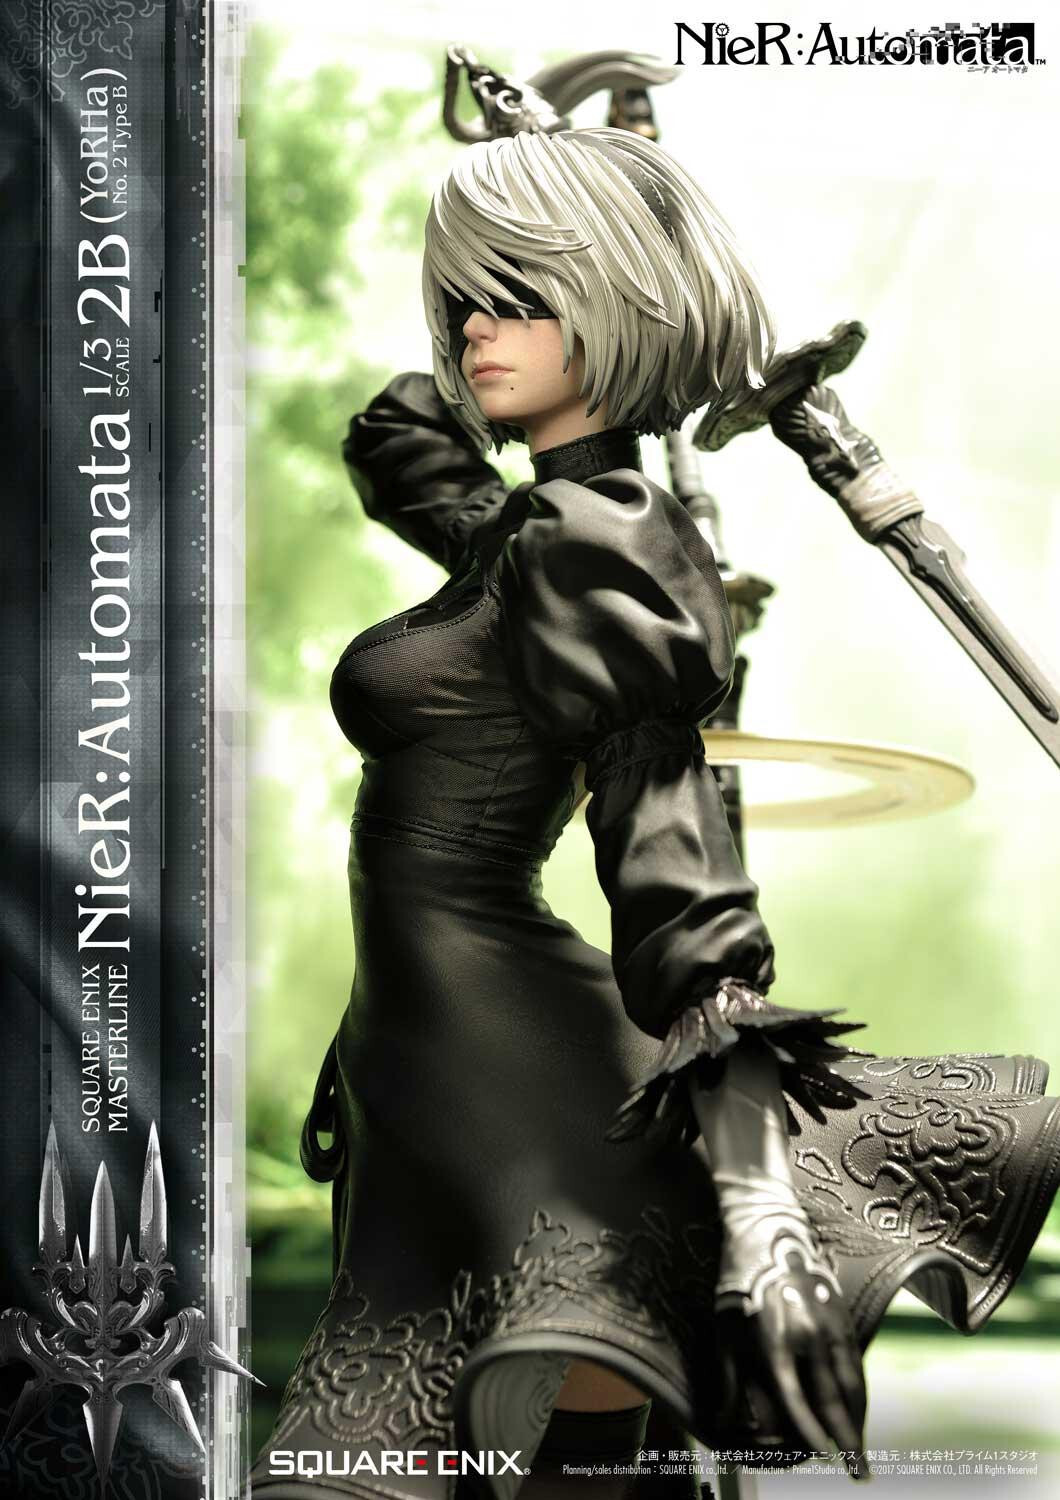
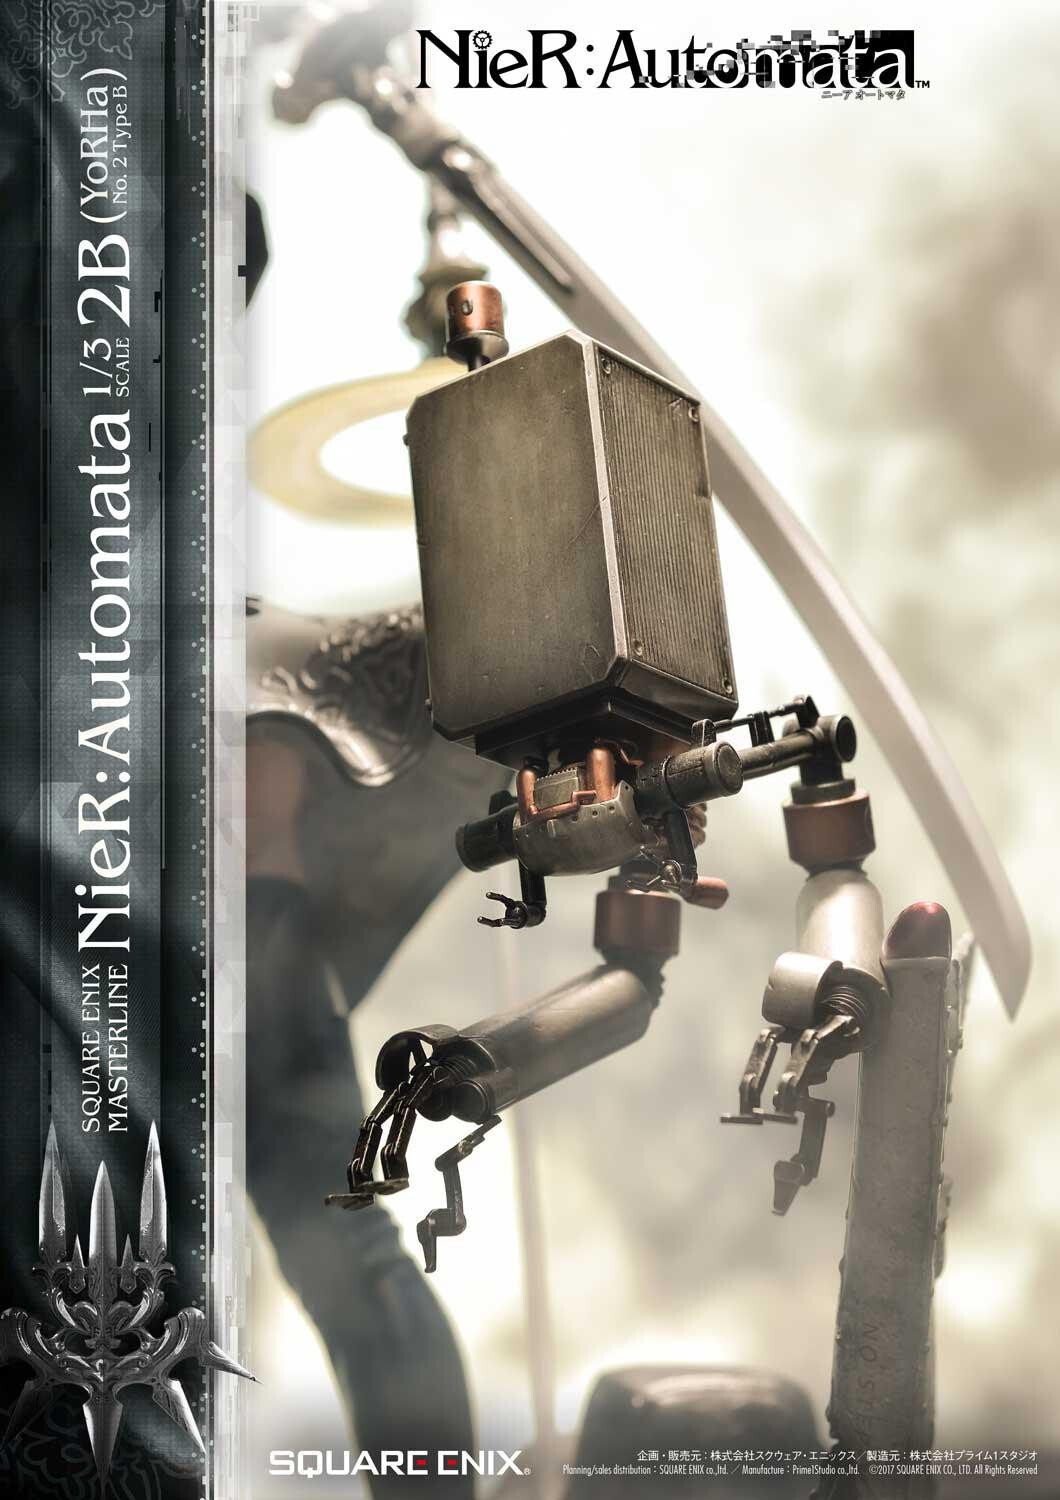
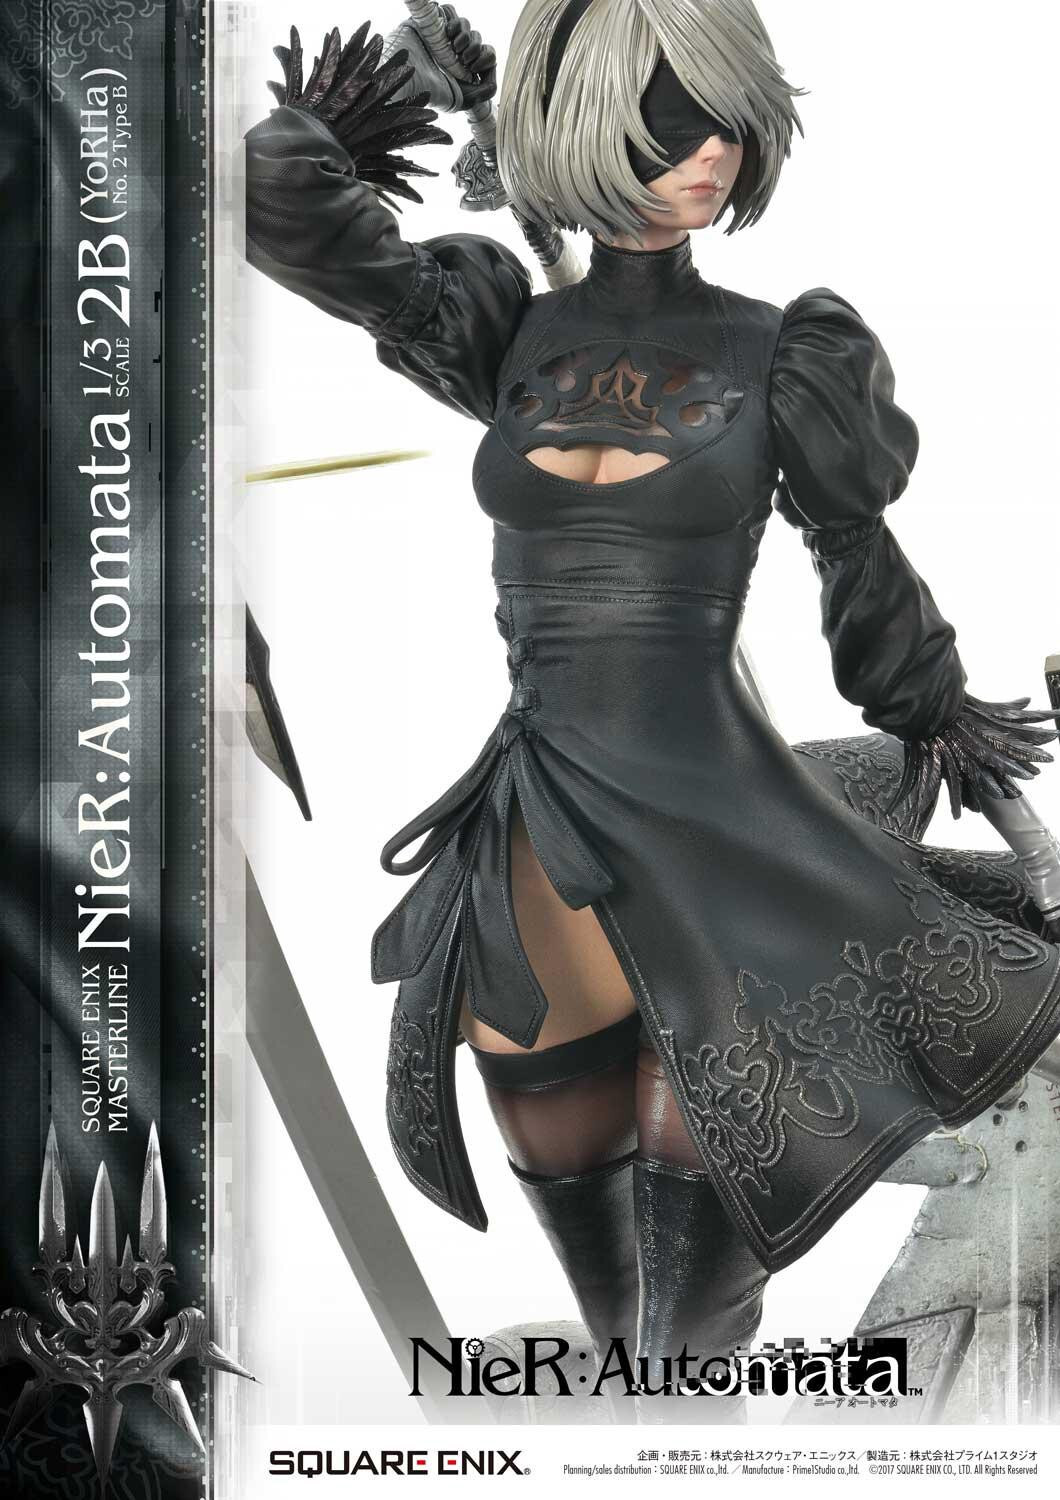
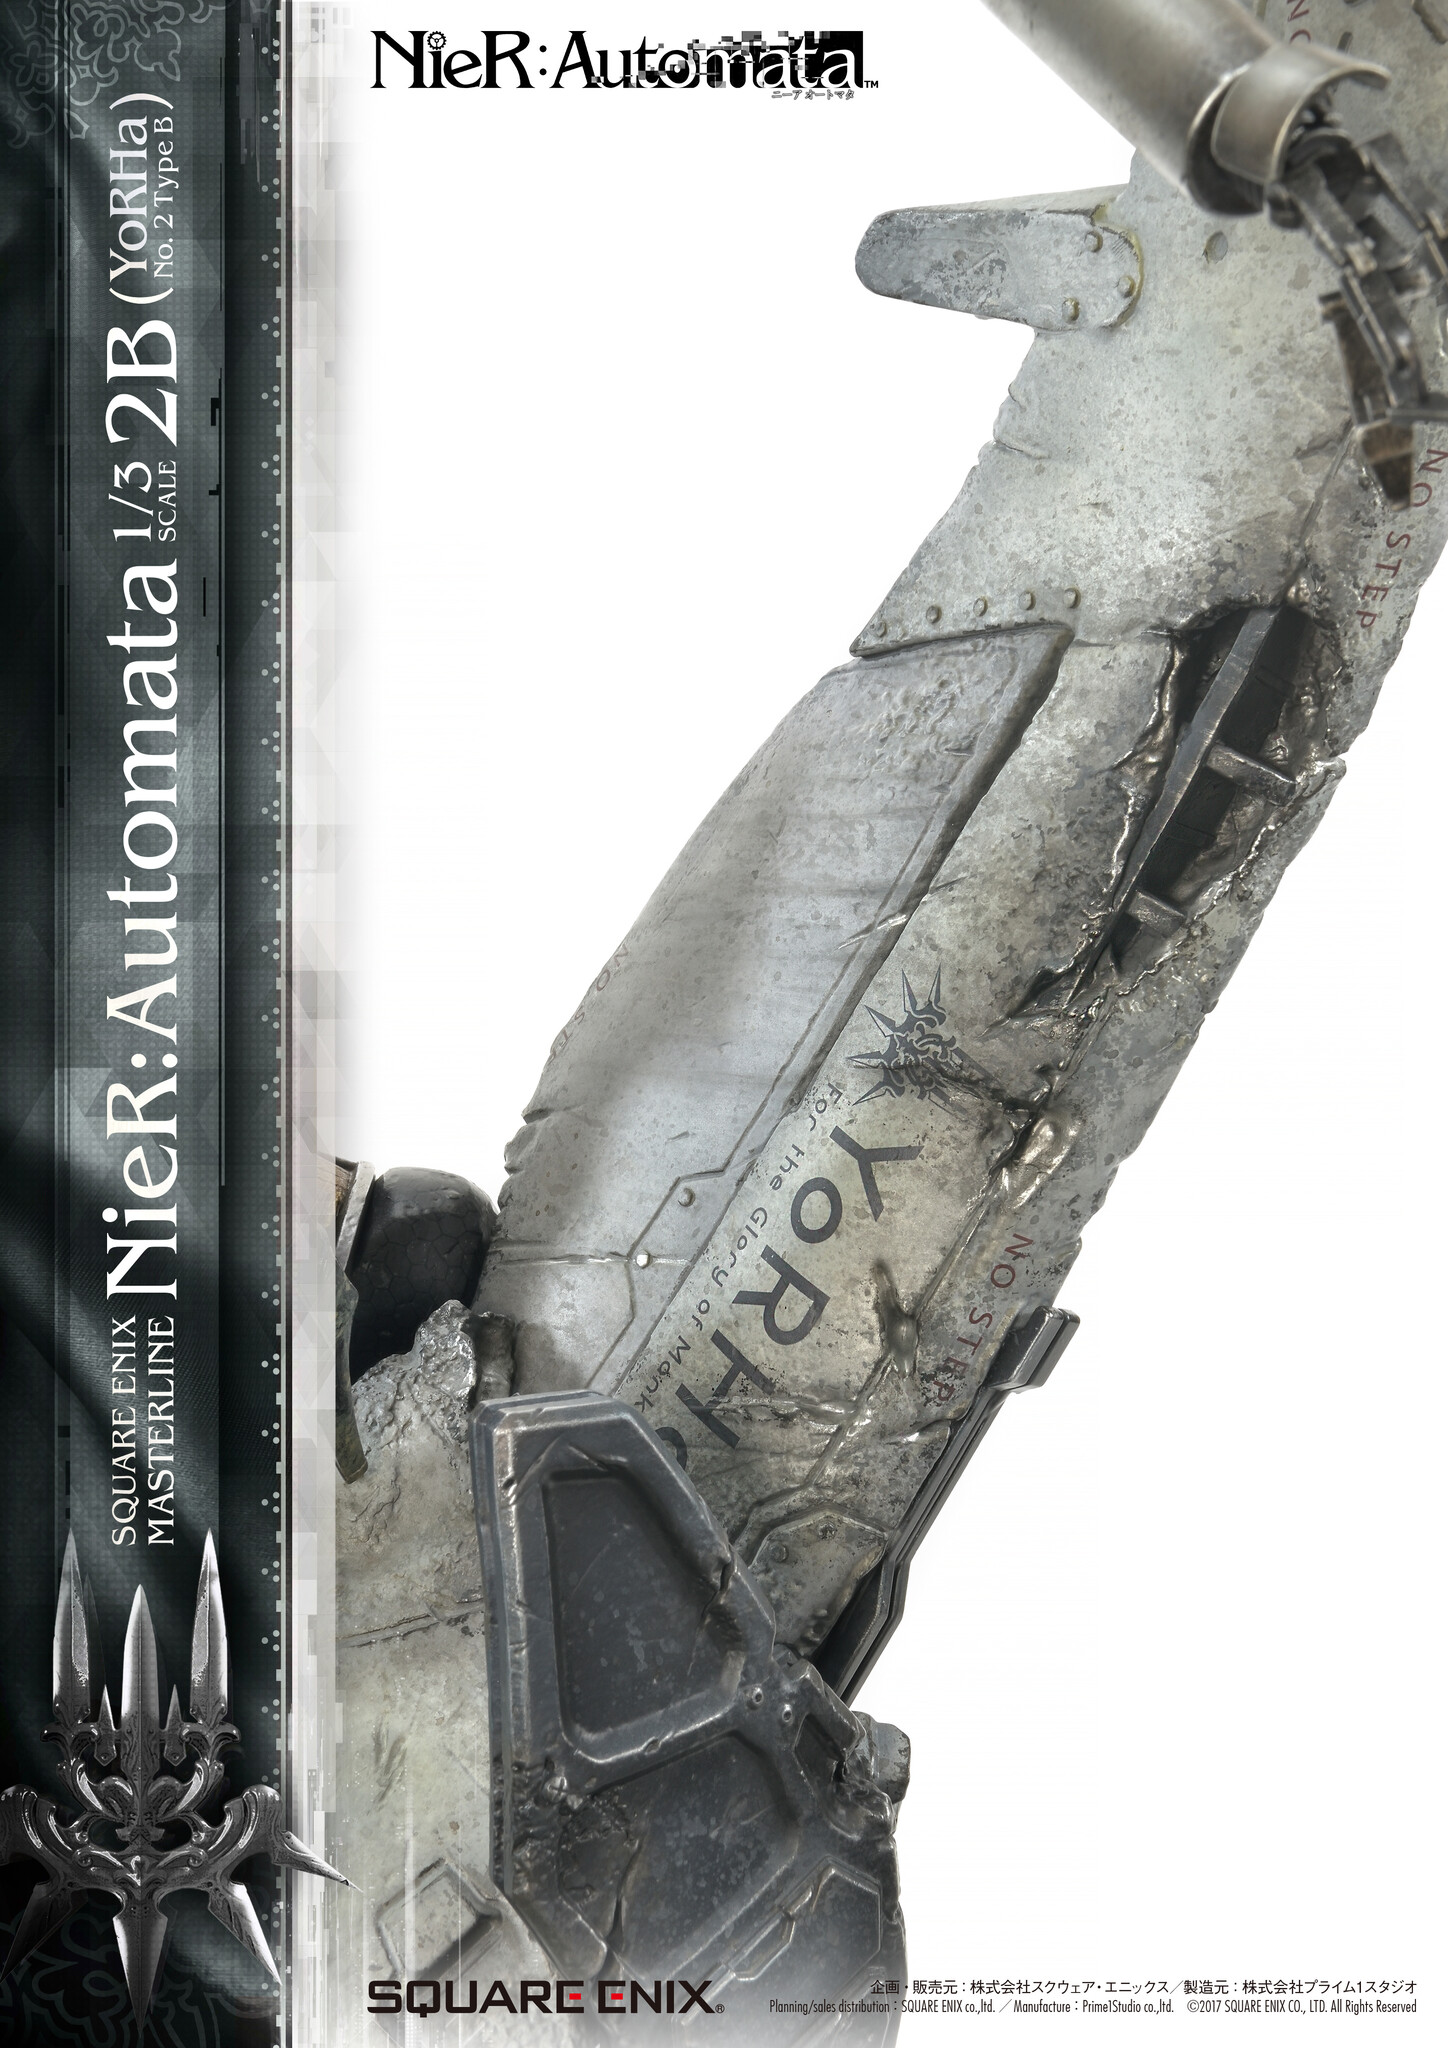
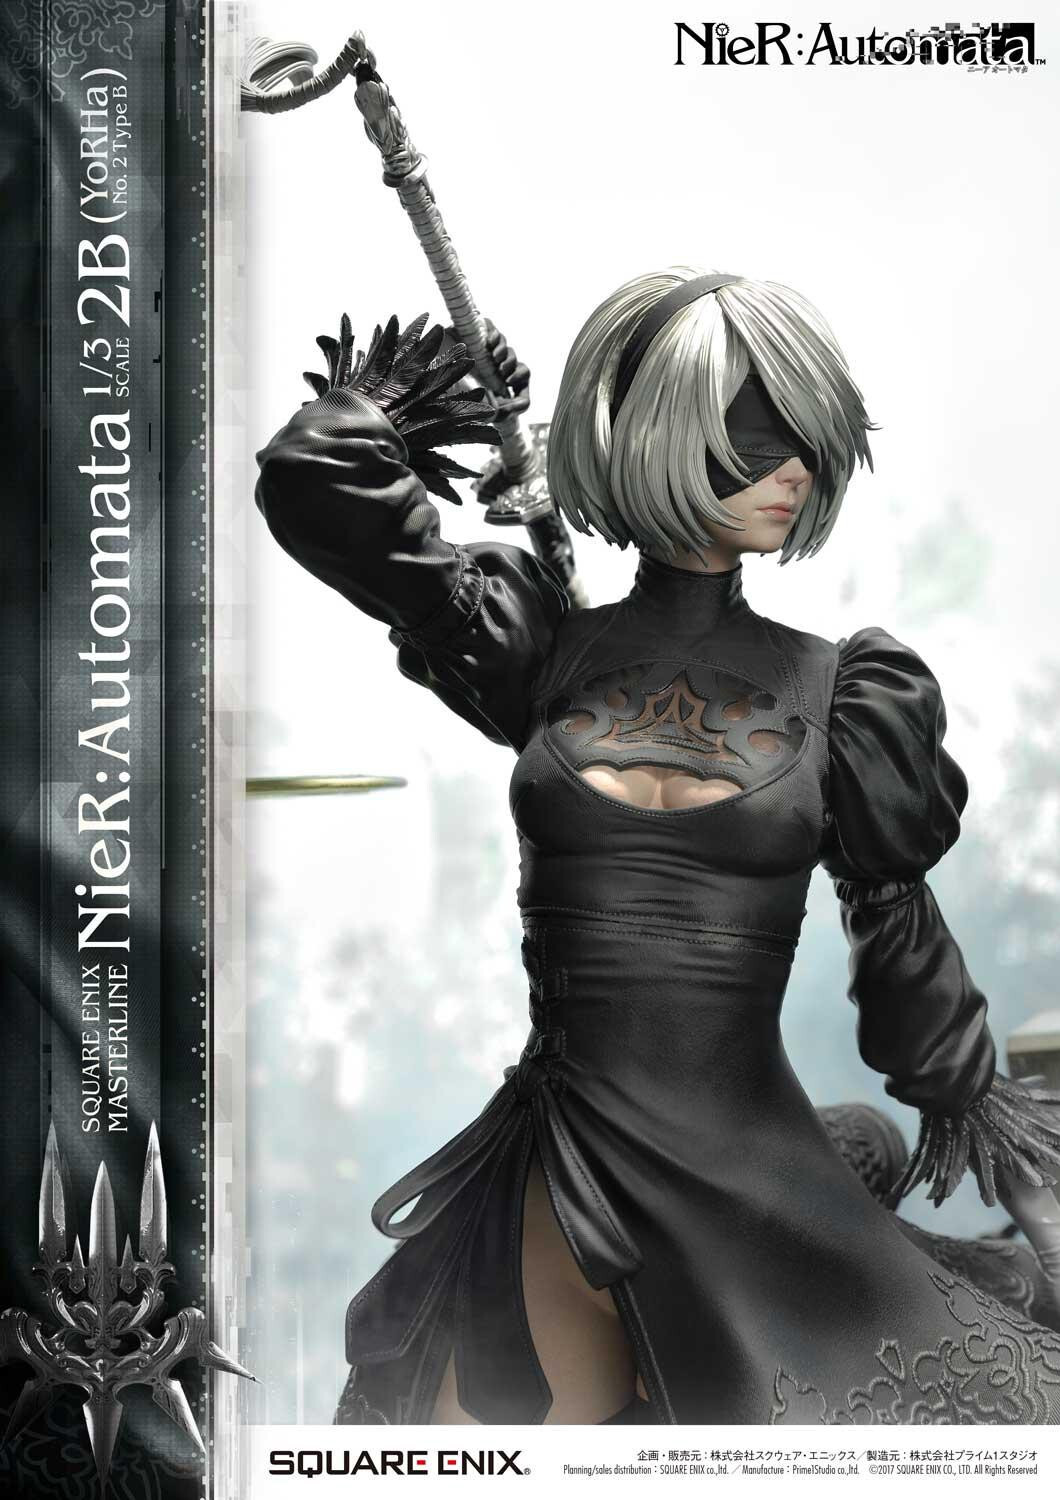
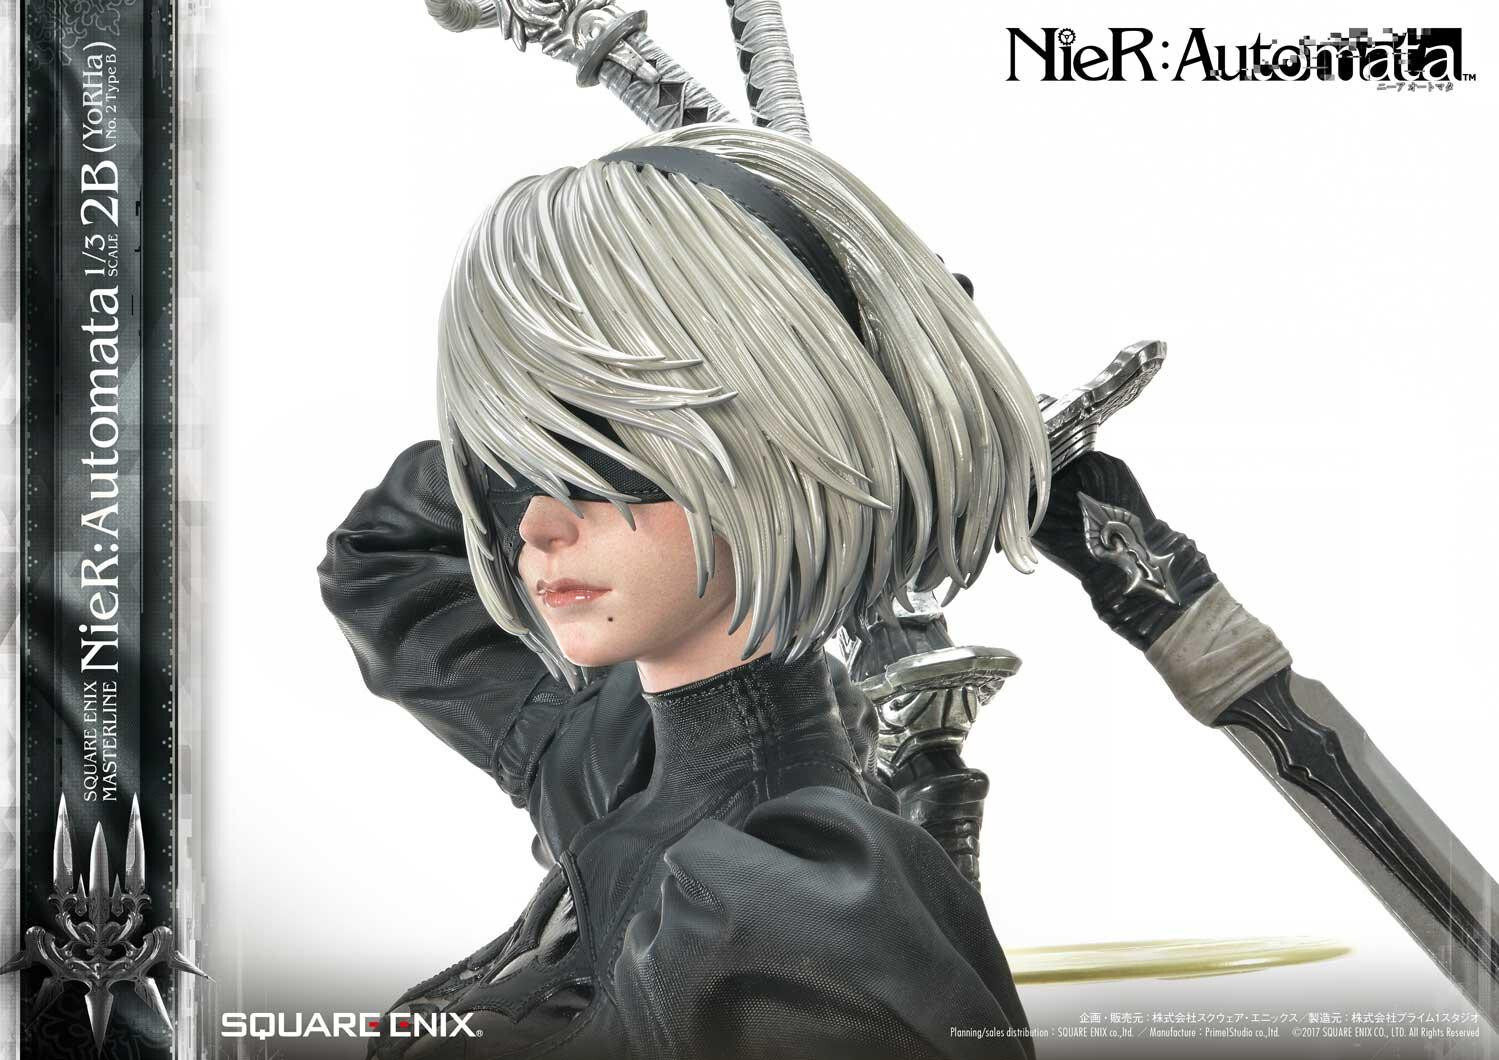
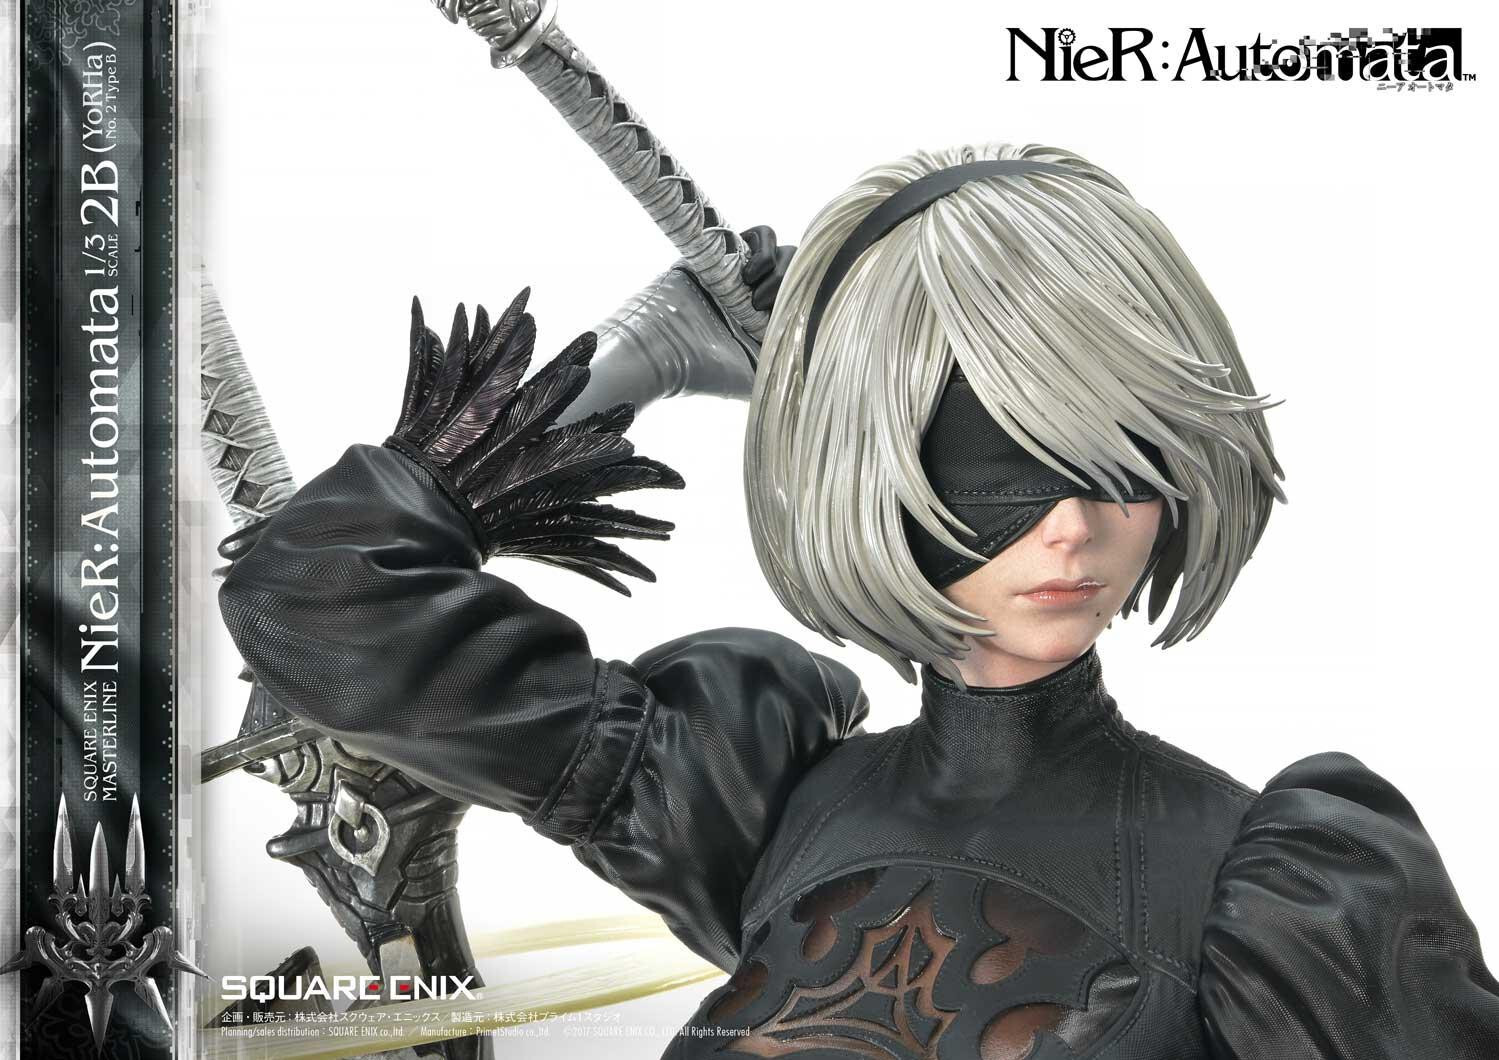
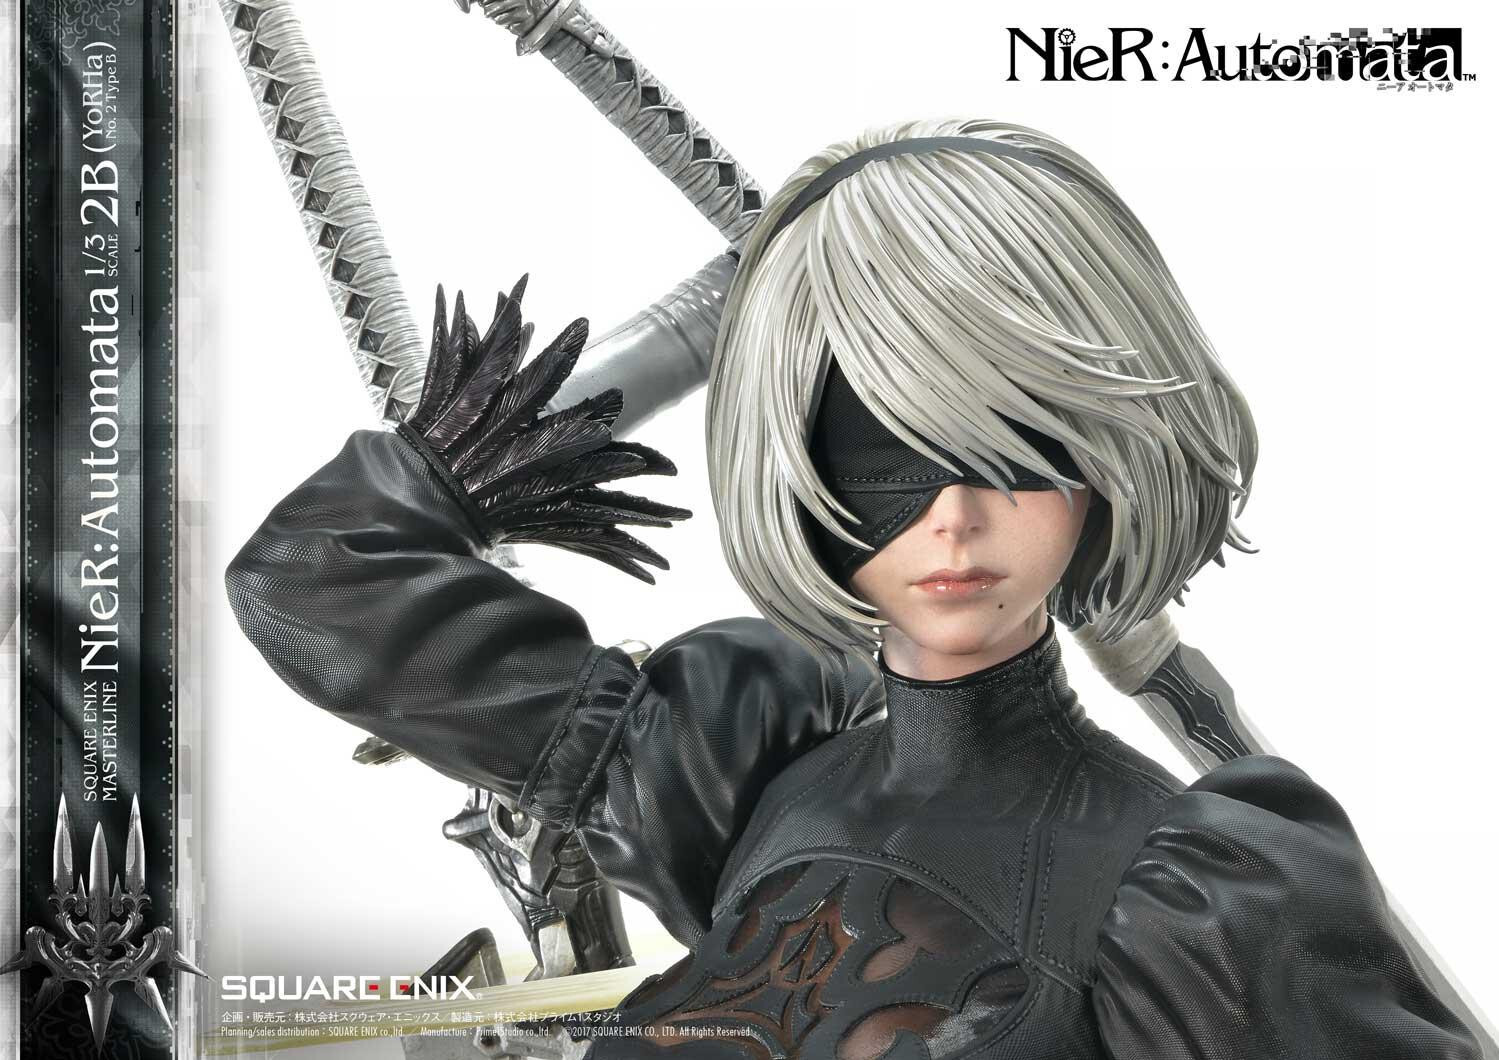
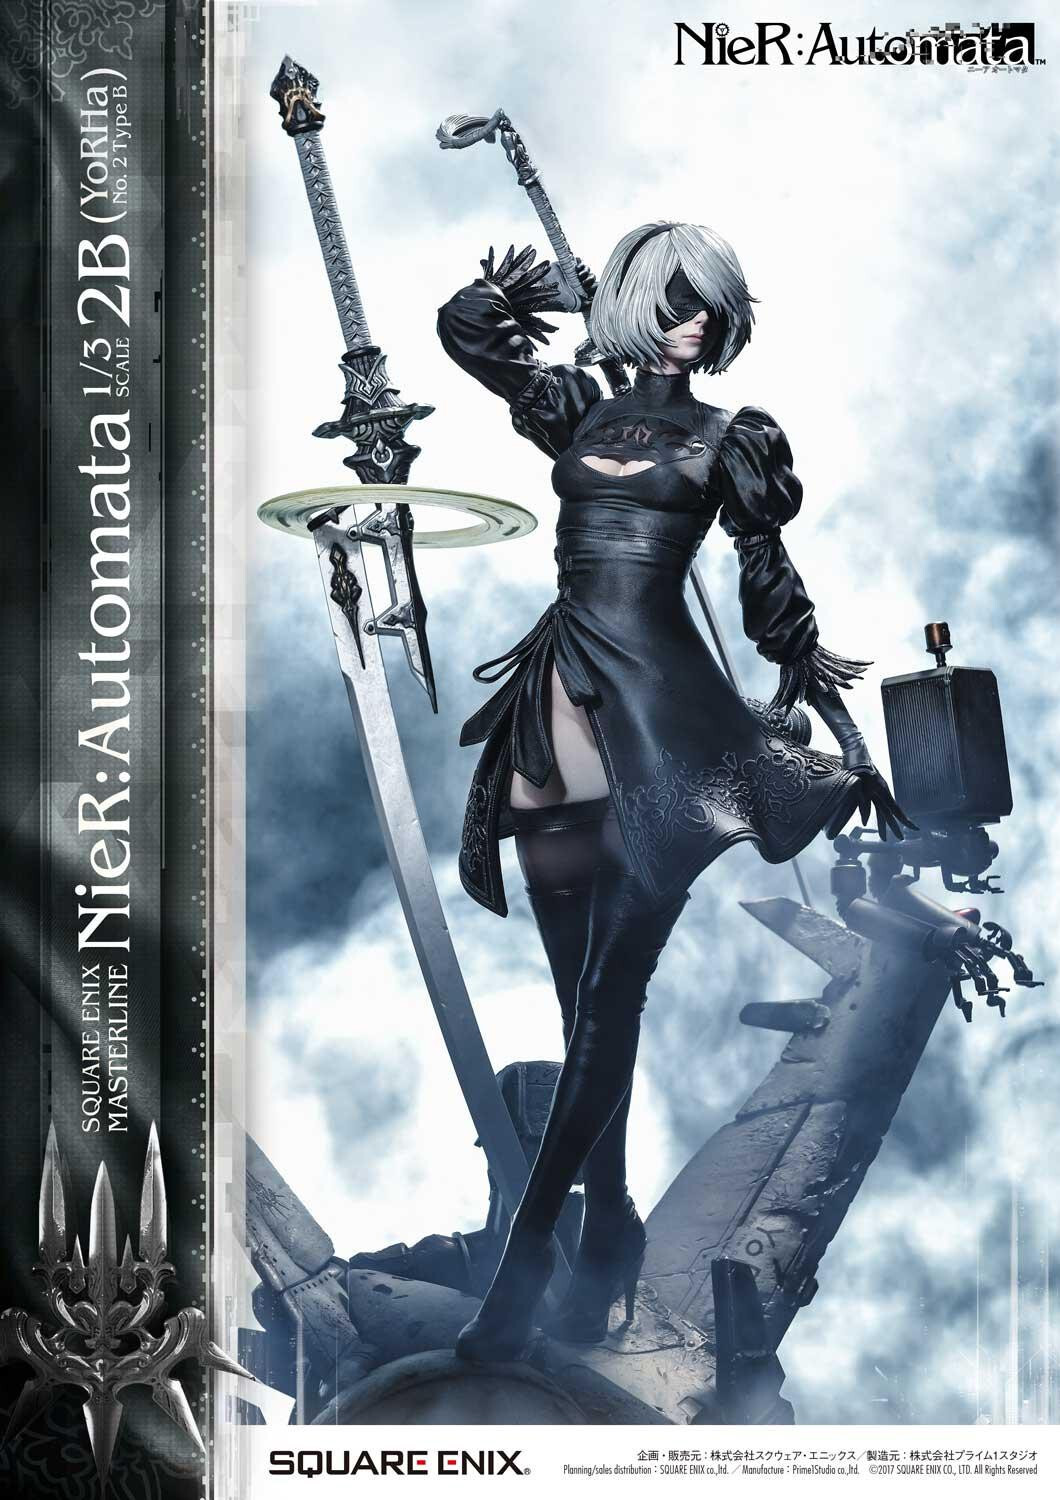
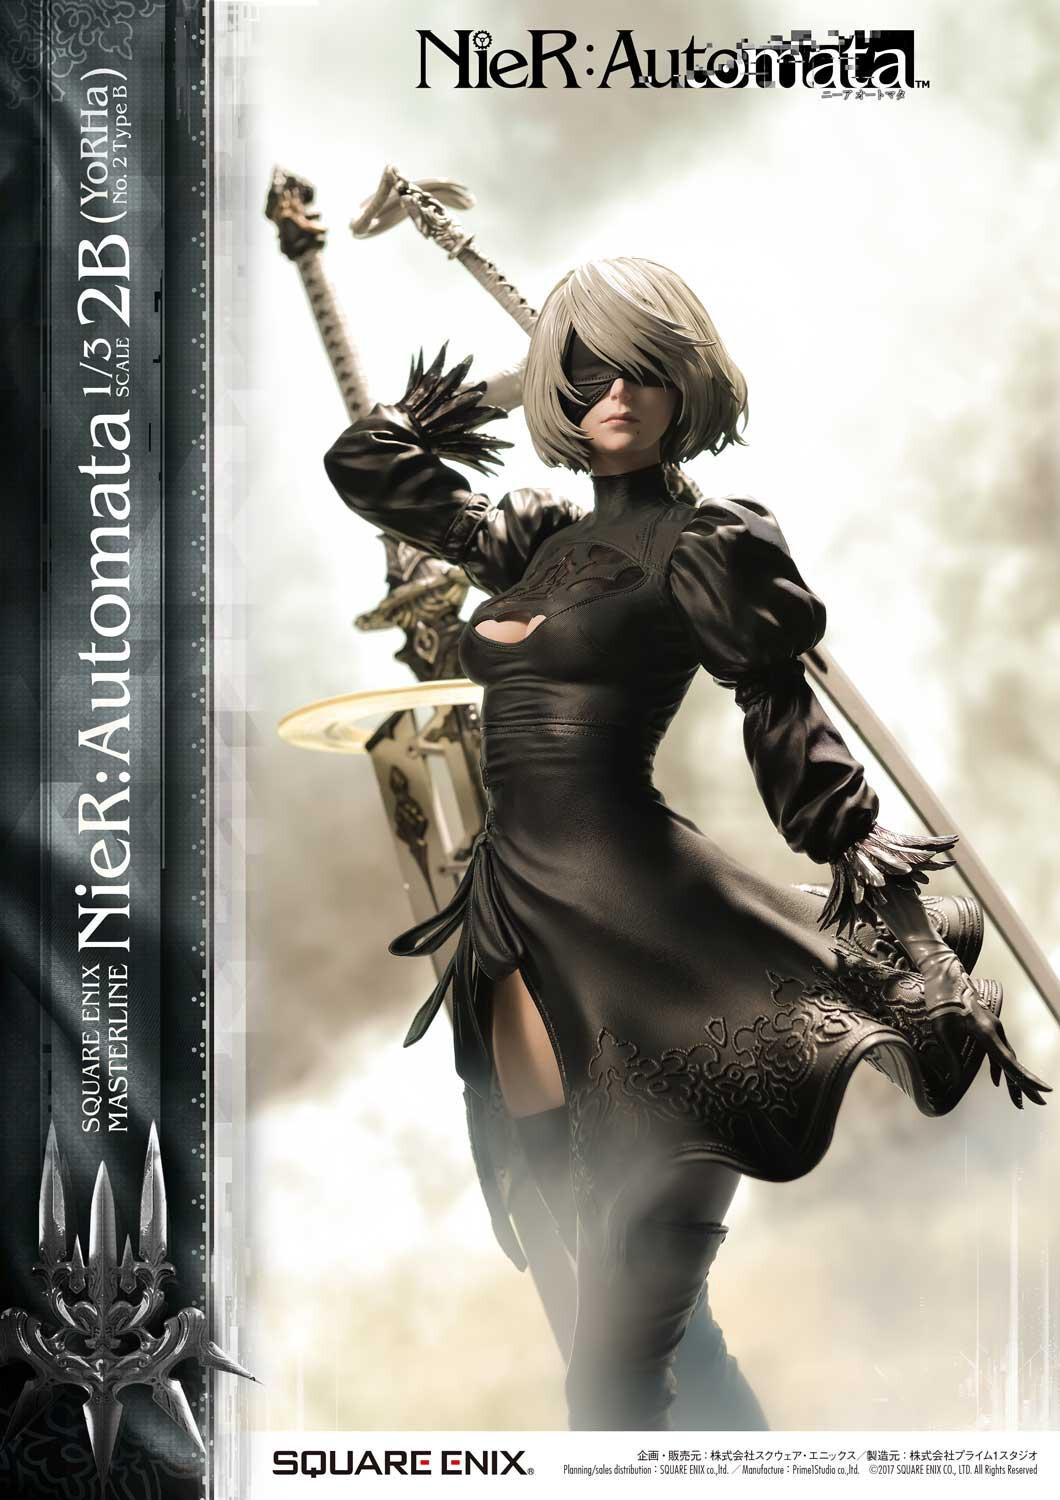
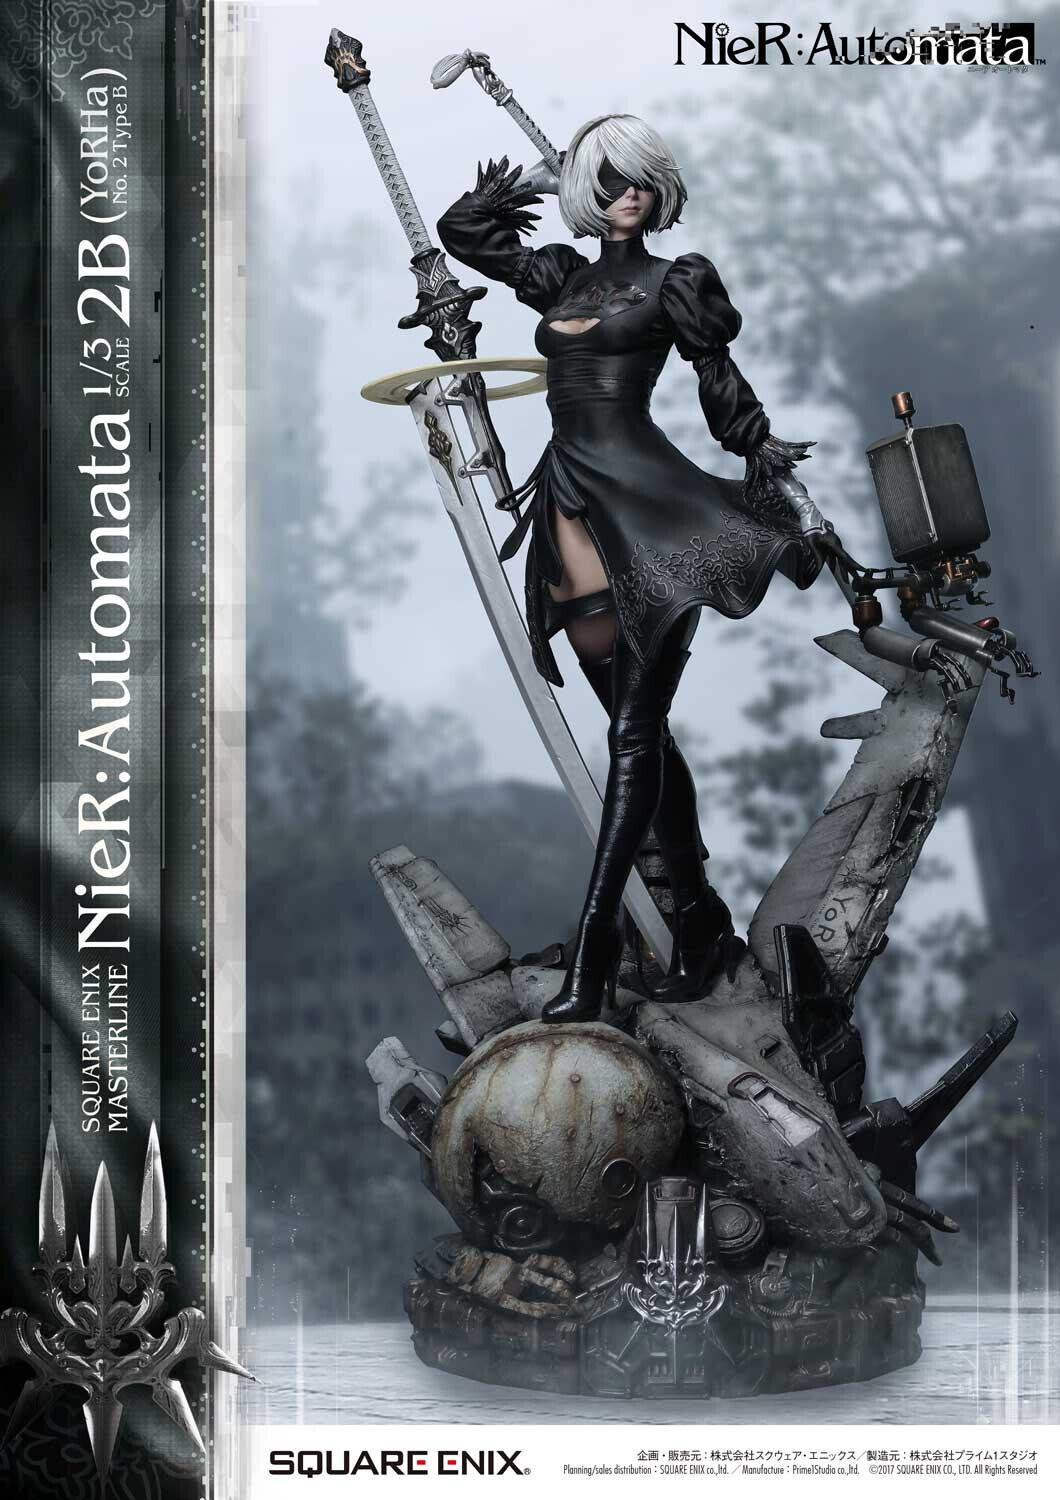
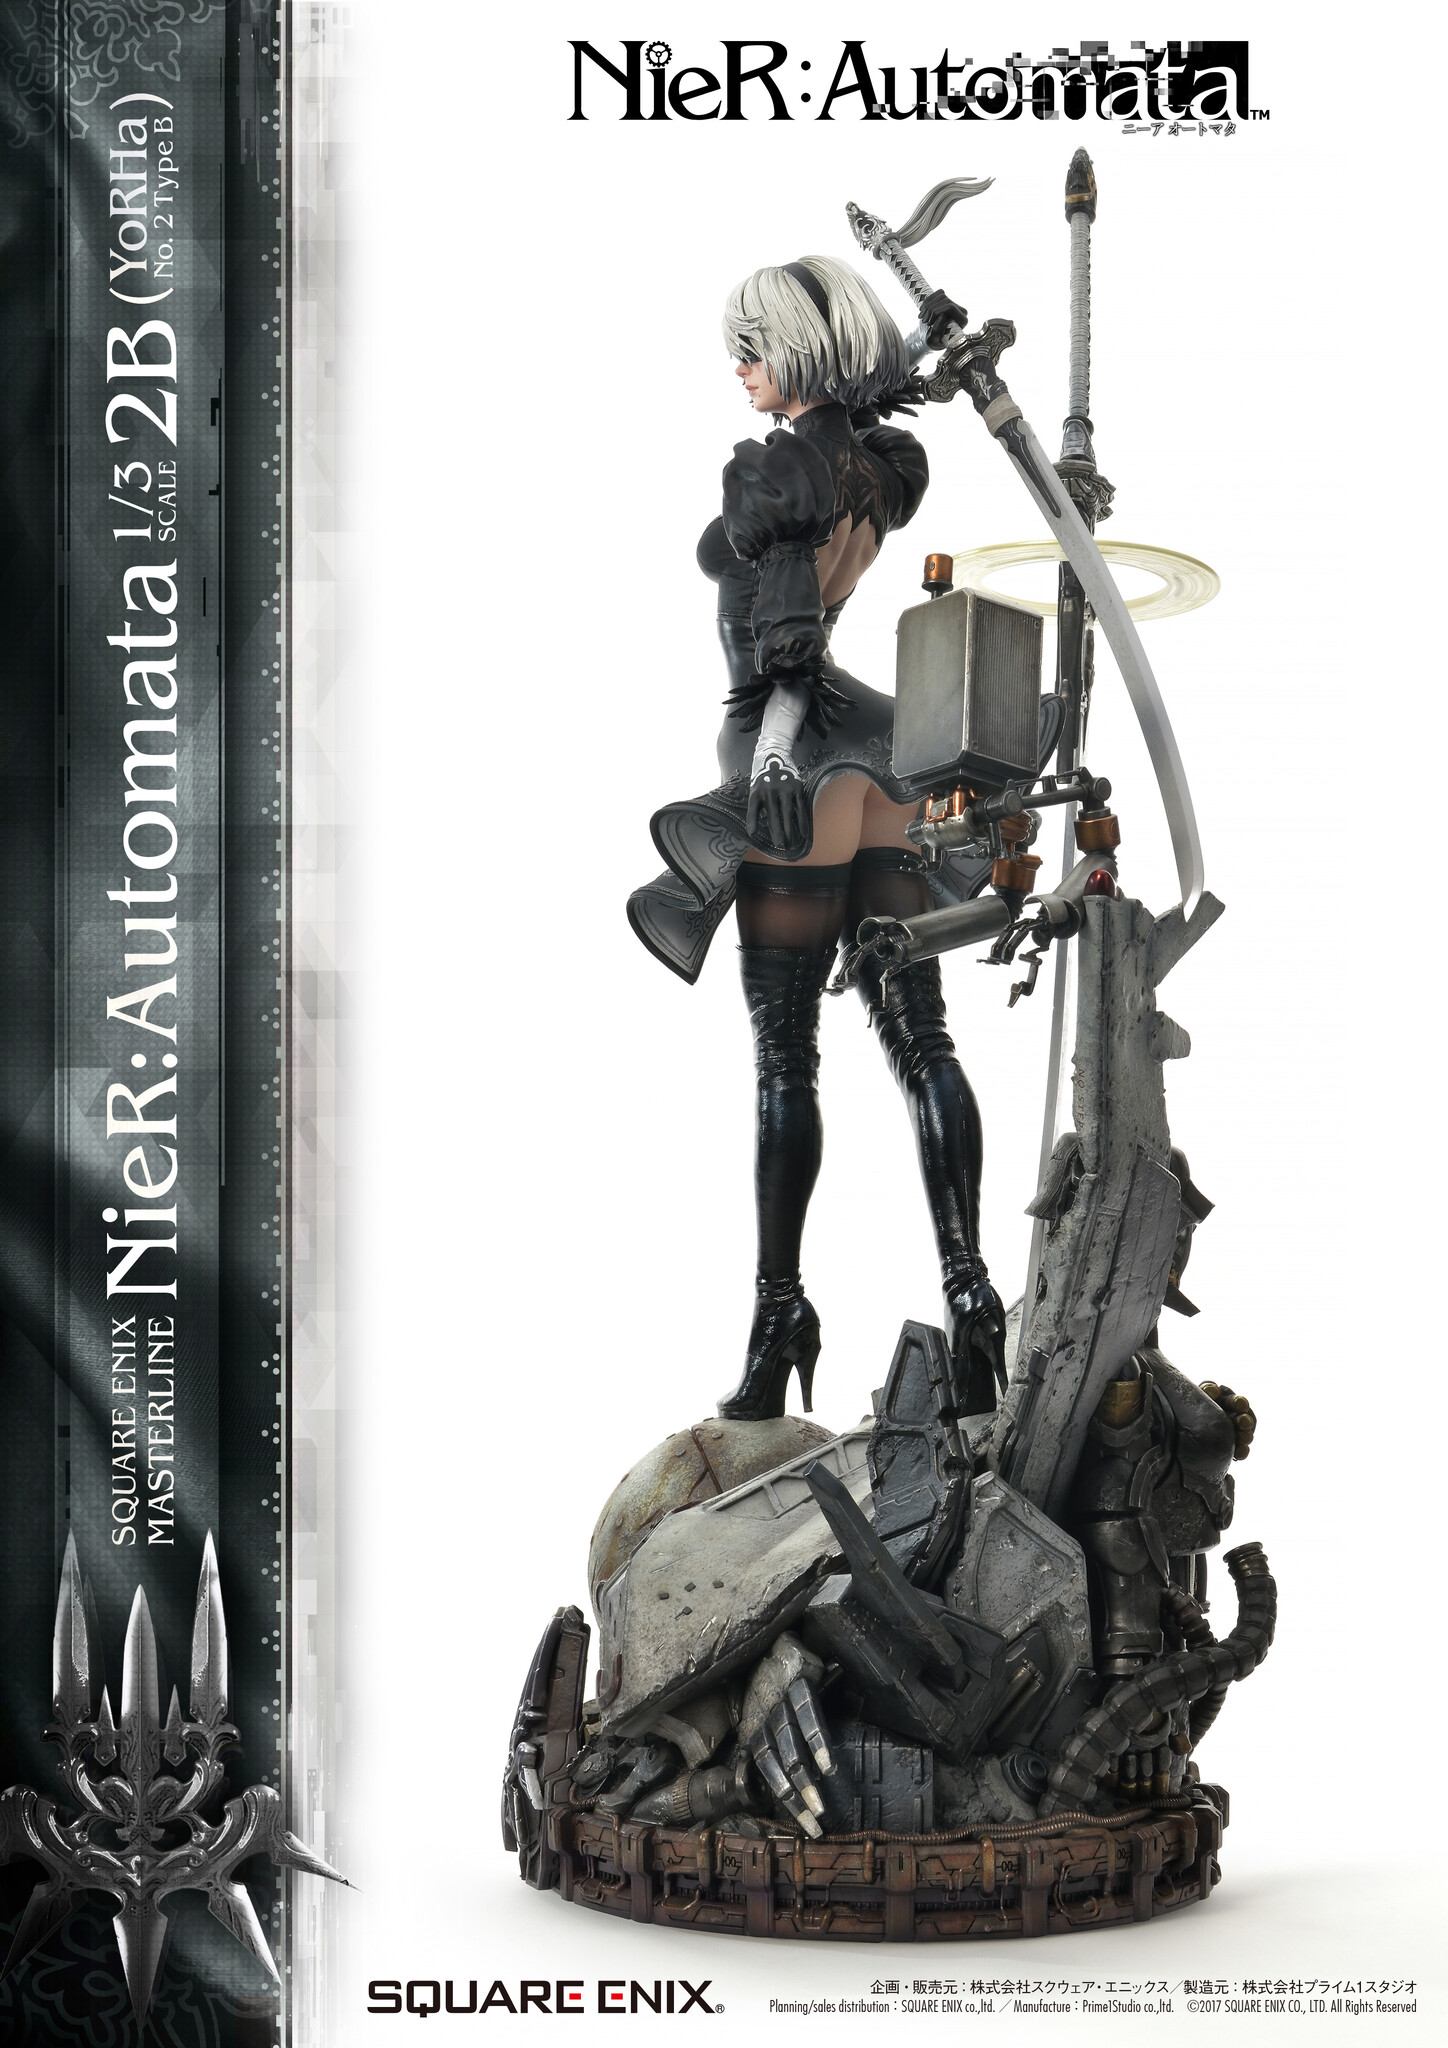
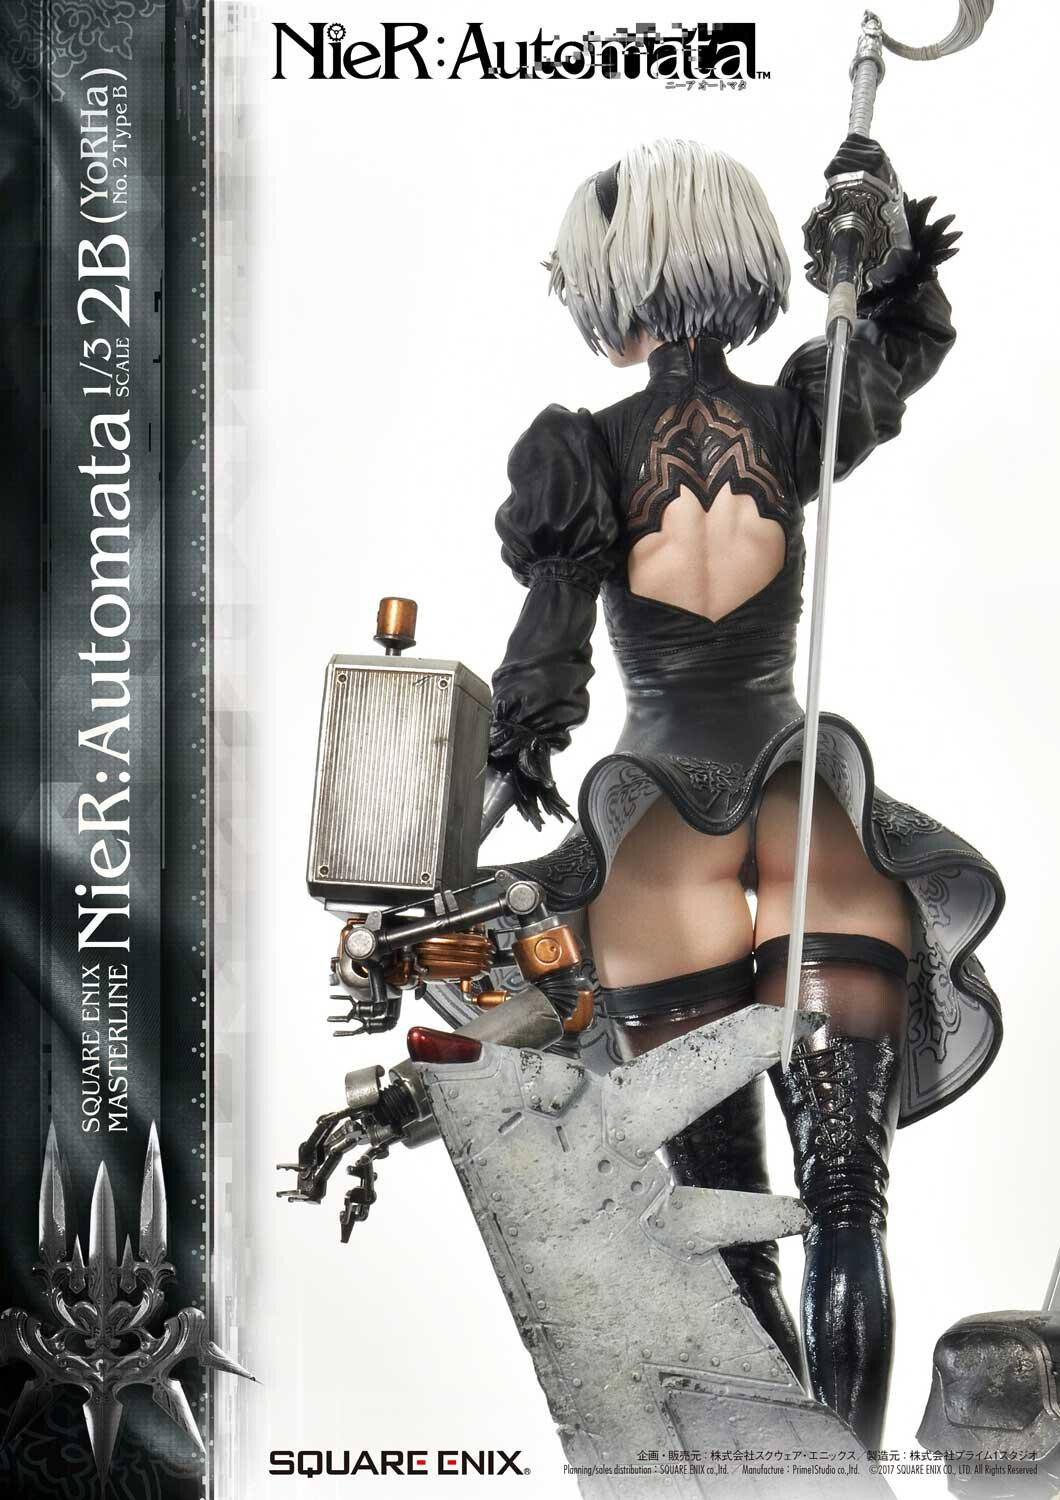
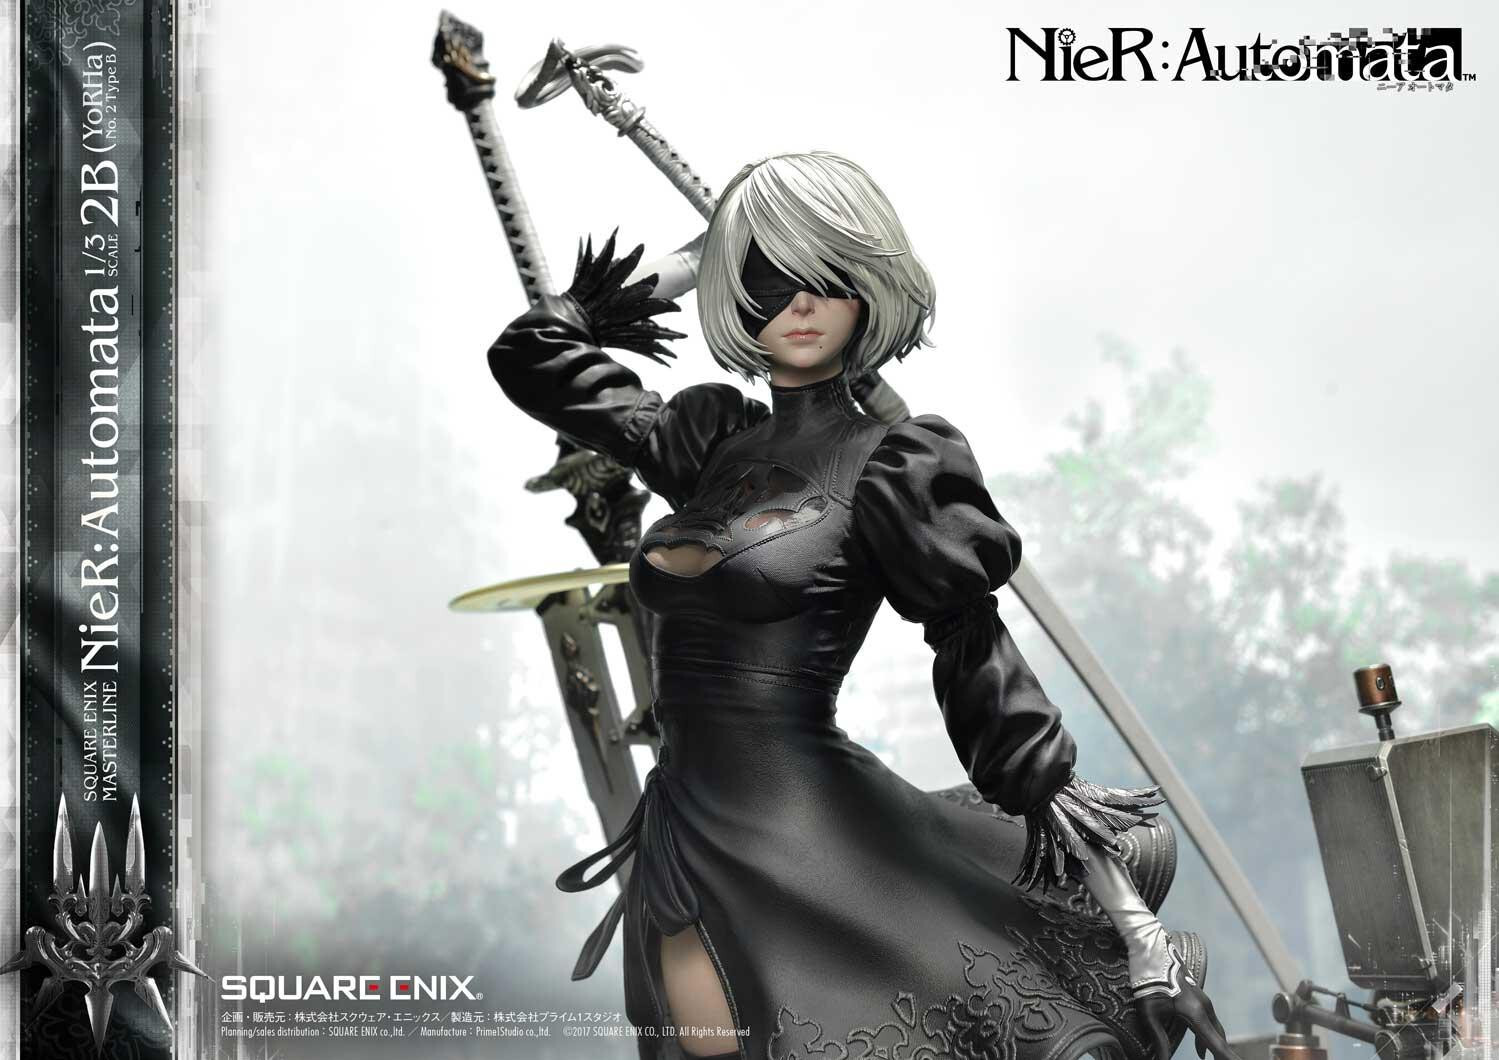
Prime 1 Studio and Square Enix collaborate on the SQUARE ENIX Masterline series to present YoRHa No. 2 Type B (2B) with Pod 042 from NieR: Automata at an impressive 1/3 scale. This statue stands approximately 520mm tall. NieR: Automata is an action-RPG developed by PlatinumGames and published by Square Enix, set in a post-apocalyptic world where androids of the YoRHa forces battle against machine lifeforms that have driven humanity from Earth. 2B is the protagonist, a stoic combat android whose full designation is YoRHa No. 2 Type B. She is accompanied by her tactical support unit Pod 042 throughout her missions. The game explores deep philosophical themes of consciousness, identity, and what it means to be alive. This premium Masterline statue meticulously reproduces 2B's iconic face and outfit at 1/3 scale, with a dedicated base that includes the Pod 042 support unit. Each piece is hand-painted, meaning slight variations may occur between individual copies.

Classification
Prepainted1/3 scale
Dimensions
H 520 mm 1/3 scale
Edition history

Releases 1 edition(s)

Every printing of this item, newest first. Prices are manufacturer list; aftermarket varies — see offers below.

Jun 2024StandardLatest
JAN 4988601372312 asStandard (Japan)
¥NaN
Hunt one down

Where to buy 2 partners

Sorted by price · aftermarket average
Nin-Nin GameBest price
Available
Visit ↗
Japan Figure
Available
Visit ↗
✓ Partner-verified stockPrices exclude shipping
From collectors' shelves

Pictures 91
NieR: Automata - Pod 042 - YoRHa No. 2 Type B - Square Enix Masterline  (SEM-05) - 1/3 (Prime 1 Studio, Square Enix) photo 1
NieR: Automata - Pod 042 - YoRHa No. 2 Type B - Square Enix Masterline  (SEM-05) - 1/3 (Prime 1 Studio, Square Enix) photo 2
NieR: Automata - Pod 042 - YoRHa No. 2 Type B - Square Enix Masterline  (SEM-05) - 1/3 (Prime 1 Studio, Square Enix) photo 3
NieR: Automata - Pod 042 - YoRHa No. 2 Type B - Square Enix Masterline  (SEM-05) - 1/3 (Prime 1 Studio, Square Enix) photo 4
NieR: Automata - Pod 042 - YoRHa No. 2 Type B - Square Enix Masterline  (SEM-05) - 1/3 (Prime 1 Studio, Square Enix) photo 5
NieR: Automata - Pod 042 - YoRHa No. 2 Type B - Square Enix Masterline  (SEM-05) - 1/3 (Prime 1 Studio, Square Enix) photo 6
NieR: Automata - Pod 042 - YoRHa No. 2 Type B - Square Enix Masterline  (SEM-05) - 1/3 (Prime 1 Studio, Square Enix) photo 7
NieR: Automata - Pod 042 - YoRHa No. 2 Type B - Square Enix Masterline  (SEM-05) - 1/3 (Prime 1 Studio, Square Enix) photo 8
NieR: Automata - Pod 042 - YoRHa No. 2 Type B - Square Enix Masterline  (SEM-05) - 1/3 (Prime 1 Studio, Square Enix) photo 9
NieR: Automata - Pod 042 - YoRHa No. 2 Type B - Square Enix Masterline  (SEM-05) - 1/3 (Prime 1 Studio, Square Enix) photo 10
NieR: Automata - Pod 042 - YoRHa No. 2 Type B - Square Enix Masterline  (SEM-05) - 1/3 (Prime 1 Studio, Square Enix) photo 11
NieR: Automata - Pod 042 - YoRHa No. 2 Type B - Square Enix Masterline  (SEM-05) - 1/3 (Prime 1 Studio, Square Enix) photo 12
NieR: Automata - Pod 042 - YoRHa No. 2 Type B - Square Enix Masterline  (SEM-05) - 1/3 (Prime 1 Studio, Square Enix) photo 13
NieR: Automata - Pod 042 - YoRHa No. 2 Type B - Square Enix Masterline  (SEM-05) - 1/3 (Prime 1 Studio, Square Enix) photo 14
NieR: Automata - Pod 042 - YoRHa No. 2 Type B - Square Enix Masterline  (SEM-05) - 1/3 (Prime 1 Studio, Square Enix) photo 15
NieR: Automata - Pod 042 - YoRHa No. 2 Type B - Square Enix Masterline  (SEM-05) - 1/3 (Prime 1 Studio, Square Enix) photo 16
NieR: Automata - Pod 042 - YoRHa No. 2 Type B - Square Enix Masterline  (SEM-05) - 1/3 (Prime 1 Studio, Square Enix) photo 17
NieR: Automata - Pod 042 - YoRHa No. 2 Type B - Square Enix Masterline  (SEM-05) - 1/3 (Prime 1 Studio, Square Enix) photo 18
NieR: Automata - Pod 042 - YoRHa No. 2 Type B - Square Enix Masterline  (SEM-05) - 1/3 (Prime 1 Studio, Square Enix) photo 19
NieR: Automata - Pod 042 - YoRHa No. 2 Type B - Square Enix Masterline  (SEM-05) - 1/3 (Prime 1 Studio, Square Enix) photo 20
NieR: Automata - Pod 042 - YoRHa No. 2 Type B - Square Enix Masterline  (SEM-05) - 1/3 (Prime 1 Studio, Square Enix) photo 21
NieR: Automata - Pod 042 - YoRHa No. 2 Type B - Square Enix Masterline  (SEM-05) - 1/3 (Prime 1 Studio, Square Enix) photo 22
NieR: Automata - Pod 042 - YoRHa No. 2 Type B - Square Enix Masterline  (SEM-05) - 1/3 (Prime 1 Studio, Square Enix) photo 23
NieR: Automata - Pod 042 - YoRHa No. 2 Type B - Square Enix Masterline  (SEM-05) - 1/3 (Prime 1 Studio, Square Enix) photo 24
NieR: Automata - Pod 042 - YoRHa No. 2 Type B - Square Enix Masterline  (SEM-05) - 1/3 (Prime 1 Studio, Square Enix) photo 25
NieR: Automata - Pod 042 - YoRHa No. 2 Type B - Square Enix Masterline  (SEM-05) - 1/3 (Prime 1 Studio, Square Enix) photo 26
NieR: Automata - Pod 042 - YoRHa No. 2 Type B - Square Enix Masterline  (SEM-05) - 1/3 (Prime 1 Studio, Square Enix) photo 27
NieR: Automata - Pod 042 - YoRHa No. 2 Type B - Square Enix Masterline  (SEM-05) - 1/3 (Prime 1 Studio, Square Enix) photo 28
NieR: Automata - Pod 042 - YoRHa No. 2 Type B - Square Enix Masterline  (SEM-05) - 1/3 (Prime 1 Studio, Square Enix) photo 29
NieR: Automata - Pod 042 - YoRHa No. 2 Type B - Square Enix Masterline  (SEM-05) - 1/3 (Prime 1 Studio, Square Enix) photo 30
NieR: Automata - Pod 042 - YoRHa No. 2 Type B - Square Enix Masterline  (SEM-05) - 1/3 (Prime 1 Studio, Square Enix) photo 31
NieR: Automata - Pod 042 - YoRHa No. 2 Type B - Square Enix Masterline  (SEM-05) - 1/3 (Prime 1 Studio, Square Enix) photo 32
NieR: Automata - Pod 042 - YoRHa No. 2 Type B - Square Enix Masterline  (SEM-05) - 1/3 (Prime 1 Studio, Square Enix) photo 33
NieR: Automata - Pod 042 - YoRHa No. 2 Type B - Square Enix Masterline  (SEM-05) - 1/3 (Prime 1 Studio, Square Enix) photo 34
NieR: Automata - Pod 042 - YoRHa No. 2 Type B - Square Enix Masterline  (SEM-05) - 1/3 (Prime 1 Studio, Square Enix) photo 35
NieR: Automata - Pod 042 - YoRHa No. 2 Type B - Square Enix Masterline  (SEM-05) - 1/3 (Prime 1 Studio, Square Enix) photo 36
NieR: Automata - Pod 042 - YoRHa No. 2 Type B - Square Enix Masterline  (SEM-05) - 1/3 (Prime 1 Studio, Square Enix) photo 37
NieR: Automata - Pod 042 - YoRHa No. 2 Type B - Square Enix Masterline  (SEM-05) - 1/3 (Prime 1 Studio, Square Enix) photo 38
NieR: Automata - Pod 042 - YoRHa No. 2 Type B - Square Enix Masterline  (SEM-05) - 1/3 (Prime 1 Studio, Square Enix) photo 39
NieR: Automata - Pod 042 - YoRHa No. 2 Type B - Square Enix Masterline  (SEM-05) - 1/3 (Prime 1 Studio, Square Enix) photo 40
NieR: Automata - Pod 042 - YoRHa No. 2 Type B - Square Enix Masterline  (SEM-05) - 1/3 (Prime 1 Studio, Square Enix) photo 41
NieR: Automata - Pod 042 - YoRHa No. 2 Type B - Square Enix Masterline  (SEM-05) - 1/3 (Prime 1 Studio, Square Enix) photo 42
NieR: Automata - Pod 042 - YoRHa No. 2 Type B - Square Enix Masterline  (SEM-05) - 1/3 (Prime 1 Studio, Square Enix) photo 43
NieR: Automata - Pod 042 - YoRHa No. 2 Type B - Square Enix Masterline  (SEM-05) - 1/3 (Prime 1 Studio, Square Enix) photo 44
NieR: Automata - Pod 042 - YoRHa No. 2 Type B - Square Enix Masterline  (SEM-05) - 1/3 (Prime 1 Studio, Square Enix) photo 45
NieR: Automata - Pod 042 - YoRHa No. 2 Type B - Square Enix Masterline  (SEM-05) - 1/3 (Prime 1 Studio, Square Enix) photo 46
NieR: Automata - Pod 042 - YoRHa No. 2 Type B - Square Enix Masterline  (SEM-05) - 1/3 (Prime 1 Studio, Square Enix) photo 47
NieR: Automata - Pod 042 - YoRHa No. 2 Type B - Square Enix Masterline  (SEM-05) - 1/3 (Prime 1 Studio, Square Enix) photo 48
NieR: Automata - Pod 042 - YoRHa No. 2 Type B - Square Enix Masterline  (SEM-05) - 1/3 (Prime 1 Studio, Square Enix) photo 49
NieR: Automata - Pod 042 - YoRHa No. 2 Type B - Square Enix Masterline  (SEM-05) - 1/3 (Prime 1 Studio, Square Enix) photo 50
NieR: Automata - Pod 042 - YoRHa No. 2 Type B - Square Enix Masterline  (SEM-05) - 1/3 (Prime 1 Studio, Square Enix) photo 51
NieR: Automata - Pod 042 - YoRHa No. 2 Type B - Square Enix Masterline  (SEM-05) - 1/3 (Prime 1 Studio, Square Enix) photo 52
NieR: Automata - Pod 042 - YoRHa No. 2 Type B - Square Enix Masterline  (SEM-05) - 1/3 (Prime 1 Studio, Square Enix) photo 53
NieR: Automata - Pod 042 - YoRHa No. 2 Type B - Square Enix Masterline  (SEM-05) - 1/3 (Prime 1 Studio, Square Enix) photo 54
NieR: Automata - Pod 042 - YoRHa No. 2 Type B - Square Enix Masterline  (SEM-05) - 1/3 (Prime 1 Studio, Square Enix) photo 55
NieR: Automata - Pod 042 - YoRHa No. 2 Type B - Square Enix Masterline  (SEM-05) - 1/3 (Prime 1 Studio, Square Enix) photo 56
NieR: Automata - Pod 042 - YoRHa No. 2 Type B - Square Enix Masterline  (SEM-05) - 1/3 (Prime 1 Studio, Square Enix) photo 57
NieR: Automata - Pod 042 - YoRHa No. 2 Type B - Square Enix Masterline  (SEM-05) - 1/3 (Prime 1 Studio, Square Enix) photo 58
NieR: Automata - Pod 042 - YoRHa No. 2 Type B - Square Enix Masterline  (SEM-05) - 1/3 (Prime 1 Studio, Square Enix) photo 59
NieR: Automata - Pod 042 - YoRHa No. 2 Type B - Square Enix Masterline  (SEM-05) - 1/3 (Prime 1 Studio, Square Enix) photo 60
NieR: Automata - Pod 042 - YoRHa No. 2 Type B - Square Enix Masterline  (SEM-05) - 1/3 (Prime 1 Studio, Square Enix) photo 61
NieR: Automata - Pod 042 - YoRHa No. 2 Type B - Square Enix Masterline  (SEM-05) - 1/3 (Prime 1 Studio, Square Enix) photo 62
NieR: Automata - Pod 042 - YoRHa No. 2 Type B - Square Enix Masterline  (SEM-05) - 1/3 (Prime 1 Studio, Square Enix) photo 63
NieR: Automata - Pod 042 - YoRHa No. 2 Type B - Square Enix Masterline  (SEM-05) - 1/3 (Prime 1 Studio, Square Enix) photo 64
NieR: Automata - Pod 042 - YoRHa No. 2 Type B - Square Enix Masterline  (SEM-05) - 1/3 (Prime 1 Studio, Square Enix) photo 65
NieR: Automata - Pod 042 - YoRHa No. 2 Type B - Square Enix Masterline  (SEM-05) - 1/3 (Prime 1 Studio, Square Enix) photo 66
NieR: Automata - Pod 042 - YoRHa No. 2 Type B - Square Enix Masterline  (SEM-05) - 1/3 (Prime 1 Studio, Square Enix) photo 67
NieR: Automata - Pod 042 - YoRHa No. 2 Type B - Square Enix Masterline  (SEM-05) - 1/3 (Prime 1 Studio, Square Enix) photo 68
NieR: Automata - Pod 042 - YoRHa No. 2 Type B - Square Enix Masterline  (SEM-05) - 1/3 (Prime 1 Studio, Square Enix) photo 69
NieR: Automata - Pod 042 - YoRHa No. 2 Type B - Square Enix Masterline  (SEM-05) - 1/3 (Prime 1 Studio, Square Enix) photo 70
NieR: Automata - Pod 042 - YoRHa No. 2 Type B - Square Enix Masterline  (SEM-05) - 1/3 (Prime 1 Studio, Square Enix) photo 71
NieR: Automata - Pod 042 - YoRHa No. 2 Type B - Square Enix Masterline  (SEM-05) - 1/3 (Prime 1 Studio, Square Enix) photo 72
NieR: Automata - Pod 042 - YoRHa No. 2 Type B - Square Enix Masterline  (SEM-05) - 1/3 (Prime 1 Studio, Square Enix) photo 73
NieR: Automata - Pod 042 - YoRHa No. 2 Type B - Square Enix Masterline  (SEM-05) - 1/3 (Prime 1 Studio, Square Enix) photo 74
NieR: Automata - Pod 042 - YoRHa No. 2 Type B - Square Enix Masterline  (SEM-05) - 1/3 (Prime 1 Studio, Square Enix) photo 75
NieR: Automata - Pod 042 - YoRHa No. 2 Type B - Square Enix Masterline  (SEM-05) - 1/3 (Prime 1 Studio, Square Enix) photo 76
NieR: Automata - Pod 042 - YoRHa No. 2 Type B - Square Enix Masterline  (SEM-05) - 1/3 (Prime 1 Studio, Square Enix) photo 77
NieR: Automata - Pod 042 - YoRHa No. 2 Type B - Square Enix Masterline  (SEM-05) - 1/3 (Prime 1 Studio, Square Enix) photo 78
NieR: Automata - Pod 042 - YoRHa No. 2 Type B - Square Enix Masterline  (SEM-05) - 1/3 (Prime 1 Studio, Square Enix) photo 79
NieR: Automata - Pod 042 - YoRHa No. 2 Type B - Square Enix Masterline  (SEM-05) - 1/3 (Prime 1 Studio, Square Enix) photo 80
NieR: Automata - Pod 042 - YoRHa No. 2 Type B - Square Enix Masterline  (SEM-05) - 1/3 (Prime 1 Studio, Square Enix) photo 81
NieR: Automata - Pod 042 - YoRHa No. 2 Type B - Square Enix Masterline  (SEM-05) - 1/3 (Prime 1 Studio, Square Enix) photo 82
NieR: Automata - Pod 042 - YoRHa No. 2 Type B - Square Enix Masterline  (SEM-05) - 1/3 (Prime 1 Studio, Square Enix) photo 83
NieR: Automata - Pod 042 - YoRHa No. 2 Type B - Square Enix Masterline  (SEM-05) - 1/3 (Prime 1 Studio, Square Enix) photo 84
NieR: Automata - Pod 042 - YoRHa No. 2 Type B - Square Enix Masterline  (SEM-05) - 1/3 (Prime 1 Studio, Square Enix) photo 85
NieR: Automata - Pod 042 - YoRHa No. 2 Type B - Square Enix Masterline  (SEM-05) - 1/3 (Prime 1 Studio, Square Enix) photo 86
NieR: Automata - Pod 042 - YoRHa No. 2 Type B - Square Enix Masterline  (SEM-05) - 1/3 (Prime 1 Studio, Square Enix) photo 87
NieR: Automata - Pod 042 - YoRHa No. 2 Type B - Square Enix Masterline  (SEM-05) - 1/3 (Prime 1 Studio, Square Enix) photo 88
NieR: Automata - Pod 042 - YoRHa No. 2 Type B - Square Enix Masterline  (SEM-05) - 1/3 (Prime 1 Studio, Square Enix) photo 89
NieR: Automata - Pod 042 - YoRHa No. 2 Type B - Square Enix Masterline  (SEM-05) - 1/3 (Prime 1 Studio, Square Enix) photo 90
NieR: Automata - Pod 042 - YoRHa No. 2 Type B - Square Enix Masterline  (SEM-05) - 1/3 (Prime 1 Studio, Square Enix) photo 91
Discussion

Comments 0

Be kind. Spoilers behind tags.Sign in to comment

Sign in to join the discussion.